Coconut trees are among the most iconic tropical plants in the world. Their tall, elegant trunks, lush green crowns, and multipurpose fruits make them one of the most cherished trees for farmers, gardeners, and homesteaders. Whether you want to grow coconuts for commercial production, beautification, shade, or personal interest, learning how to propagate coconut trees correctly is the foundation of successful cultivation.
Propagating coconut trees is surprisingly simple once you understand the right techniques. In this detailed guide, you’ll discover how to select healthy seeds, prepare them for germination, plant them in the ideal conditions, and care for young coconut palms so they grow into strong and productive trees. Let’s get started!
Understanding Coconut Propagation

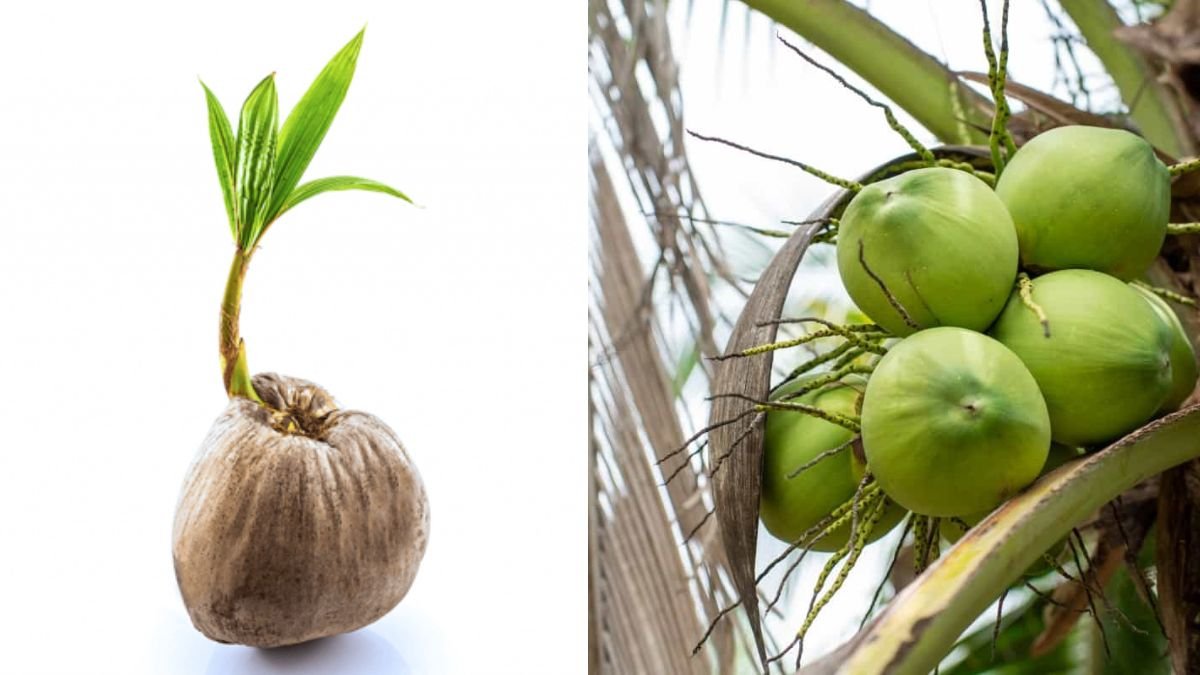
Unlike many fruit trees that require grafting or air layering, coconut trees are most commonly propagated directly from seed, which is simply the mature coconut fruit. Each coconut contains a viable embryo capable of producing a full tree—if provided with the proper moisture, warmth, and soil conditions.
Coconuts thrive best in tropical and coastal climates with warm temperatures (25–35°C), high humidity, and plenty of sunlight.
Step 1: Choosing the Best Coconuts for Propagation
Selecting the right seed nut is the most important step. A strong coconut tree starts with a strong coconut seed.
✔️ How to Identify a Good Seed Coconut
Choose coconuts that meet the following conditions:
- Fully matured: Look for coconuts that are 10–12 months old.
- Heavy and full: A heavy coconut indicates abundant water and a healthy embryo.
- No cracks or fungal spots: Damaged shells reduce germination success.
- Still in the husk: Husked coconuts dry out quickly and have poor germination.
- Float test (optional): When placed in water, good-quality seed nuts usually float at an angle or remain partially submerged.
Varieties to Consider
If available in your region:
- Tall varieties: More hardy, long-living, excellent yield.
- Dwarf varieties: Early-bearing, easier harvest, ideal for small gardens.
- Hybrid varieties: Combine strength and yield of both types.
Step 2: Preparing the Coconut for Germination
Coconuts require warmth and moisture to initiate germination. Before planting, follow these simple steps:
✔️ Soak the Coconut
Soak the whole coconut (with husk) in fresh water for 3–5 days.
This softens the husk and activates the embryo, improving germination rates.
✔️ Positioning Matters
For best results:
- Place the coconut on its side so the three “eyes” face sideways.
- Ensure the pointed end is slightly elevated if planting directly in soil.
This orientation helps the sprout emerge easily from one of the eyes.
Step 3: Best Germination Methods
There are three common ways to germinate coconut seeds. You can choose the one that suits your environment.
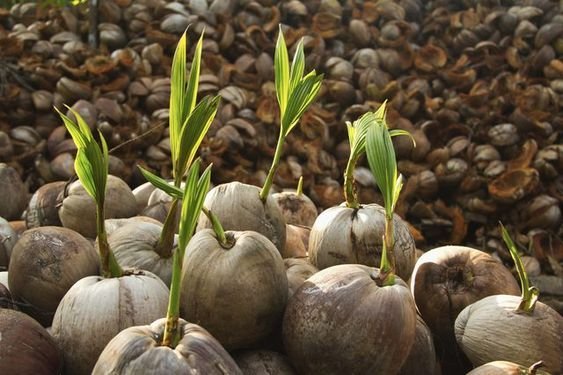
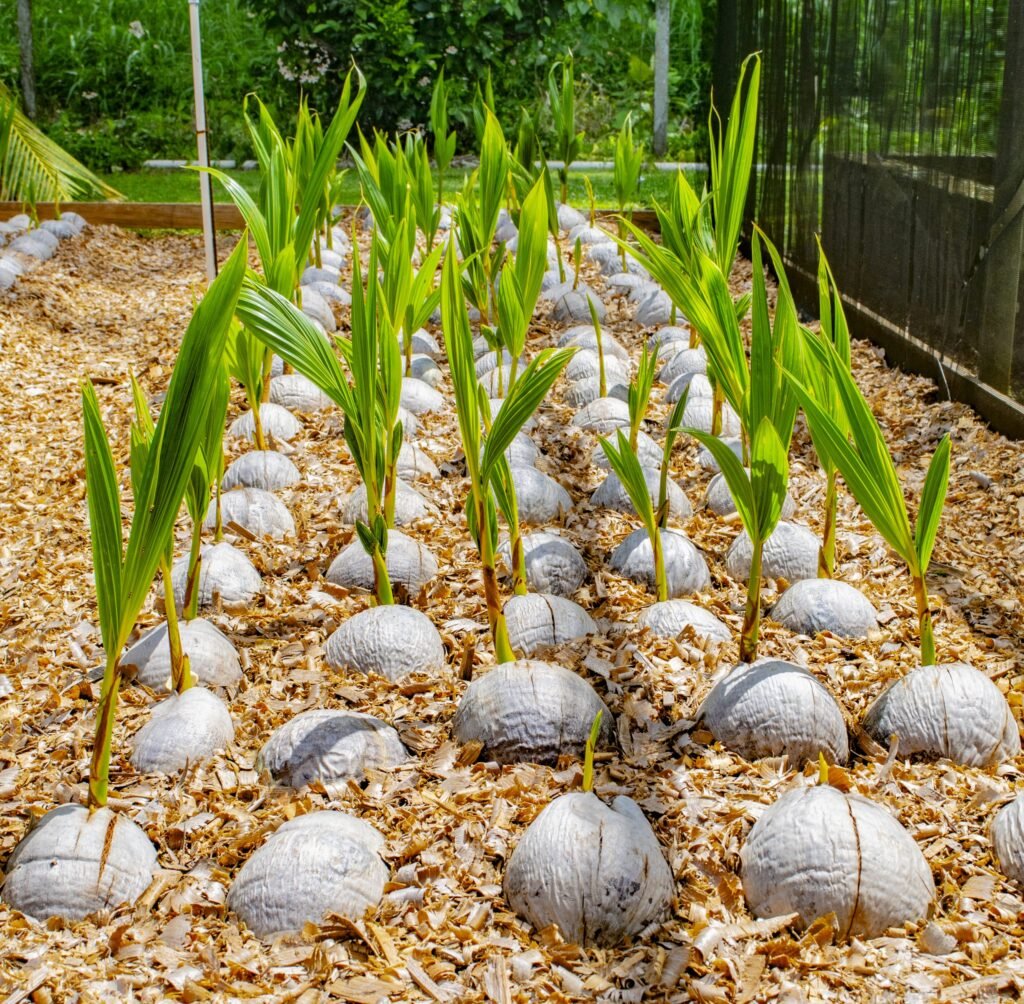
Method 1: Soil Bed Germination (Most Common)
This method is ideal for farms and nurseries.
Steps:
- Prepare a soft, sandy soil bed about 30–40 cm deep.
- Place the soaked coconuts on their sides.
- Cover them partially—about one-third buried.
- Water lightly but regularly.
- Ensure the bed gets full sun.
Germination Time:
3 to 6 months, depending on climate and variety.
Method 2: Polybag Germination
Perfect for small home gardens or if you want to transplant easily later.
Steps:
- Choose a large polybag (minimum 14×18 inches).
- Fill it with a mix of:
- 50% sand
- 30% garden soil
- 20% compost/cow dung
- Place the nut sideways inside the bag.
- Keep the bag in a sunny location.
- Water every 2–3 days (avoid waterlogging).
This method produces healthy roots and makes transplanting stress-free.
Method 3: Pit Germination (Traditional Method)

This is simple and commonly used in villages.
Steps:
- Dig a shallow pit.
- Place the coconut horizontally.
- Cover lightly with soil.
- Keep the soil moist.
This method works well in coastal areas where soil stays naturally warm and moist.
Step 4: Caring for the Germinating Coconut
Once the coconut begins to sprout, you will notice:
- A pointed shoot emerging from the eyes.
- Roots pushing out from the opposite side.
- Gradual formation of the first leaf.
Care Tips During Germination
- Keep soil moist but never soggy.
- Protect from rodents, crabs, or grazing animals.
- Provide full sunlight for healthy shoot growth.
- Avoid moving the seed during early sprouting.
Young coconut seedlings are delicate; proper care ensures better survival.
Step 5: Transplanting the Coconut Seedling
Once the seedling reaches 6–8 months old or has 4–6 leaves, it is ready for transplanting.
Ideal Site Conditions
- Full sun exposure (minimum 6–8 hours daily).
- Well-drained sandy or sandy-loam soil.
- A location away from buildings or structures (as trees grow tall).
- Access to regular water.
Planting Steps
- Dig a pit measuring 1 × 1 × 1 meter.
- Mix topsoil with compost or well-rotted manure.
- Place the seedling in the pit such that:
- The nut is just above the soil level.
- Roots spread naturally downward.
- Backfill gently and press soil to remove air pockets.
- Water thoroughly.
Spacing
- Tall varieties: 8–10 meters apart
- Dwarf varieties: 6–7 meters apart
- Hybrids: 7–8 meters apart
Proper spacing ensures healthy growth and better yields.
Step 6: Caring for Young Coconut Trees
For the first 3 years, coconut palms need extra care.
✔️ Watering
- Water deeply twice a week during dry seasons.
- Avoid waterlogging, which can lead to fungal diseases.
✔️ Mulching
Apply thick mulch around the tree using:
- Dry leaves
- Coconut husk chips
- Grass clippings
Mulching improves soil moisture and fertility.
✔️ Fertilization
Apply organic fertilizers such as:
- Cow dung
- Compost
- Neem cake
- Vermicompost
Every 3 months, feed NPK fertilizers or organic alternatives to boost growth.
✔️ Remove weeds
Keep the area around the tree clean and weed-free.
Step 7: When Will Your Coconut Tree Bear Fruit?
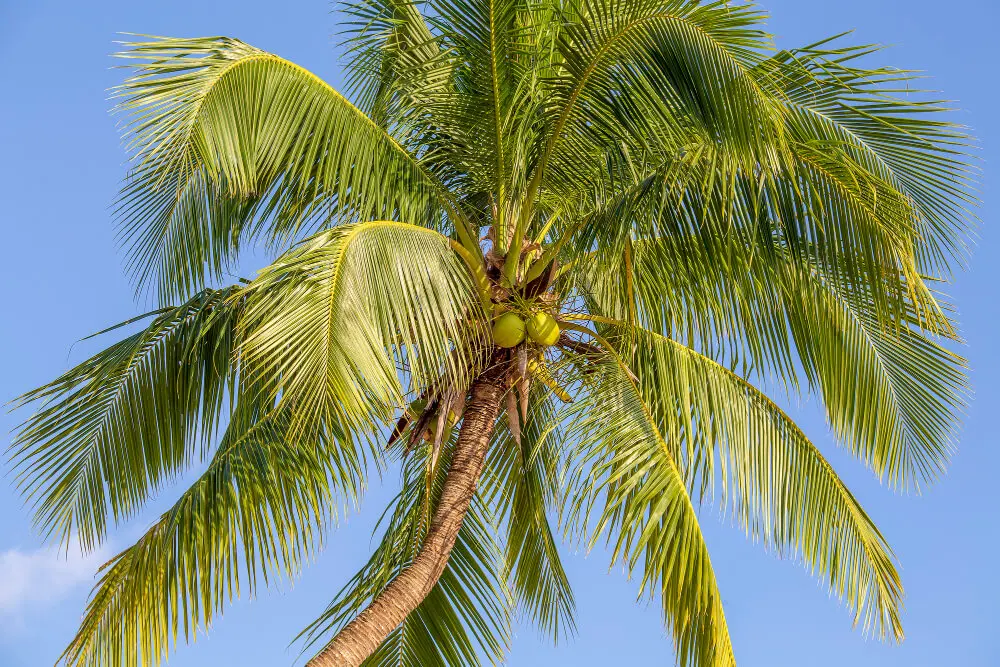
This depends on the variety:
- Dwarf varieties: 3–4 years
- Tall varieties: 6–8 years
- Hybrids: 3–5 years
Properly cared-for trees can produce 50–120 coconuts per year depending on climate and nutrition.
Common Problems and Solutions
1. Seed Rotting
Cause: Overwatering
Solution: Maintain proper drainage.
2. Poor Sprouting
Cause: Immature or dried coconuts
Solution: Always choose heavy, fresh seed nuts.
3. Yellowing Leaves
Cause: Nutrient deficiency
Solution: Apply compost or NPK fertilizer.
4. Pest Attacks
Common pests: Rhinoceros beetles, red palm mites
Solution: Maintain hygiene, use organic pest control.
Final Thoughts
Propagating coconut trees is a rewarding process—one that connects you directly with nature’s simplicity and beauty. With the right seed selection, proper germination techniques, timely watering, and care, anyone can grow a healthy coconut tree that will produce fruit for decades.
Whether you’re planting a single palm in your backyard or starting a small coconut farm, the steps above will guide you toward success. Coconut trees are not just plants—they are long-term companions that offer shade, beauty, and nourishment for years to come.