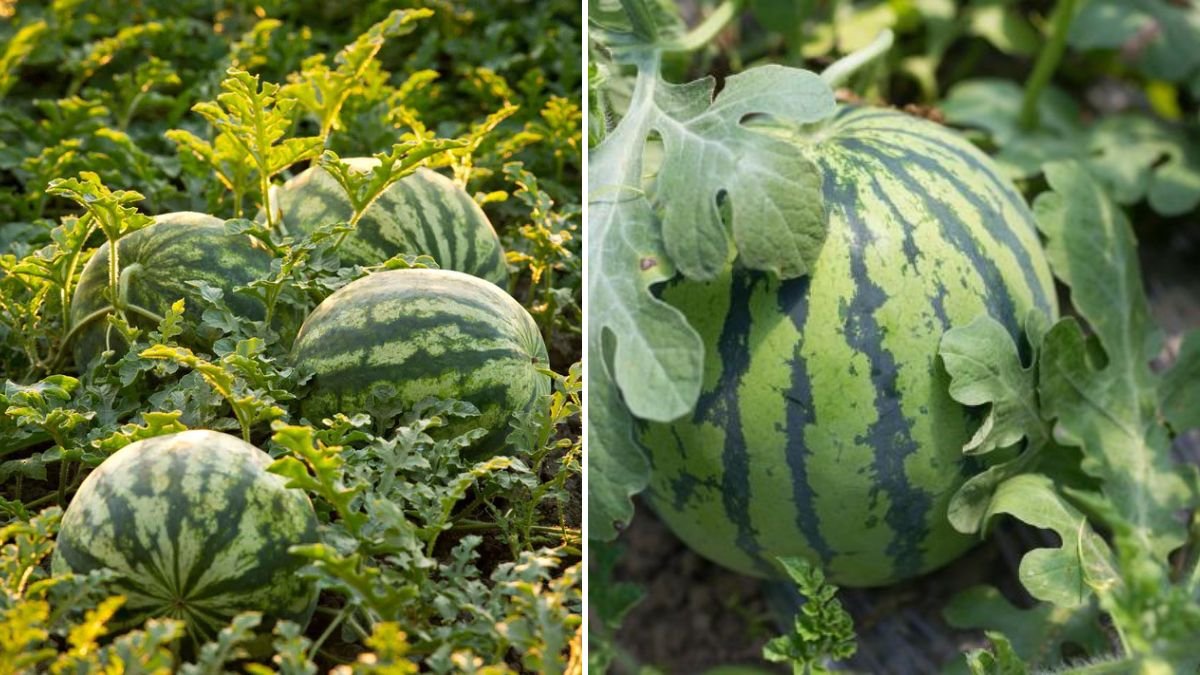
Growing watermelons is one of the most rewarding gardening experiences, especially when you start from seeds. Those tiny black seeds eventually grow into sprawling vines, bright yellow flowers, and finally, sweet, juicy fruits that feel like pure garden magic. But to reach that stage, the most important period is the seedling phase.
Watermelon seedlings are delicate—they need the right warmth, the right amount of water, balanced nutrients, and careful handling. If you get this stage right, your plants will be strong, disease-resistant, and ready to explode with vigorous growth once transplanted.
Here’s a complete, beginner-friendly guide packed with essential tips to help your watermelon seedlings thrive from the moment they sprout.
Why Proper Watermelon Seedling Care Matters
Watermelons are fast growers with deep root systems. If seedlings are weak or stressed early on, they tend to:
- Grow slowly
- Become prone to pests and fungal diseases
- Produce fewer fruits
- Struggle after transplanting
Healthy seedlings, on the other hand, establish quickly, grow vigorously, and produce better and earlier harvests.
Let’s break down everything you need to do, step by step.
1. Choosing the Right Seeds
Not all watermelon seeds are the same. Before planting, choose:
High-quality seeds
Buy from a trusted source to ensure high germination rates.
Climate-friendly varieties
In hot climates: Sugar Baby, Black Diamond
In cool climates: Crimson Sweet, Golden Midget
Disease-resistant types
These ensure fewer early problems.
2. Preparing the Best Soil Mix
Watermelon seedlings LOVE loose, airy, nutrient-rich soil. A heavy or compact mix leads to poor growth and weak roots.
Ideal Soil Mix:
- 40% coco peat (moisture retention)
- 30% compost or vermicompost (nutrition)
- 20% garden soil (structure)
- 10% perlite or sand (drainage)
Important Notes:
- Maintain pH between 6.0–6.8
- Add a handful of neem cake or crushed eggshells to prevent fungal issues
This mix ensures quick root growth—vital for strong seedlings.
3. Planting Your Seeds Properly
Watermelon seeds germinate quickly when planted correctly.
How to Plant Seeds:
- Fill trays or small pots with your soil mix.
- Sow seeds 1.5–2 cm deep.
- Place 1–2 seeds per cell or cup.
- Lightly water—avoid overwatering.
- Cover with plastic wrap or a humidity dome for faster germination.
Germination Temperature:
- Warmth is essential!
- Ideal: 24–30°C
Seeds usually sprout within 3–7 days.
4. Light Requirements for Healthy Seedlings
After sprouting, watermelon seedlings need strong sunlight to prevent leggy, thin stems.
Provide:
- 6–8 hours of direct sunlight
- If indoors, place near a south-facing window
- Or use grow lights (12–14 hours/day)
Symptoms of Light Deficiency:
- Stretched, tall, weak stems
- Pale yellowish leaves
- Falling over easily
Good lighting ensures strong stems and broad, deep-green leaves.
5. Watering: The Most Critical Part for Beginners
Watermelon seedlings are sensitive—too much water causes root rot, too little leads to stunted growth.
Watering Rule: Keep Soil Moist, Never Soggy
Water only when the top layer feels slightly dry.
Tips:
- Use a spray bottle or gentle watering can
- Avoid water collecting at the bottom
- Ensure containers have proper drainage holes
- Morning watering is best
Signs of Overwatering:
- Yellowing leaves
- Droopy stems
- Fungus on the soil surface
6. Feeding Seedlings the Right Way
During the first 2 weeks, seedlings don’t need much fertilizer.
At 2 Weeks:
Feed a diluted liquid fertilizer such as:
- Seaweed extract
- Fish emulsion
- Vermicompost tea
Use at 1/4 strength.
Watermelon seedlings love potassium and calcium—these encourage strong early growth.
7. Thinning for Stronger Plants
If multiple seeds sprout in one cell, keep only one healthiest seedling.
Choose the seedling that is:
- Short but sturdy
- Dark green
- With strong root growth
Snip off the weaker seedling—don’t pull it out, or you may damage roots.
8. Hardening Off Before Transplant
This step is crucial but often overlooked. Without hardening, seedlings become shocked when moved outdoors.
Start 7 days before transplanting:
- Day 1–2: Place outside for 1–2 hours
- Day 3–4: Increase to 3–4 hours
- Day 5–6: Leave outside all afternoon
- Day 7: Leave outside full day
This strengthens the stems and prepares them for sunlight and wind.
9. When to Transplant Your Seedlings
Your watermelon seedlings are ready to transplant when they have:
✔ 3–4 true leaves
✔ Strong stems
✔ Good root development
✔ 3–4 weeks of age
Transplant into:
- Grow bags (30–50 liters)
- Garden beds
- Raised beds
10. Common Seedling Mistakes to Avoid
Overwatering
Leads to damping-off disease.
Too little sunlight
Creates weak, leggy seedlings.
Planting too deep
Seeds struggle to push upward.
Using poor-quality soil
Slows root development significantly.
Transplanting too early
Seeds must develop strong roots first.
11. Bonus Tips for Faster Seedling Growth
⭐ Warm soil boosts growth
⭐ Mulch lightly to retain moisture
⭐ Rotate trays daily for uniform sunlight
⭐ Keep seedlings safe from ants and fruit flies
⭐ Avoid touching tiny stems—they bruise easily
Final Thoughts: Growing Watermelon Seedlings Is Easy When Done Right!
With the right soil mix, plenty of sunlight, balanced watering, and proper hardening, anyone—even a beginner—can grow strong, vibrant watermelon seedlings.
These early weeks set the foundation for heavy vines and juicy fruits later on. Treat your seedlings with care, and they will reward you with a bountiful, sweet harvest.