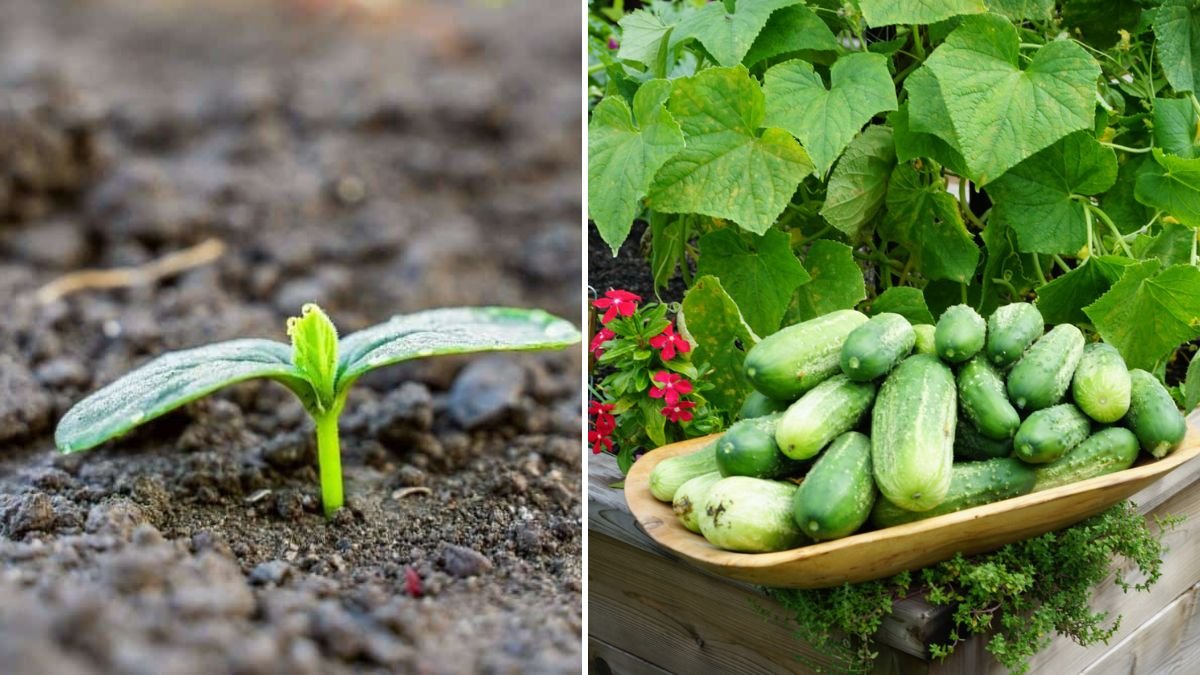
Cucumbers are among the easiest and most rewarding vegetables you can grow at home. Their fast growth, crisp texture, and versatility in the kitchen make them a favorite for gardeners everywhere. But the secret to a strong cucumber plant begins much earlier than fruiting—it starts with proper seedling care.
In this comprehensive 1,200-word guide, you’ll learn exactly how to care for cucumber seedlings from the moment the seeds sprout to the day they’re ready for transplanting. Whether you’re a beginner or an experienced home gardener, you’ll find clear, step-by-step instructions to grow strong, disease-resistant cucumber seedlings that thrive in any setting.
Understanding Cucumber Seedlings: Why Early Care Matters
Cucumbers grow fast—really fast. But this also makes them sensitive in the early stages. A weak seedling often becomes a weak plant, producing fewer fruits and struggling against pests or stress.
Proper early care ensures:
✔️ Strong roots
✔️ Thick, sturdy stems
✔️ Faster growth
✔️ Higher fruit yield later
Think of seedling care as the foundation of a productive cucumber plant.
Step 1: Choose the Right Cucumber Variety
Different types grow differently, so choosing the right one for your space is important.
Best varieties for home gardeners:
- Poinsett 76 – Classic, disease-resistant
- Mini Munch – Perfect for small spaces
- Creeper cucumbers – Great for trellising
- Pickling cucumbers – Small and crunchy
- Japanese cucumbers – Long, tender, and sweet
Pick a variety that matches your climate and available garden space.
Step 2: Preparing the Ideal Soil Mix for Germination
Cucumber seeds need loose, airy, nutrient-rich soil to germinate quickly and properly.
Best seed-starting mix:
- 40% coco peat
- 30% compost or vermicompost
- 20% garden soil
- 10% perlite or sand
Why this mix works:
- Coco peat holds moisture without waterlogging
- Compost provides early nutrients
- Perlite or sand helps drainage
- Light soil helps roots spread easily
Avoid heavy clay soil—it slows root development and may lead to damping-off disease.
Step 3: Sowing the Seeds
Cucumber seeds are large and easy to handle.
Steps:
- Fill seedling cups, trays, or small pots with the prepared mix.
- Make a 1.5–2 cm deep hole.
- Place 1 seed per hole.
- Cover lightly with soil.
- Water gently with a spray bottle.
Tip:
If using seedling trays, choose bigger cells, as cucumbers grow fast and need space early.
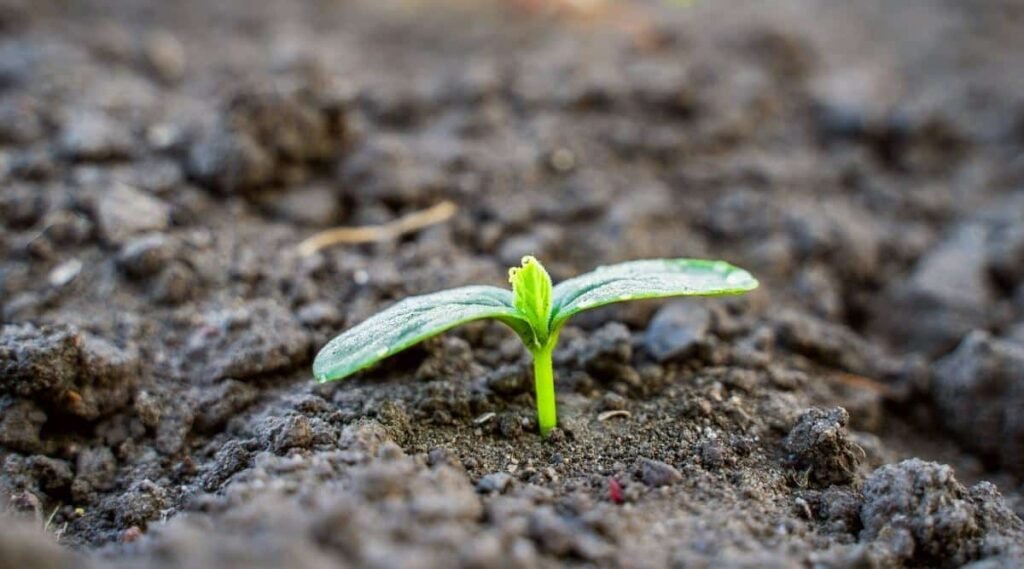
Seeds germinate in 3–7 days depending on temperature.
Step 4: Provide the Right Temperature & Light
Cucumber seedlings need warmth and light to avoid becoming tall and weak.
Ideal temperature:
- 25–32°C for germination
- 22–28°C for seedling growth
Light requirement:
- 6–8 hours of bright sunlight
If kept indoors, place near a sunny window or use a grow light.
Warning:
Seedlings grown in low light become leggy—thin, weak, and floppy.
Step 5: Watering the Seedlings Correctly
Overwatering is the number one reason cucumber seedlings die.
Watering tips:
- Keep the soil slightly moist, not soggy.
- Water only when the top layer is dry.
- Use a spray bottle for newborn seedlings.
- Shift to light pouring once seedlings are 1–2 weeks old.
Signs of overwatering:
- Yellow leaves
- Mushy stem base
- Fungus on soil surface
Let the soil dry slightly between watering to encourage strong roots.
Step 6: Strengthening Seedlings with Sun & Airflow
Healthy cucumber seedlings develop thick stems and an upright shape.
Give them:
- Direct morning sunlight
- Strong airflow from an open window or fan
- Slight movement (wind strengthens the stem)
This prevents weak, thin stems and helps seedlings adapt to outdoor conditions.
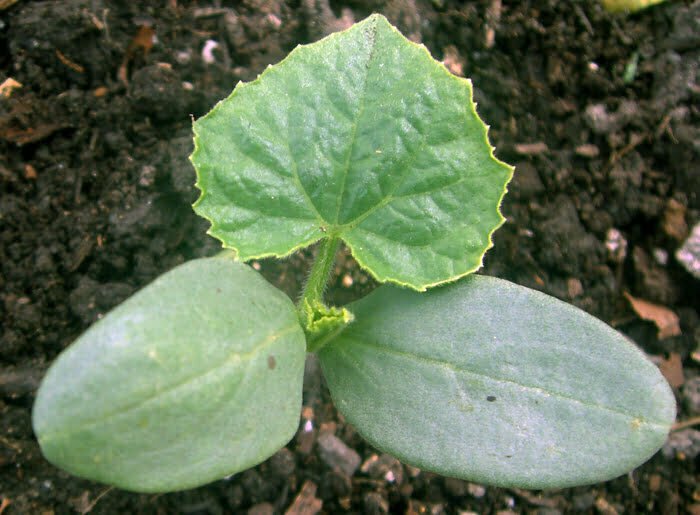
Step 7: First True Leaves—The Most Important Stage
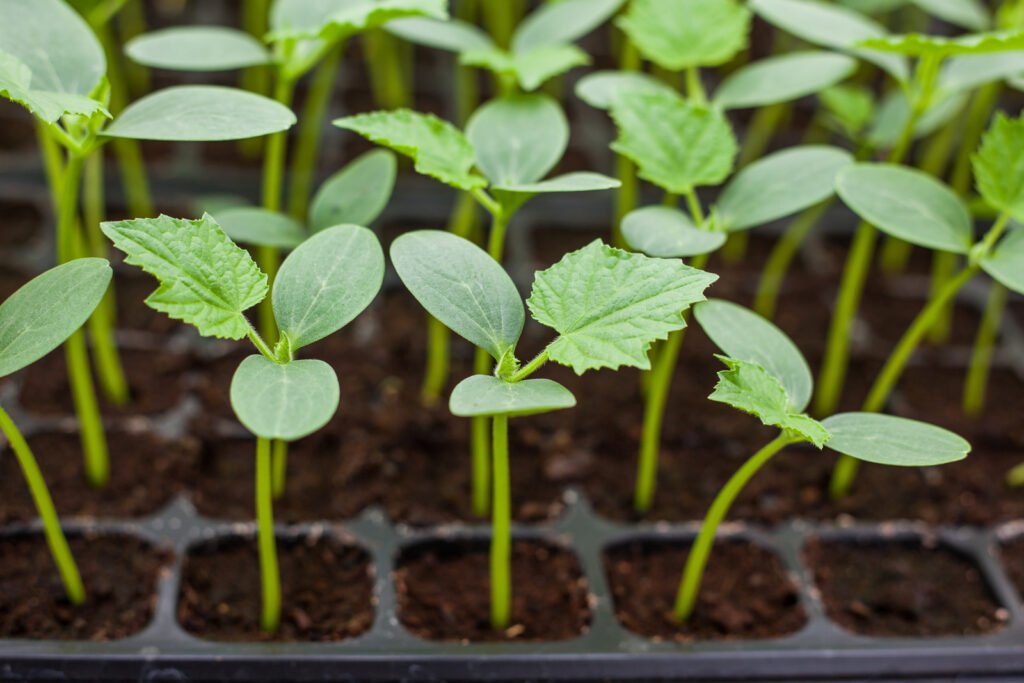
When seedlings develop their first true leaves (the second set of leaves), they enter a crucial growth phase.
At this stage:
- Roots begin spreading
- Stems thicken
- Growth speeds up
- Nutrient needs increase
Care tips:
- Remove any weak seedlings
- Ensure 6–8 hours of sunlight
- Do not overcrowd—keep spacing
- Begin gentle feeding (explained next)
Step 8: Feeding the Seedlings with Mild Nutrients
Cucumbers grow fast and appreciate early nutrition, but only in small amounts.
After 10–12 days, feed with:
- Diluted compost tea (1:5 ratio)
- Seaweed extract (1 cap per liter)
- Mustard cake water (very diluted)
- Vermicompost tea
Feed every 10–12 days lightly.
Avoid:
- Strong fertilizer
- Chemical NPK
- Overfeeding (causes leaf burn)
Seedlings should look green, fresh, and upright—not oversized or yellowing.
Step 9: Preventing Diseases Early On
Cucumber seedlings are sensitive to fungal diseases like damping-off.
Preventive measures:
- Ensure proper drainage
- Use clean containers
- Avoid overwatering
- Keep seedlings in sunlight
- Spray mild neem water once a week
Organic antifungal idea:
Mix 1 pinch of turmeric in 1 liter of water and spray lightly.
This protects tiny seedlings naturally.
Step 10: Hardening Off—Preparing Seedlings for Outdoor Life
Before transplanting, seedlings must adapt to the outdoors gradually.
Start hardening 5–7 days before transplant:
- Day 1–2: Put seedlings outdoors in shade for 2 hours.
- Day 3–4: Increase to 4 hours, with indirect sunlight.
- Day 5–6: Give 1–2 hours of direct morning sunlight.
- Day 7: Keep outdoors for the full day.
This prevents transplant shock, wilting, and stress.
Step 11: Choosing the Right Transplant Container or Bed
Cucumbers grow best in spacious soil.
Best container size:
- 15–20 liters per plant
If growing in soil bed:
- Space plants 1.5–2 feet apart
Best soil mix for transplant:
- 40% garden soil
- 30% compost
- 20% coco peat
- 10% sand or perlite
Mix in a handful of neem cake to prevent root pests.
Step 12: How to Transplant Cucumber Seedlings
Cucumbers dislike root disturbance, so transplant gently.
Steps:
- Water seedlings lightly 1 hour before transplanting.
- Make a hole in the pot or bed.
- Carefully loosen the seedling container.
- Lift the seedling with the entire root ball intact.
- Place in hole without bending the roots.
- Cover with soil and press lightly.
- Water gently.
Important:
Transplant in the evening or on a cloudy day to reduce stress.
Step 13: After-Transplant Care
The first 7 days after transplanting decide the plant’s future growth.
Do this:
- Keep the soil moist
- Provide morning sunlight
- Avoid harsh afternoon sun for 2–3 days
- Don’t fertilize for 10–12 days
- Support vines early (if growing vertically)
Your plant will establish strong roots during this period.
Pro Tips for Healthier Cucumber Seedlings
These tips can boost your success dramatically:
Use wider pots to encourage root spreading
Never let the seedling roots dry out completely
Add mulch after transplanting
Start trellis support early
Pinch weak or yellow leaves
Strong seedlings almost always produce high yields.
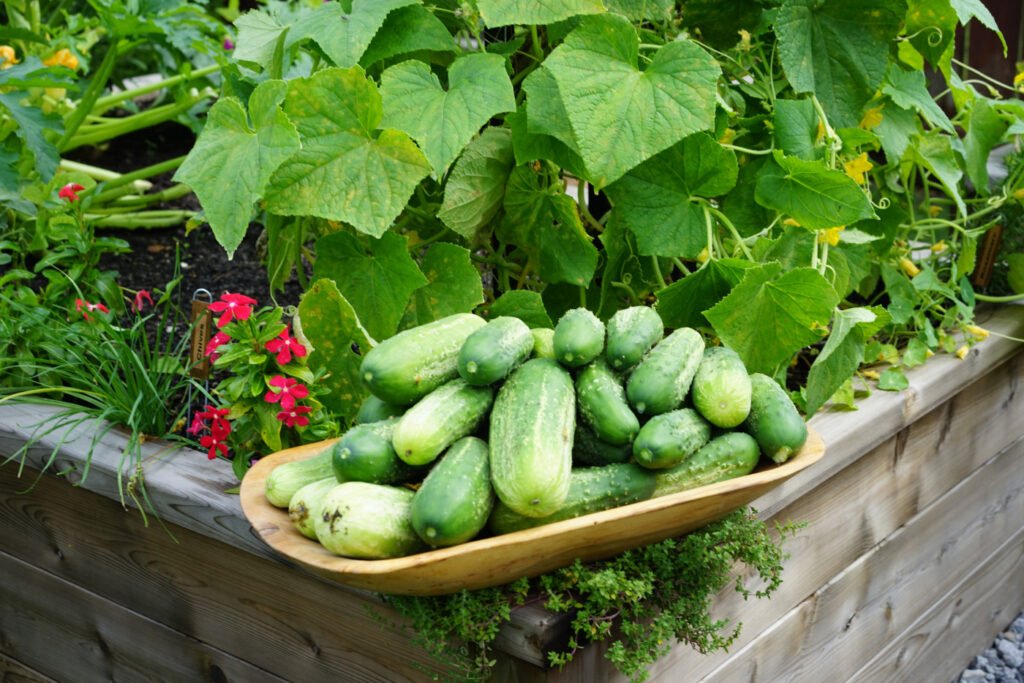
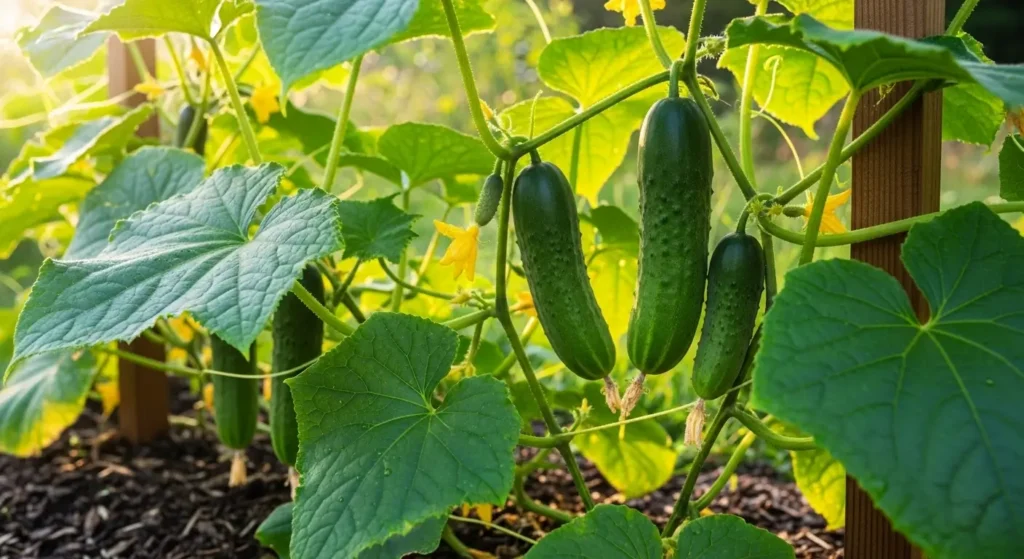
Final Thoughts
Taking care of cucumber seedlings from sprouting to transplanting is simple when you follow each step carefully. A healthy seedling becomes a productive plant that gives you crisp, tasty cucumbers week after week. Whether you grow in containers, raised beds, or vertical trellises, your cucumber journey starts with strong seedlings—and now you know exactly how to grow them!