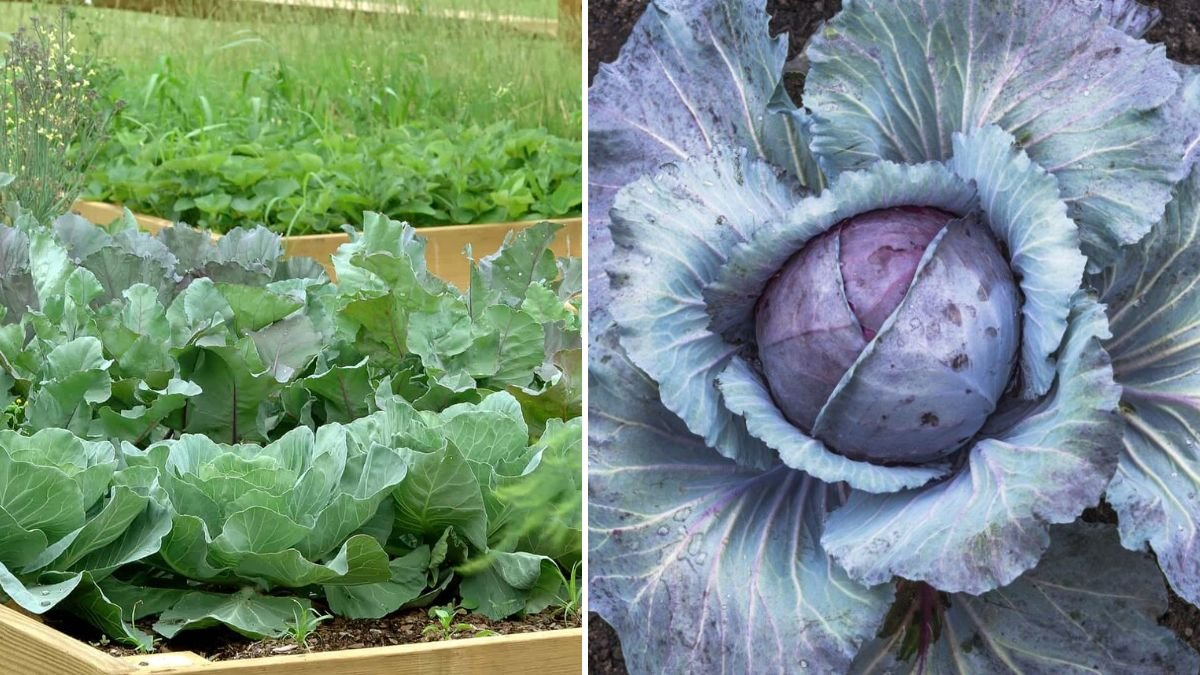
Cabbage is one of the most rewarding vegetables you can grow—crisp, leafy, hardy, and packed with vitamins. Whether you enjoy it stir-fried, fermented, pickled, or fresh in salads, nothing beats the taste of homegrown cabbage straight from your garden. And the best part? You can grow cabbage easily from seeds, even if you’re a beginner or gardening in containers.
This comprehensive guide will walk you through every step of the cabbage-growing journey—from sowing seeds, caring for seedlings, preventing pests, and finally harvesting beautiful, firm heads. With the right technique, your cabbage patch can transform into a continuous supply of fresh, healthy vegetables.
Let’s dive in!
Why Grow Cabbage from Seed?
Growing cabbage from seeds gives you numerous advantages:
1. More Variety
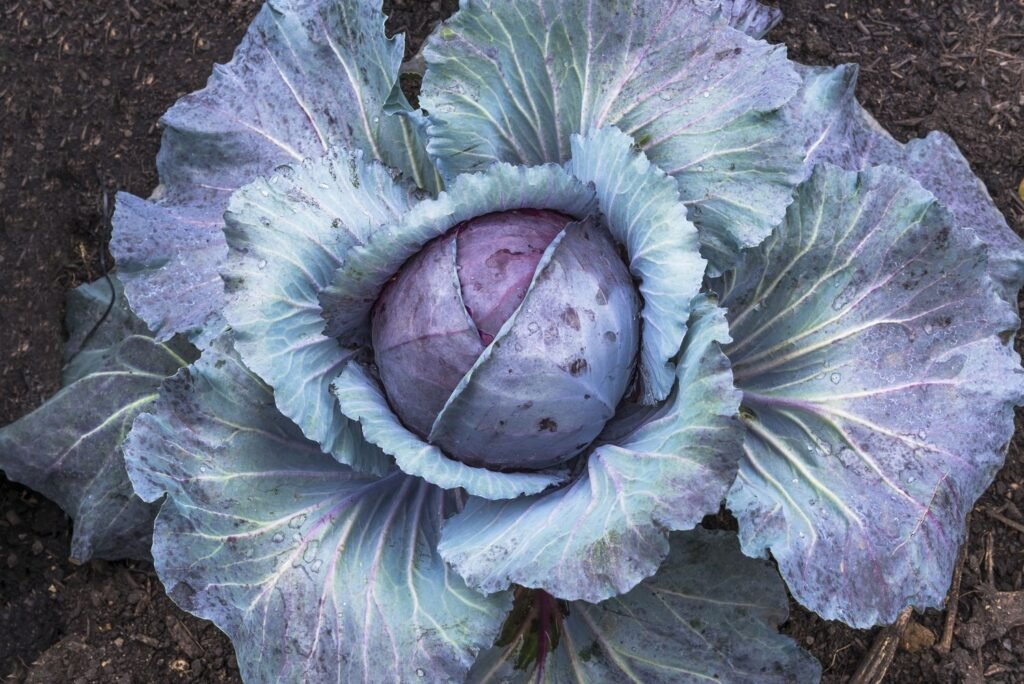
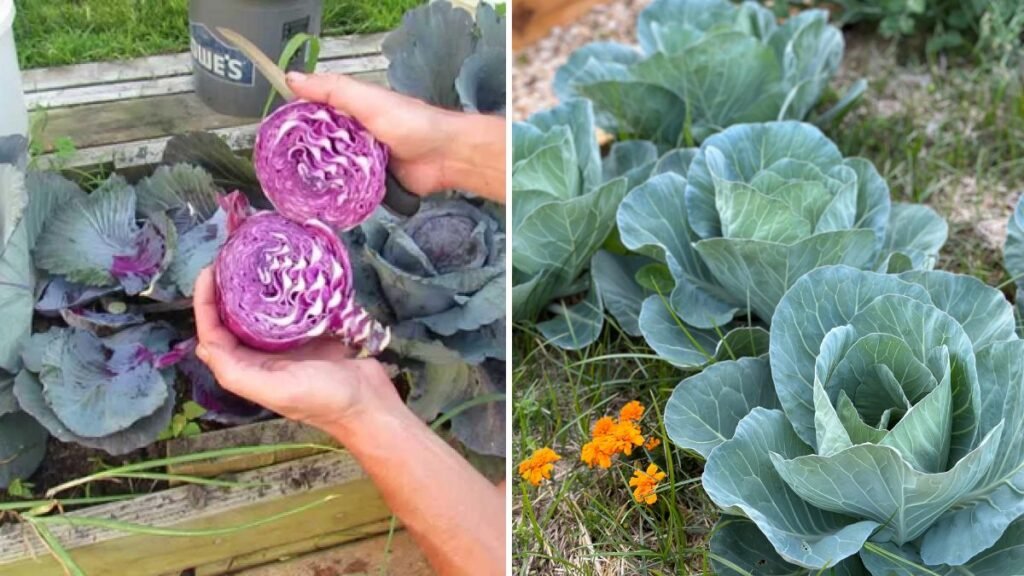
Seeds give you access to many types—green, red, savoy, napa, or miniature varieties—far more options than nursery seedlings.
2. Healthier Plants
Seed-grown plants adapt better to your soil and climate.
3. Cost-Effective
One packet of seeds can give you 50–100 plants—much cheaper than buying seedlings.
4. Better Control
You can decide how much fertilizer, water, and sunlight your plants get from the very first day.
Step 1: Preparing the Right Growing Environment
Before planting your cabbage seeds, ensure the basics are ready.
1. Climate Requirements
Cabbage is a cool-weather crop.
Ideal temperature:
- Germination: 15–21°C
- Growth: 10–25°C
It dislikes extreme heat, so sow seeds at the end of summer, early spring, or during cooler months depending on your region.
2. Sunlight Needs
Cabbage requires full sun—at least 6 hours a day.
More sunlight = bigger heads and healthier leaves.
3. Soil Preparation
Cabbage loves:
- Rich, well-drained soil
- pH between 6.0–7.5
- High organic matter
Best soil mix (for containers or seedbeds):
- 40% garden soil
- 40% compost
- 20% cocopeat or sand
Enrich the soil with:
- Cow dung manure
- Vermicompost
- Bone meal (for strong roots)
Step 2: Planting Cabbage Seeds
Cabbage seeds are small but germinate easily when sown correctly.
How to Sow Seeds (Seed Trays or Pots)
- Fill seedling trays with a light seed-starting mix.
- Make small holes (0.5–1 cm deep).
- Place one seed per slot.
- Cover lightly with soil.
- Mist with water gently.
- Keep trays in a bright, indirect sunlit area.
Germination time: 4–7 days
Keep soil moist but not soggy.
Step 3: Caring for the Seedlings
Once the seeds sprout, healthy growth depends on proper care.
1. Light
Place seedlings in a bright area.
If grown indoors, use grow lights 6–8 hours/day.
2. Water
Water lightly every day or every other day.
Keep soil evenly moist, not waterlogged.
3. Thinning
Remove weak or crowded seedlings early.
Each tray cell should contain only one strong seedling.
4. Hardening Off
Before transplanting outdoors:
- Expose seedlings to sunlight for 2–3 hours/day
- Increase gradually over a week
This prepares them to withstand outdoor conditions.
Step 4: Transplanting the Seedlings
You’ll know your seedlings are ready when:
- They have 4–5 true leaves
- They are about 4–6 inches tall
- They look sturdy and bright green
Where to Transplant
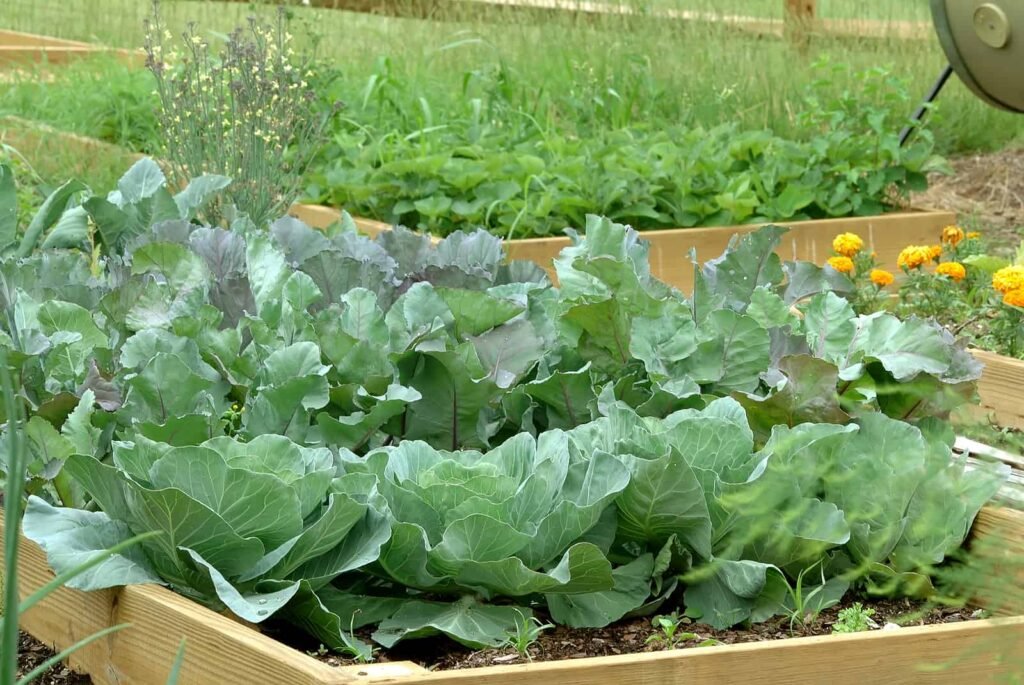
You can plant cabbage seedlings in:
- Garden beds
- Raised beds
- Containers (minimum 12–14 inches deep)
Spacing
Cabbage needs space to form heads.
✔ Large varieties: 18–24 inches apart
✔ Small varieties: 12–16 inches apart
✔ Row spacing: 18–24 inches
Proper spacing ensures:
- Better air circulation
- Larger heads
- Reduced disease risk
How to Transplant
- Dig a hole slightly larger than the root plug.
- Place the seedling straight and bury up to the cotyledon leaves.
- Firm the soil gently.
- Water generously.
Mulch around the base with straw or dry leaves to retain moisture.
Step 5: Feeding Your Cabbage Plants
Cabbage is a heavy feeder. Without proper nutrition, heads will remain small and loose.
Recommended Fertilizer Schedule
1. At Transplanting
Mix into soil:
- 2–3 handfuls of compost
- 1 tbsp bone meal or neem cake
2. After 2 Weeks
Apply nitrogen-rich fertilizer:
- Vermicompost
- Fish emulsion
- Diluted cow dung tea
Nitrogen promotes leafy growth.
3. After 4–5 Weeks
Switch to balanced fertilizers:
- NPK 10-10-10 (organic or synthetic)
- Banana peel fertilizer (potassium)
This helps the cabbage form tight, firm heads.
Mulching
Applying mulch helps:
- Prevent weed growth
- Reduce water loss
- Maintain cool soil temperature
Step 6: Watering Properly
Consistent watering is essential.
Cabbage Watering Rules
- Keep soil constantly moist, especially during head formation.
- Water deeply 2–3 times a week.
- Avoid overhead watering to prevent fungal issues.
Tip: Use drip irrigation or water directly at the root zone.
Step 7: Pest & Disease Control
Cabbage attracts several pests, but early prevention helps.
Common Pests
- Aphids
- Cabbage worms
- Cutworms
- Caterpillars
- Snails & slugs
Organic Control Methods
✔ Neem oil spray every 7 days
✔ Chili-garlic spray
✔ Handpick worms
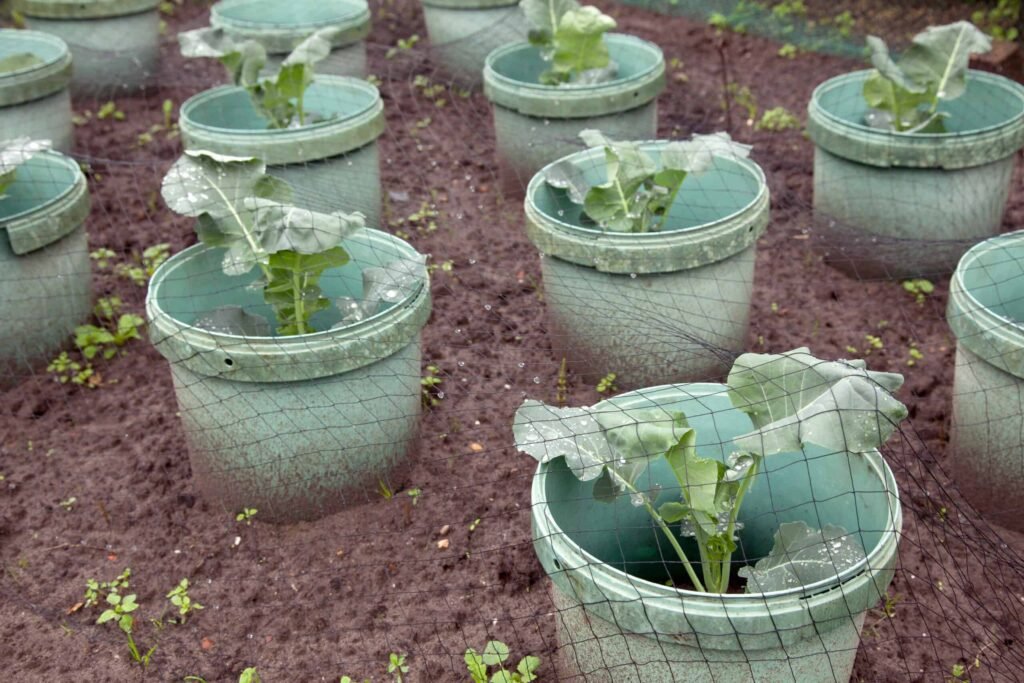
✔ Use netting to prevent butterflies
Diseases
- Powdery mildew
- Black rot
- Downy mildew
Prevention Tips
- Avoid overhead watering
- Leave proper spacing
- Improve air circulation
- Rotate crops every season
A healthy plant naturally resists most diseases.
Step 8: Cabbage Head Formation
This is the most exciting phase!
As the plant matures:
- Outer leaves widen
- Inner leaves start curling
- A tight, round head forms
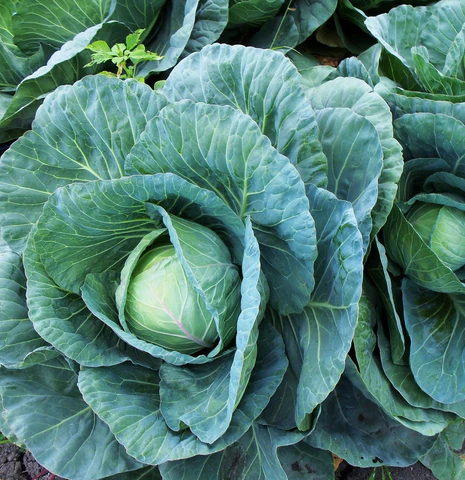
Signs of healthy head formation:
- Firm center
- Glossy green leaves
- Steady growth rate
To promote bigger heads:
- Feed potassium-rich fertilizer
- Maintain consistent moisture
- Keep plants stress-free
Step 9: Harvesting Your Cabbage
Depending on the variety, cabbage takes 70–120 days from seed to harvest.
When Is It Ready?
- The head feels firm when pressed.
- It reaches its expected size (variety-dependent).
- Outer leaves stay green and fresh.
How to Harvest
- Hold the cabbage firmly.
- Use a sharp knife to cut the base.
- Leave outer leaves and root if you want side shoots.
Yes—many cabbage varieties produce small baby cabbages after the main harvest.
Bonus: Growing Cabbage in Containers
Container gardening is perfect for small spaces.
Container Size
Minimum 12–14 inches depth, 10–12 inches wide.
Soil Mix
- 40% compost
- 30% garden soil
- 30% cocopeat/perlite
Tips
✔ Place container in full sun
✔ Water more frequently
✔ Add liquid fertilizer every 10–12 days
Your container cabbage can grow just as well as garden-grown varieties!
Final Thoughts: Grow Fresh, Crisp Cabbage at Home
Growing cabbage from seed is deeply satisfying—and easier than many gardeners think. With consistent care, a nutrient-rich soil mix, proper spacing, and regular watering, you can harvest delicious, crisp, homegrown cabbage from even a small garden or balcony.