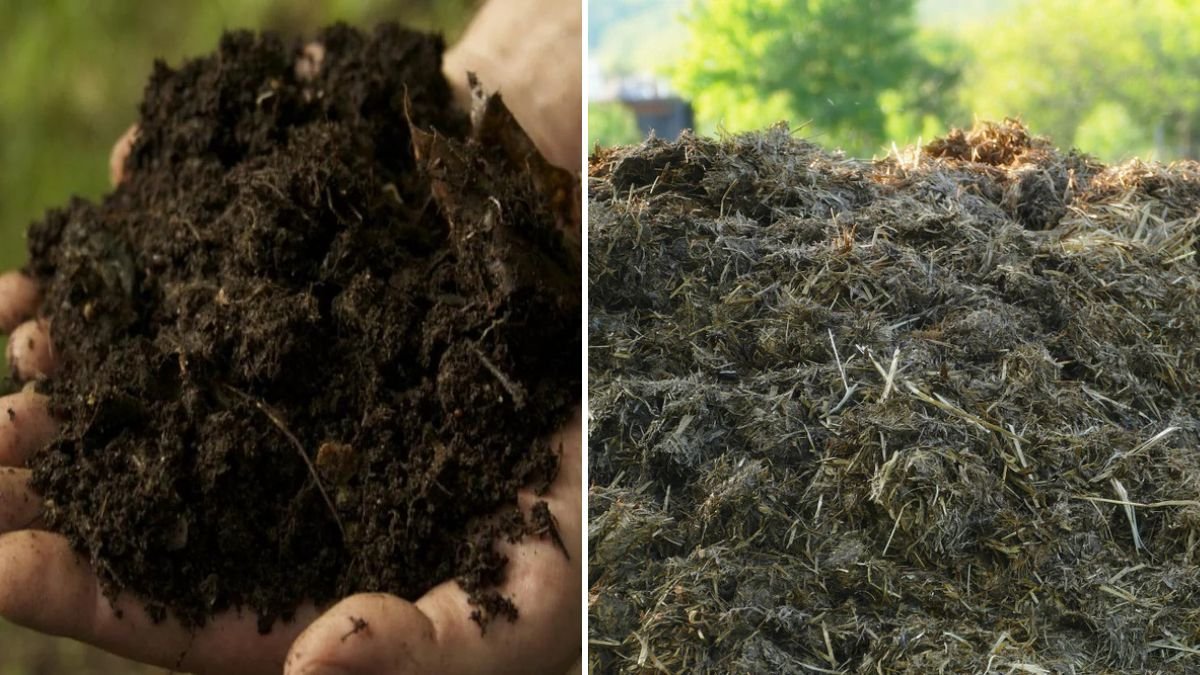
In the world of natural farming, nothing nourishes the soil quite like high-quality organic compost. And among the many composting materials available, cow manure and duck manure stand out as two of the most powerful and nutrient-rich organic fertilizers you can create at home.
Whether you’re growing vegetables, fruit trees, flowers, or herbs, compost made from cow and duck manure can transform ordinary soil into a thriving ecosystem full of life, moisture, and fertility. It accelerates plant growth, increases resistance to pests and diseases, and boosts yield—without the harmful effects of chemical fertilizers.
In this complete guide, you’ll learn exactly how to use these two natural ingredients to create super-charged compost that works like magic for home gardens and farms alike.
Why Cow & Duck Manure Are Composting Superstars
Both cow and duck manure have unique nutrient profiles that complement each other perfectly. When combined, they create one of the most balanced and potent organic fertilizers.
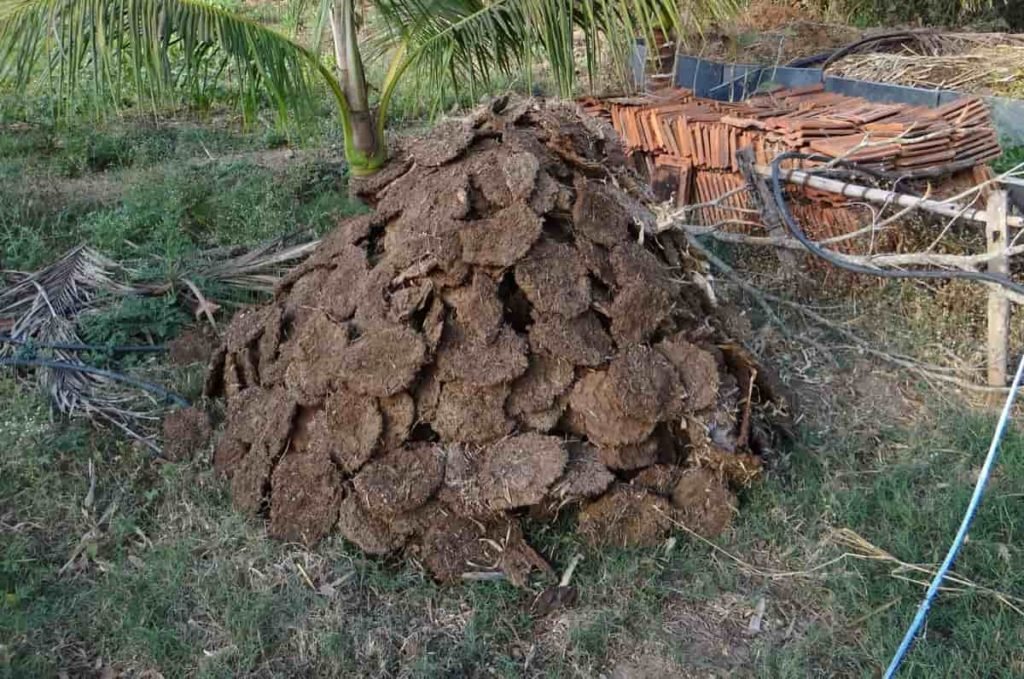
1. Cow Manure – Nature’s Gentle Fertilizer
Cow dung is well-known for its mild, slow-release nutrients.
Benefits:
- High in organic matter
- Improves soil structure
- Encourages beneficial microbes
- Retains moisture well
- Safe and gentle for most plants
Cow manure enriches the soil without burning plant roots, making it ideal as a base component for compost.
2. Duck Manure – A Nitrogen-Rich Powerhouse
Unlike cow manure, duck manure is loaded with nitrogen, making it similar to chicken manure in potency.
Benefits:
- Rapidly boosts plant growth
- Rich in NPK, especially nitrogen
- Breaks down quickly during composting
- Excellent for leafy crops
Duck manure is strong and fast-acting, but should always be composted before use to avoid burning plants.
Together, They Create Perfect Compost
Cow manure provides structure and carbon-rich bulk.
Duck manure contributes nitrogen and micronutrients.
The combination results in compost that is:
- Nutrient-dense
- Well-balanced
- Quick to decompose
- Microbially active
- Ideal for vegetables, fruits, and flowers
What You Need Before Composting
Before you begin making your cow-duck compost, gather the following materials:
Core Ingredients
✔ Cow manure
✔ Duck manure
✔ Dry organic matter (carbon-rich):
- Dry leaves
- Straw
- Rice husk
- Sawdust (non-treated)
- Dried grass
Additional Enhancers (Optional but Recommended)
- Wood ash
- Crushed eggshells
- Rock phosphate
- Biochar
- Compost activator (EM solution, JADAM solution, or molasses)
Tools
- Shovel
- Water source
- Compost bin or open pile
- Tarp or plastic sheet
Step-by-Step Guide: Making Powerful Cow & Duck Manure Compost
This method works for both large-scale farms and small home gardens.
Step 1: Choose the Right Composting Site
Select a location that is:
- Shaded or semi-shaded
- Protected from heavy rain
- Has good airflow
- No waterlogging
You can make compost in:
- Brick compost pits
- Plastic bins
- Wooden boxes
- Open piles covered with tarpaulin
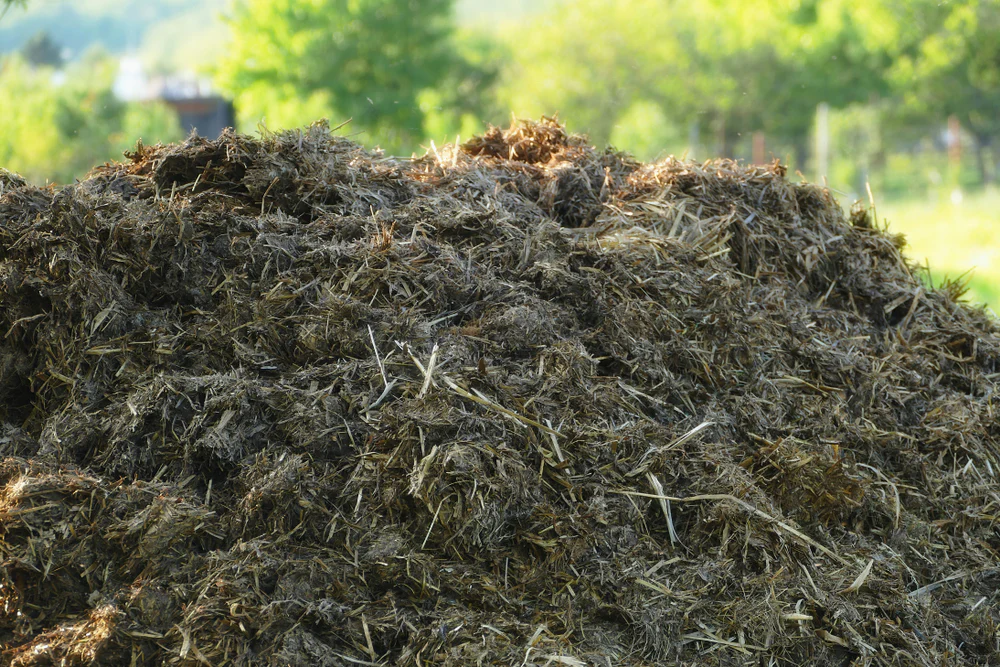
Step 2: Prepare the Base Layer
Start by creating a 4–6 inch layer of dry carbon materials such as:
- Straw
- Dry leaves
- Rice husk
This helps absorb excess moisture and allows air circulation at the bottom.
Step 3: Add Cow Manure
Spread a 2–3 inch layer of cow dung evenly over the dry material.
Benefits:
- Provides beneficial microbes
- Starts decomposition
- Supplies organic matter
Cow dung acts as the natural “starter” for the composting process.
Step 4: Add Duck Manure
On top of the cow manure, add a thin 1–2 inch layer of duck manure.
Duck manure is strong, so we use it in smaller quantities.
This adds:
- High nitrogen
- Fast breakdown power
- Extra micronutrients like zinc and copper
Step 5: Continue Layering
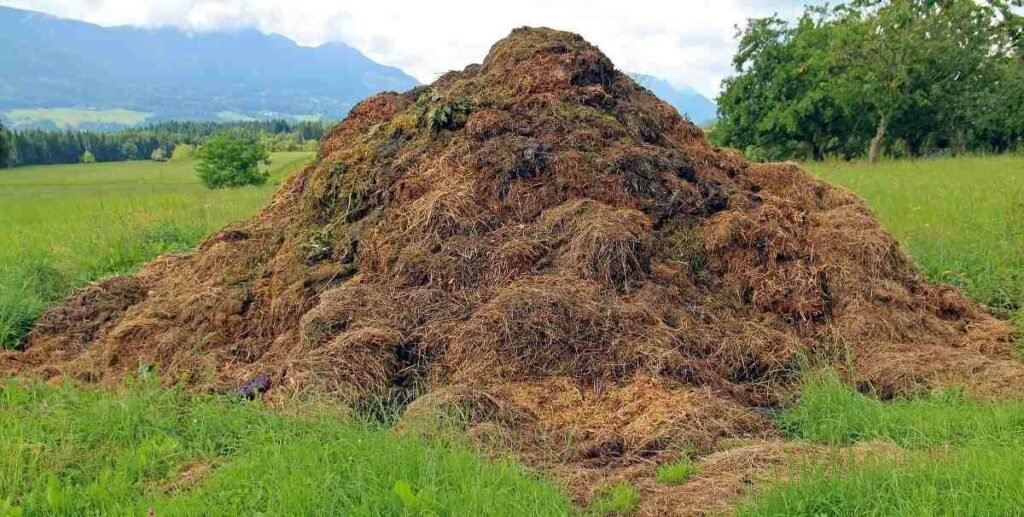
Repeat the following sequence until your compost pile reaches 3–4 feet:
- Dry materials
- Cow manure
- Duck manure
A taller pile produces more heat, speeding up decomposition.
Step 6: Adjust Moisture
Sprinkle water lightly as you build the pile. The compost should feel like a wrung-out sponge—moist but not dripping.
Too dry: Microbes slow down
Too wet: Bad smell and anaerobic conditions
Use water sparingly, especially since manure already contains moisture.
Step 7: Optional Enhancers
For faster breakdown and richer compost, add:
- A handful of wood ash (potassium)
- Crushed eggshells (calcium)
- Biochar (microbial habitat)
- A few spoonfuls of molasses for microbial growth
Everything boosts the quality of your final compost.
Step 8: Turn the Pile Regularly
Composting requires oxygen.
Turn the pile:
- After 7 days
- Then every 10–15 days
Signs composting is happening:
- Pile becomes warm or hot
- Smells earthy, not foul
- Material becomes darker
Turning ensures:
- Even decomposition
- Prevention of odors
- Faster composting
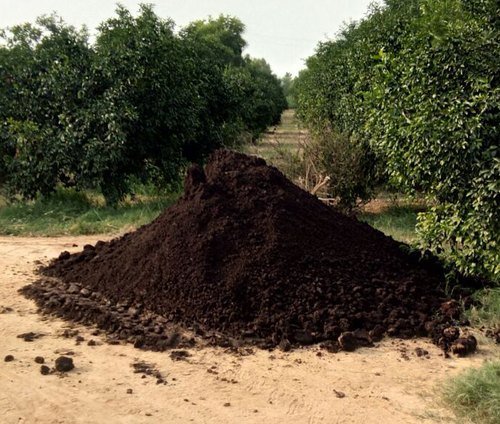
Step 9: Maturing the Compost
After 4–6 weeks, the pile begins to cool down.
This means the fast decomposition phase is ending.
Let the compost mature for 30–40 days.
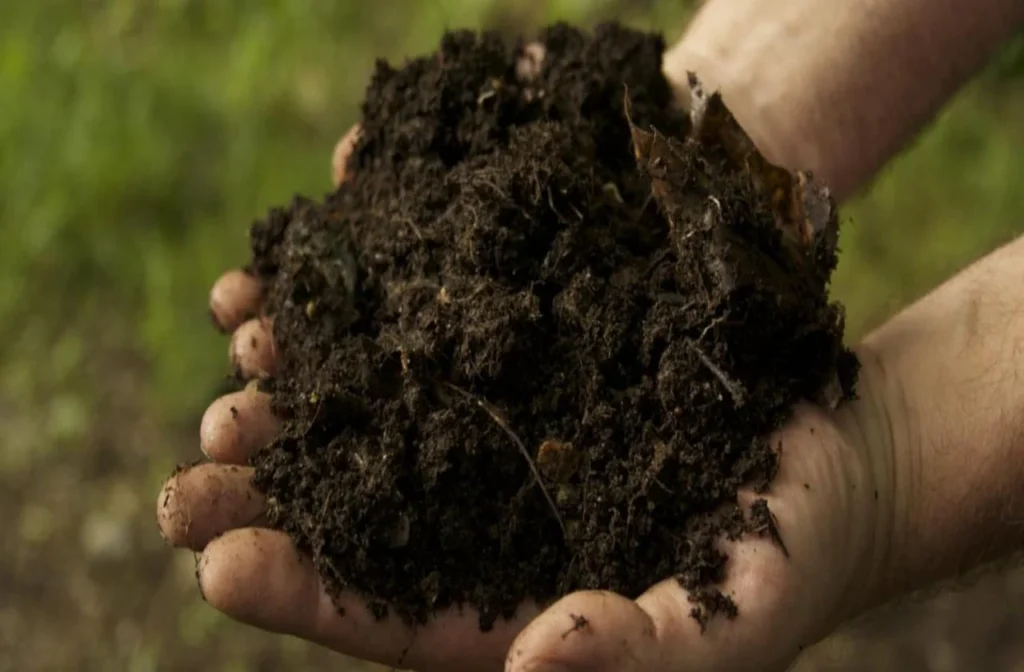
Mature compost:
- Feels soft
- Smells earthy
- Has no visible manure
- Has dark, crumbly texture
If it still smells strong or ammonia-like, let it cure longer.
Benefits of Cow & Duck Manure Compost for Plants
Using this compost regularly dramatically improves plant health.
1. Super Nutrient-Rich
The compost provides:
- Nitrogen for leafy growth
- Phosphorus for strong roots
- Potassium for flowers & fruits
Duck manure adds power, while cow manure gives stability.
2. Soil Enrichment
This compost improves:
- Aeration
- Water retention
- Soil structure
- Microbial activity
Healthy soil means healthier plants.
3. Completely Organic
No chemicals.
No harmful residues.
Safer for:
- Vegetables
- Fruits
- Children
- Pets
- Earthworms
4. Long-Lasting Fertility
Slow-release nutrients feed plants over months, reducing the need for chemical fertilizers.
How to Use Your Finished Compost
1. For Vegetable Gardens
Mix 20–30% compost with existing soil.
Perfect for:
- Tomatoes
- Peppers
- Leafy greens
- Gourds
- Eggplants
2. For Fruit Trees
Apply 2–5 kg around the drip line.
Cover with mulch for best results.
3. For Seedling Mix
Use 10–20% compost in potting soil.
Helps seedlings grow stronger.
4. As a Top Dressing
Sprinkle a layer around plants every 30–45 days.
5. In Container Gardening
Mix 25–40% compost into potting mix for maximum fertility.
Common Problems and How to Fix Them
Bad Smell?
Cause: Too much moisture or lack of air
Fix: Add dry leaves, turn pile
Pile Not Heating?
Cause: Too dry or low nitrogen
Fix: Add duck manure or sprinkle water
Too Wet or Slimy?
Cause: Excess manure
Fix: Add carbon materials like straw or sawdust
These small adjustments bring compost back to perfect balance.
Final Thoughts: Turning Farm Waste Into Farming Gold
Cow and duck manure are often seen as waste—but with the right method, they can be transformed into one of the most powerful organic fertilizers you’ll ever use. This compost improves soil health, boosts yields, supports plant immunity, and helps you grow stronger crops—all without chemicals.
Whether you’re a farmer, gardener, or hobby grower, this composting method is your key to creating fertile, living soil that keeps producing year after year.