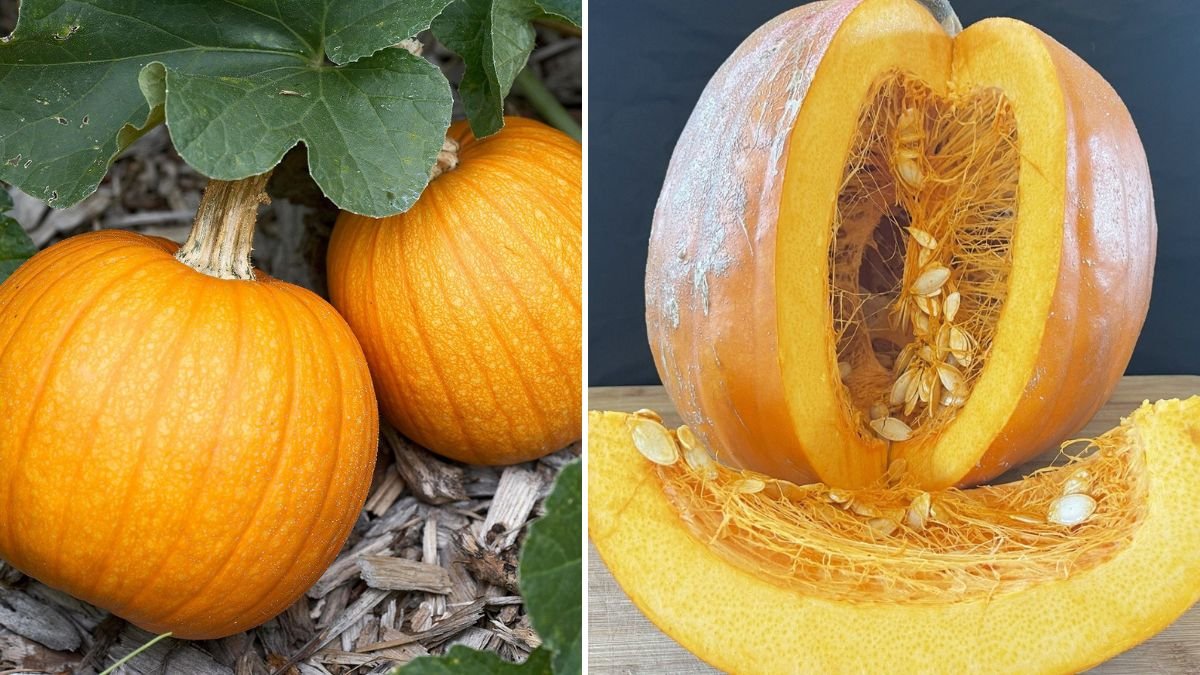
Growing pumpkins from seed is one of the most rewarding experiences in home gardening. Whether you dream of carving your own Halloween pumpkin, cooking fragrant pumpkin dishes, or simply enjoying the sight of giant orange globes spreading across your garden, starting from seed gives you control, savings, and satisfaction.
In this complete 1200-word guide, you’ll learn exactly how to grow big, healthy pumpkins from seed—step by step—from choosing the right variety to transplanting, caring, pruning, feeding, and finally harvesting.
Why Growing Pumpkin from Seed Is the Best Choice
Starting pumpkins from seed has major advantages:
- Stronger root systems for healthier, vigorous plants
- Cost-effective compared to buying seedlings
- More varieties to choose from (giant, sweet, compact)
- Better adaptation to your local environment
Pumpkin seeds germinate quickly, are easy for beginners, and produce fast-growing vines that reward you within weeks.
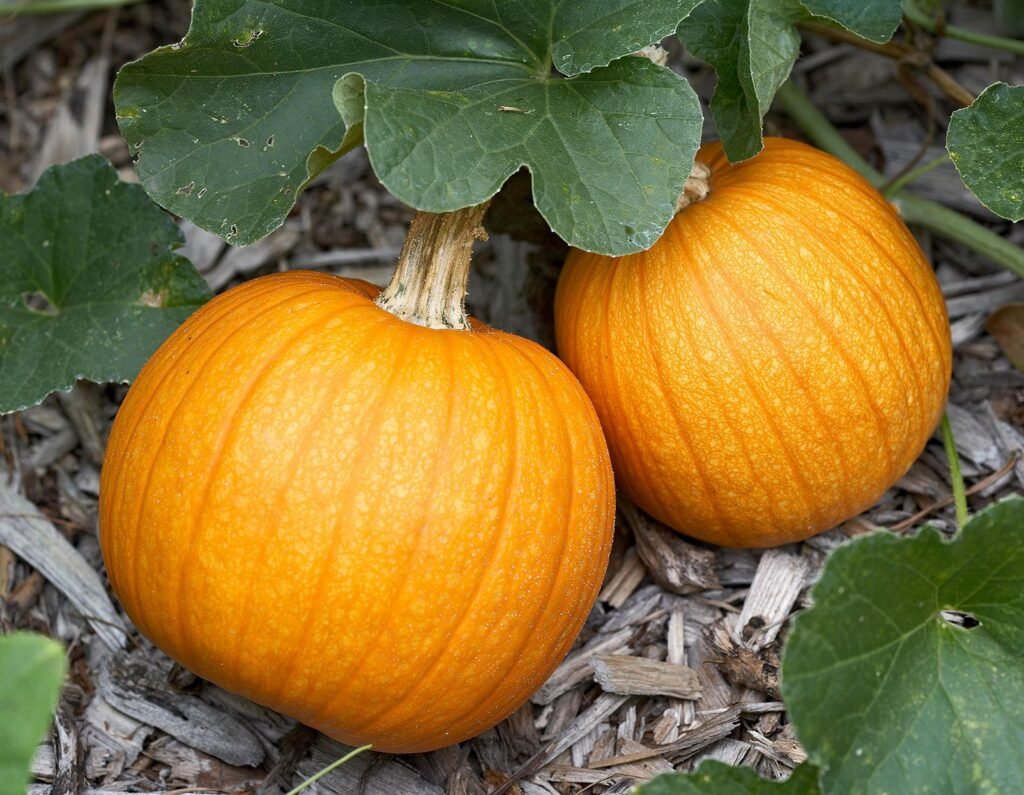
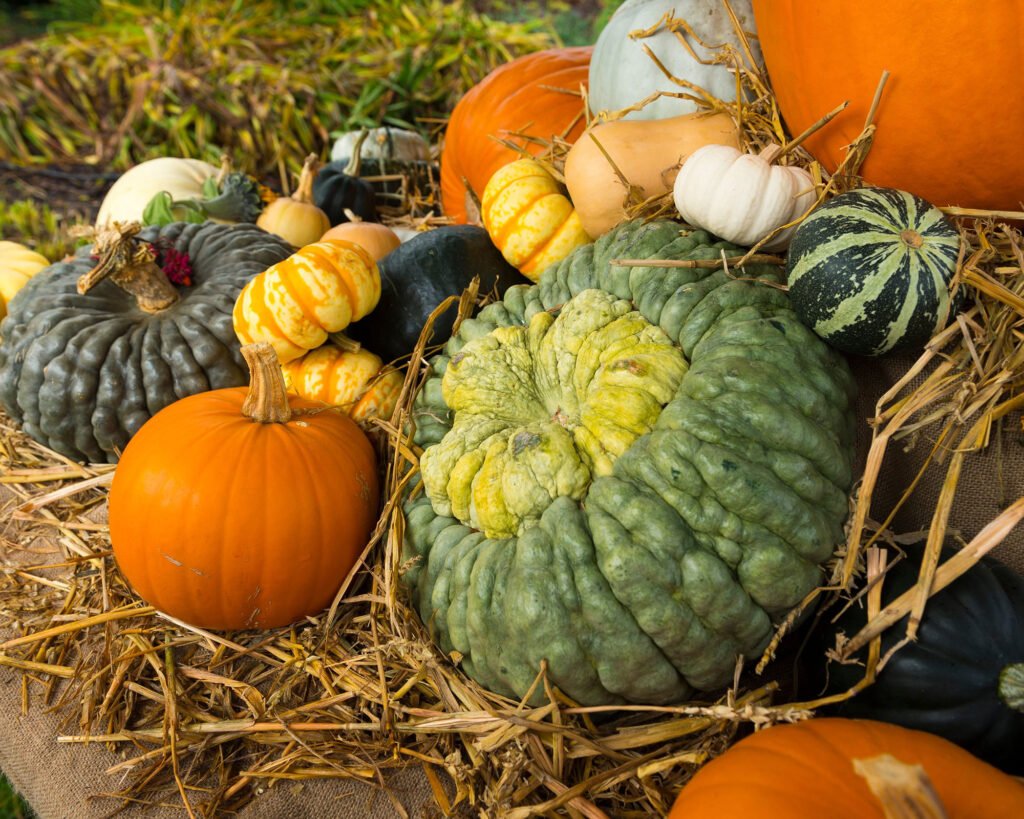
Step 1: Choose the Right Pumpkin Variety
Before planting, decide what type of pumpkin suits your goal:
Giant Pumpkins
- For huge pumpkins up to 50–100 kg
- Popular varieties: Atlantic Giant, Big Max
Medium Pumpkins
- Perfect for cooking and decoration
- Varieties: Cinderella, Sugar Pie, Hybrid Orange
Compact or Bush Types
- Ideal for small gardens, terraces, containers
- Varieties: Bushkin, Baby Boo, Jack-Be-Little
Tip: Bush varieties are great if you have limited space. Vine varieties need 2–3 meters of spreading room.
Step 2: Prepare High-Quality Pumpkin Seeds
Pumpkins grow best from fresh, healthy seeds.
You can use:
- Store-bought packets
- Seeds saved from fully ripe pumpkins
Before sowing, soak the seeds for 6–8 hours in room-temperature water. This softens the seed coat and speeds up germination.
Step 3: Prepare the Perfect Soil Mix
Pumpkins LOVE fertile, soft, nutrient-rich soil. Create a mix that is:
- Loose
- Moist
- High in organic matter
Recommended Soil Mix (Per Container or Bed)
- 40% garden soil
- 30% compost or aged manure
- 20% cocopeat
- 10% sand or perlite
Optional Boosters
- Wood ash (for potassium)
- Bone meal (for phosphorus)
- Vermicompost for overall nutrients
pH level: 6.0–6.8 (slightly acidic to neutral)
Step 4: Planting Pumpkin Seeds the Right Way
Pumpkin seeds are large and easy to handle.
How to sow:
- Plant 2–3 seeds in one hole
- Depth: 1 inch (2–2.5 cm)
- Spacing:
- 3–4 feet for vine varieties
- 1–1.5 feet for bush varieties
In containers, use minimum 25–30 liters per plant.
Germination Conditions
- Warm temperature: 24–30°C
- Soil kept moist but NOT soggy
- Seeds sprout in 5–8 days
Step 5: Provide Plenty of Sunlight
Pumpkins need full sun to produce big fruits.
Give them:
- 6–8 hours minimum
- 8–10 hours ideal
More sunlight = faster growth + more flowers + bigger pumpkins.
Step 6: Watering Your Pumpkin Plants
Pumpkins love water, but timing and method matter.
Follow these rules:
- Water deeply 2–3 times a week
- Keep the soil evenly moist
- Avoid overhead watering on leaves (prevents fungal issues)
- Increase water when fruits start forming
- Reduce watering slightly when fruits begin to mature to prevent cracking
Tip: Mulch with straw, dried leaves, or rice hulls to retain moisture.
Step 7: Fertilizing for Massive Pumpkin Growth
Pumpkins are heavy feeders.
Growth Stage Fertilizer Plan
1. Early Stage (Seedling to 3 Weeks)
- Nitrogen-rich fertilizer
- Use: fish emulsion, compost tea, or diluted cow manure
2. Vine Growth Stage
- Balanced NPK fertilizer (10–10–10)
- Apply every 2 weeks
3. Flowering & Fruiting Stage
Pumpkins need high potassium for bigger, sweeter fruits.
Use:
- Banana peel tea
- Wood ash water
- Seaweed fertilizer
- 5–10–10 NPK or similar
Step 8: Encourage More Female Flowers
Pumpkins produce both male and female flowers.
Female flowers have a tiny pumpkin-like bulge at the base.
To boost female flowers:
- Give full sunlight
- Add potassium
- Reduce nitrogen after vines grow
- Keep soil moist, not dry
- Avoid heat stress
Step 9: Pruning for Bigger Pumpkins
Pruning directs the plant’s energy into fruit production.
How to prune:
- Remove old, yellow leaves
- Trim excess side shoots
- Keep 1–3 fruits per vine for giant size
- Train vines in one direction
Use soft rope or old cloth to guide vines gently.
Step 10: Pollination (Natural or Hand Pollination)
Pumpkins depend on pollinators like bees.
If your garden has fewer bees, hand pollination dramatically increases yields.
How to Hand Pollinate:
- Pick a fresh male flower in the morning.
- Remove petals to expose pollen.
- Gently rub pollen onto the center of a female flower.
- The fruit will begin swelling within days.
This simple step can double your fruit set.
Step 11: Protect Plants from Pests & Diseases
Common pumpkin pests:
- Aphids
- Whiteflies
- Squash vine borers
- Beetles
Organic Solutions
- Neem oil spray (weekly)
- Soap water spray
- Garlic-chili spray
- Release ladybugs if available
Diseases include powdery mildew—prevent with proper spacing and airflow.
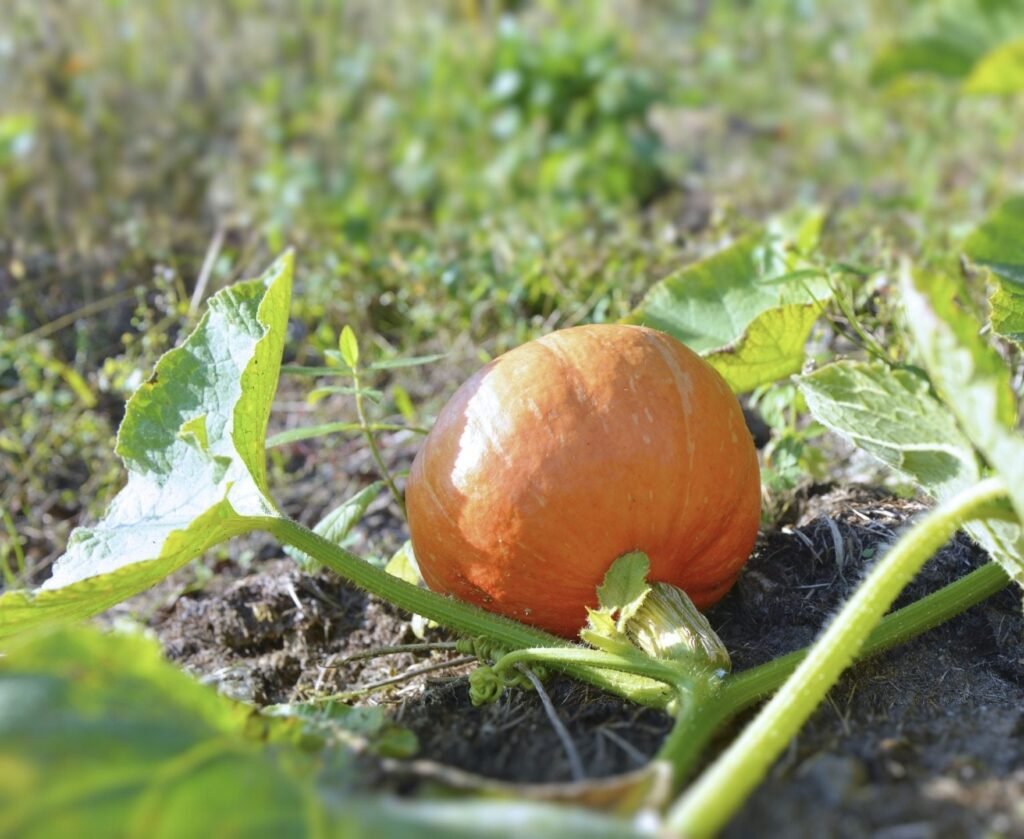
Step 12: Support & Care for Growing Pumpkins
As fruits get bigger:
Protect fruit by:
- Placing it on a wooden board, cardboard, or straw
- Keeping soil from rotting the bottom
- Turning the fruit only slightly and rarely
Large pumpkins grow rapidly—sometimes 2–3 kg per week!
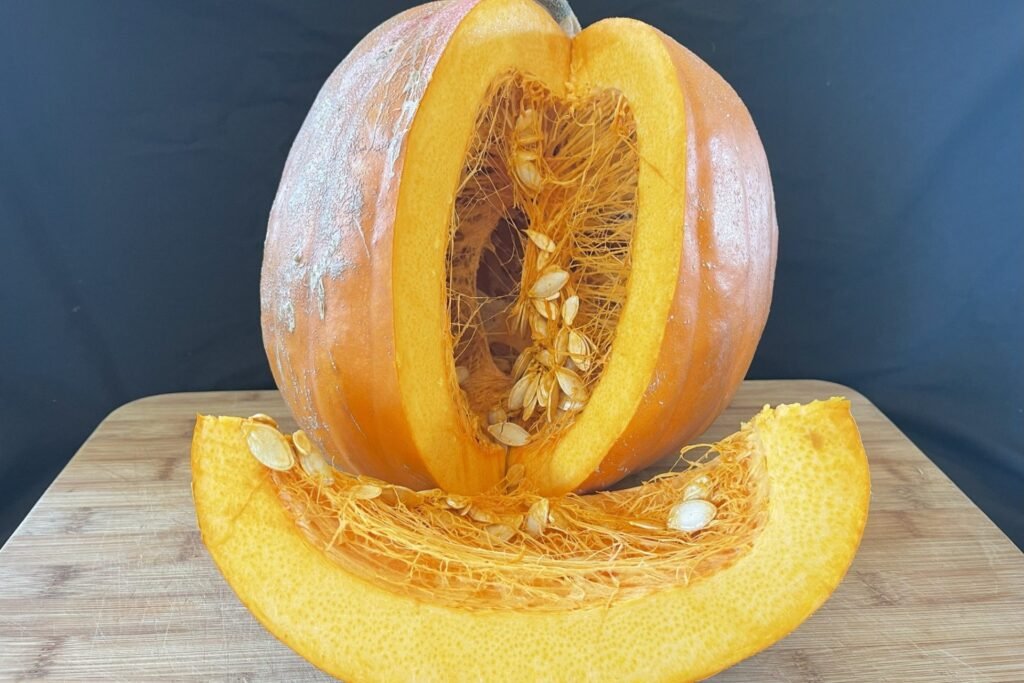
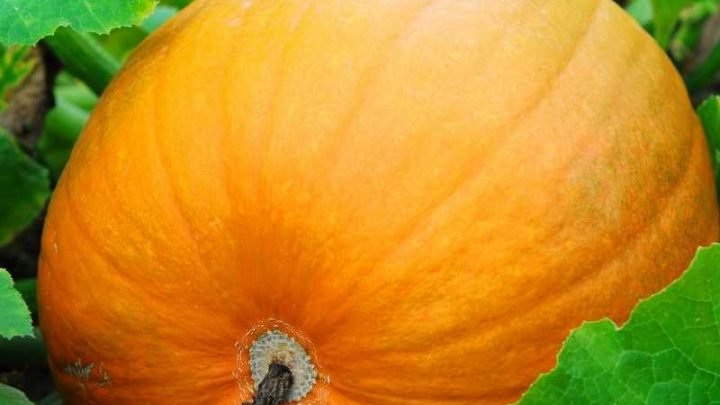
Step 13: Harvesting Pumpkins the Right Way
Pumpkins are ready when:
- The skin becomes hard
- The vine around the stem turns dry
- The color deepens and becomes uniform
- You cannot pierce the skin with your nail easily
How to harvest:
- Cut using a sharp knife or pruners
- Leave a 3–5 cm stem (“handle”)
- Cure them under sunlight for 7–10 days
Curing helps pumpkins last for 2–3 months or longer.
Final Tips for Pumpkin Success
- Plant during warm seasons
- Space plants generously
- Mulch to keep soil cool
- Do not overwater during late fruiting
- Feed regularly for best results
With patience and proper care, your pumpkin vines will reward you with stunning, healthy, and delicious fruits!