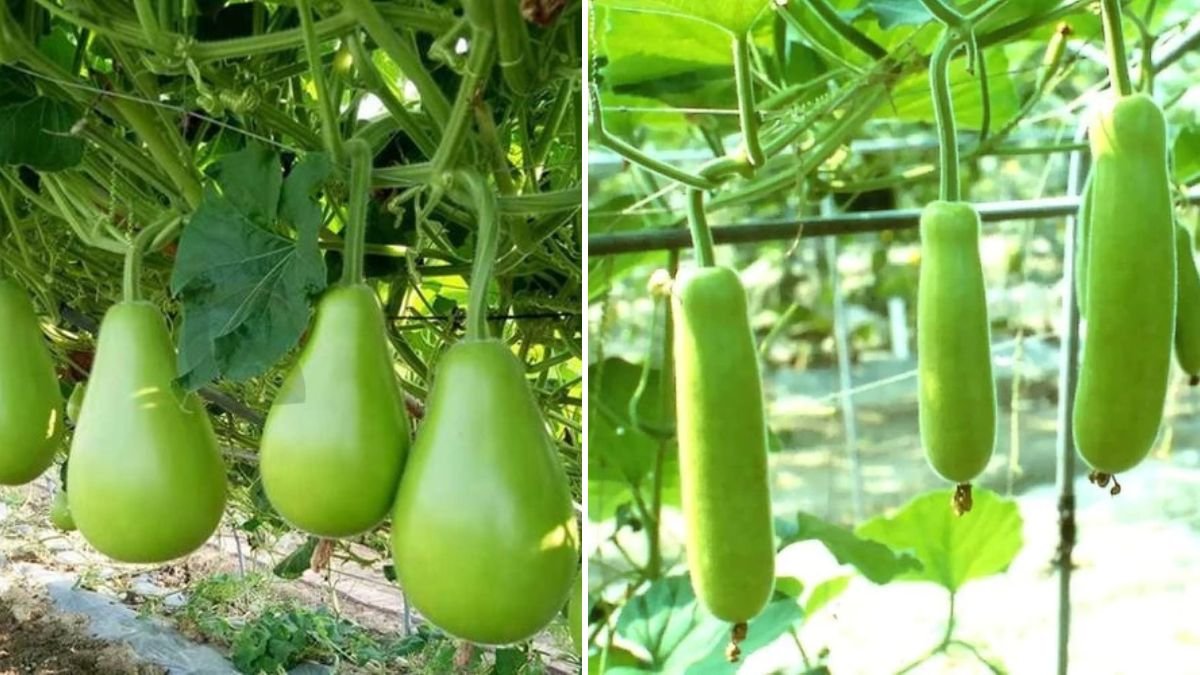
Bottle gourd—also known as lauki, calabash, doodhi, or opo squash—is one of the easiest and fastest-growing vegetables for home gardeners. Its vigorous vines, abundant flowers, and long, nutritious fruits make it a favorite across Asia and beyond. But the secret to a high-yield bottle gourd plant begins much earlier than you think—with healthy seed germination and proper seedling care before transplanting.
In this detailed 1200-word article, you’ll learn the full step-by-step process of growing bottle gourd from seed to transplant, ensuring your seedlings are strong, pest-resistant, and ready to thrive outdoors. Whether you’re planting in containers, raised beds, or open soil, this guide gives you everything you need to start right.
Why Start Bottle Gourd from Seeds?
Bottle gourd grows incredibly well from seeds because:
- Seeds germinate quickly (4–7 days)
- Plants develop strong taproots
- Transplanted seedlings adapt well to new soil
- Seed starting gives you control over growing conditions
- Early care reduces pest and disease problems
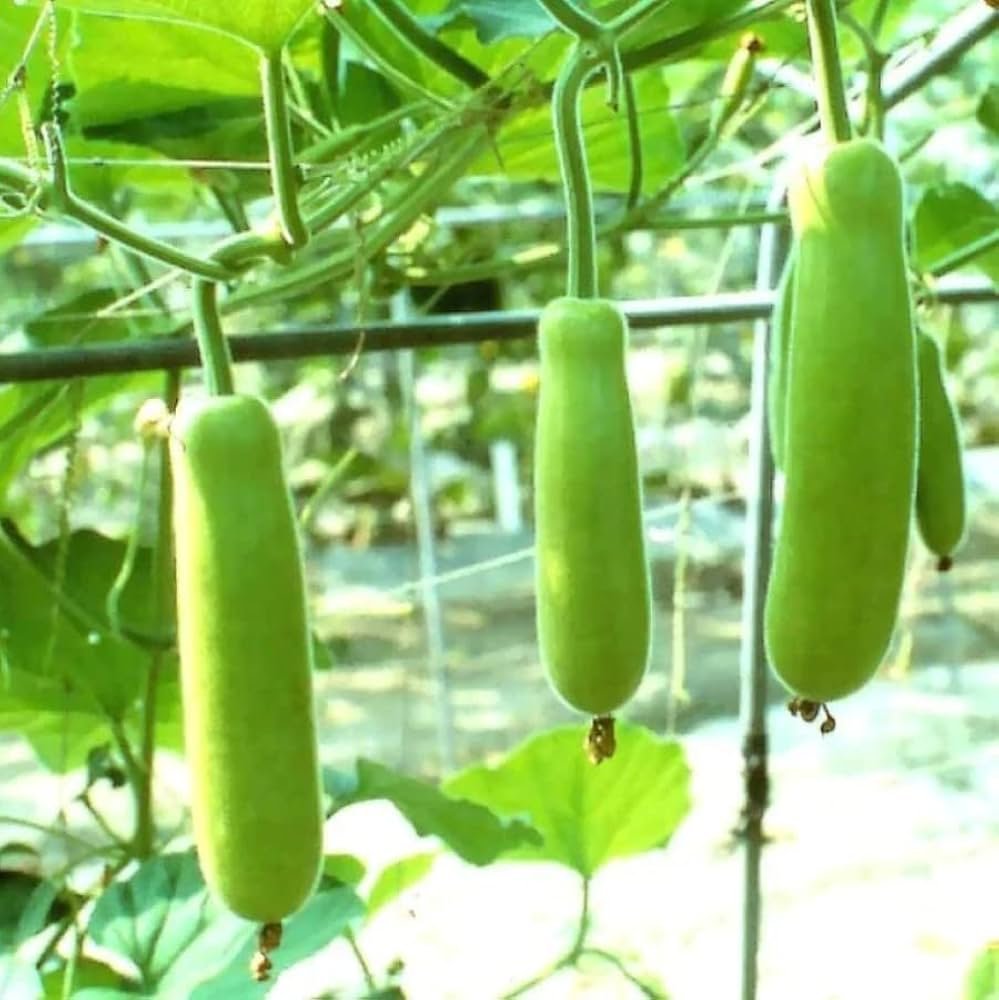
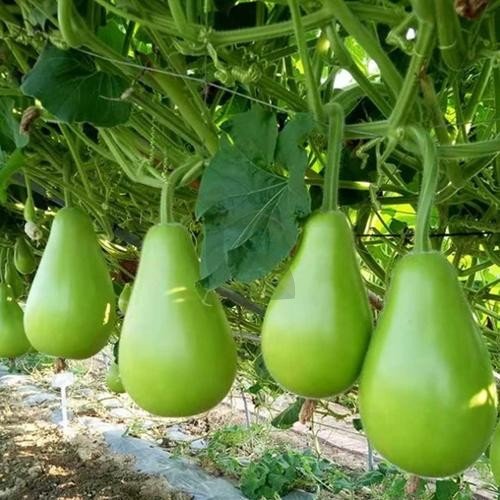
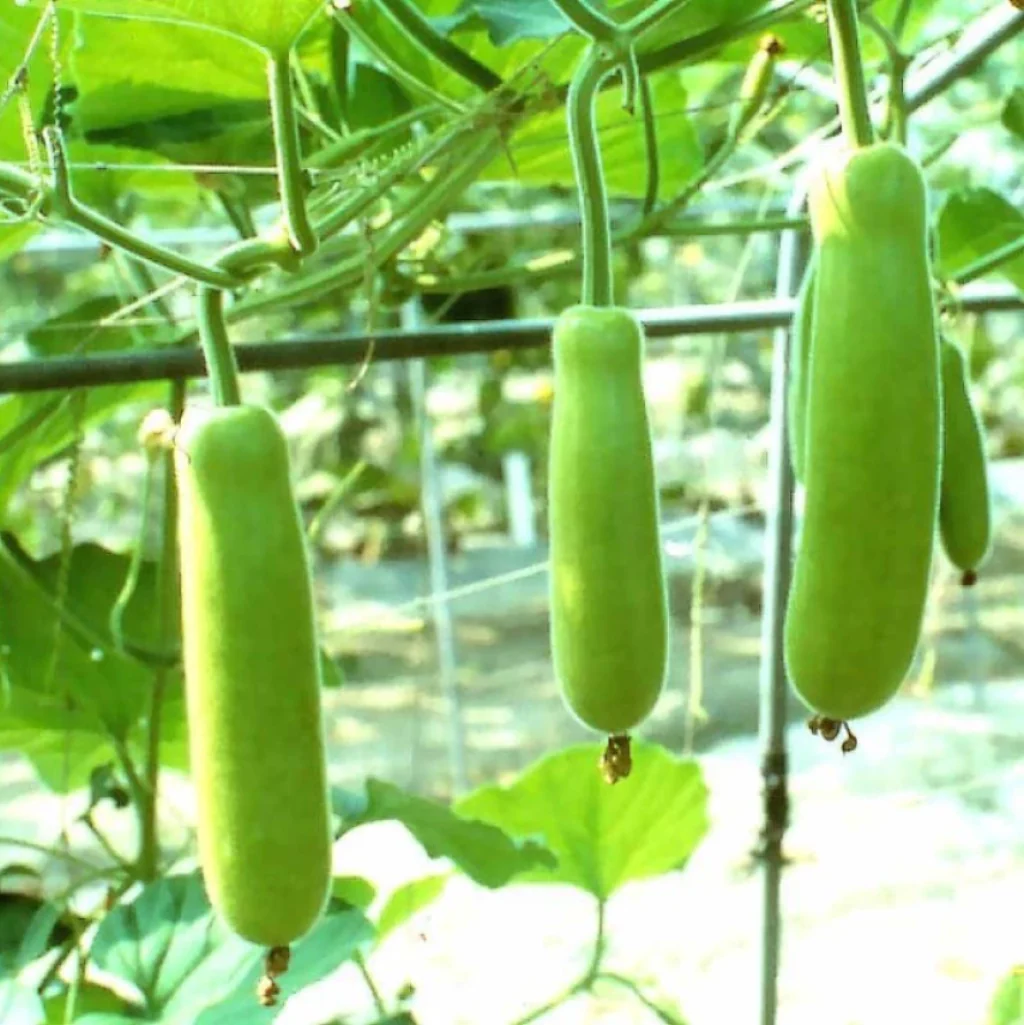
Starting from seeds also allows you to choose the best variety—round, long, slim, or hybrid gourds.
Choosing the Right Seeds
Always pick seeds from:
- A trusted nursery
- A reliable seed brand
- A healthy, disease-free mature bottle gourd
- Locally adapted varieties for better growth
Avoid old or shriveled seeds, as they show low germination rates.
Seed Treatment for Faster Germination
Bottle gourd seeds have a tough outer shell. Treating them helps seeds sprout faster and more uniformly.
Methods for Seed Treatment
✔ Warm Water Soak
- Soak seeds in warm water (not hot) for 6–8 hours.
- This softens the seed coat and speeds up sprouting.
✔ Scarification (Optional)
- Rub the edge of the seed lightly with sandpaper.
- Do not damage the inner embryo.
- Helps water penetrate faster.
✔ Organic Booster Soak
Soak seeds in:
- Seaweed solution
- Humic acid
- Vermicompost tea
- Coconut water
for 2–3 hours to boost germination energy.
Choosing the Best Germination Medium
Bottle gourd seeds need a lightweight, well-aerated medium.
Recommended Mix
- 40% cocopeat
- 30% compost/vermicompost
- 20% sand/perlite
- 10% garden soil
This mix prevents fungal infection, root rot, and compaction.
You can sow seeds in:
- Seedling trays
- Small nursery bags
- Cups
- Recycled containers
- Coconut husk cups
Avoid sowing directly in heavy clay soil as it slows root growth.
How to Sow Bottle Gourd Seeds Properly
✔ Step 1: Fill your seed tray or pot
Press lightly but avoid compacting the medium.
✔ Step 2: Make holes
- Depth: 1–1.5 cm
- Space: 1 seed per cell or cup
✔ Step 3: Sow the seeds
Place each seed horizontally or with the pointed end slightly upward.
✔ Step 4: Cover lightly
Use cocopeat or compost to cover the seed.
✔ Step 5: Water gently
Use a sprayer to avoid displacing the seeds.
✔ Step 6: Keep in warm shade
Place the tray in a bright but indirect sunlight area.
Germination Conditions
Bottle gourd seeds love heat and moisture.
Ideal Conditions
- Temperature: 22–30°C
- Humidity: moderate
- Place in a warm corner or near a sunny window
Time to Germinate
- Usually 4–7 days
- In cooler regions, 8–12 days
Once the seeds sprout, move them to a brighter area to prevent legginess.
Early Seedling Care: Growing Strong Plants
Healthy seedlings depend on proper care in the first 2–3 weeks.
Light Requirements
- 4–6 hours of sunlight or bright filtered light
- Avoid harsh afternoon heat
- Too little sunlight = tall, weak seedlings
Watering
- Keep the medium moist, not soggy
- Water when the top feels slightly dry
- Overwatering causes damping-off (fungal infection)
Air circulation
- Ensure proper airflow around trays
- Avoid overcrowding
Temperature
- Warm conditions promote healthy leaf development
- Avoid cold drafts
Feeding the Seedlings

After the seedlings produce 2 true leaves, you can start light feeding.
Best Organic Feed Options
- Diluted seaweed extract
- Vermicompost tea
- Banana peel enzyme
- Fish amino acid (FAA)
- Sour curd solution
Feed once every 7–10 days. Avoid heavy fertilizers—they can burn tender roots.
Recognizing Healthy Bottle Gourd Seedlings
A strong seedling should have:
- 2–4 true leaves
- Deep green color
- Short, sturdy stem
- Well-developed root system
- No yellowing or spots
Avoid transplanting weak, thin, or pale seedlings.
When to Transplant Bottle Gourd Seedlings
Timing is crucial.
✔ Best Time to Transplant
- Seedlings aged 15–20 days
- Height: 6–10 inches
- At least 3–4 true leaves
If you wait too long, the roots may coil tightly and weaken the plant.
✔ Weather Conditions
- Choose an evening or cloudy day
- Avoid transplanting during heatwaves
Preparing the Final Growing Area
Bottle gourd needs lots of nutrients and space.
Where to Transplant
- Big grow bags (18–24 inches wide)
- Large containers
- Raised beds
- Open ground
Soil Mix for Transplanting
- 40% garden soil
- 30% compost
- 20% cow dung or well-rotted manure
- 10% cocopeat/perlite
Bottle gourd is a heavy feeder; rich soil results in more flowers and fruits.
How to Transplant Seedlings Properly
✔ Step 1: Water seedlings before transplanting
This reduces shock and makes removal easier.
✔ Step 2: Dig a hole
Make it slightly larger than the root ball.
✔ Step 3: Remove the seedling gently
Hold the seedling by leaves, not the stem.
✔ Step 4: Place in the hole
Keep the seedling upright and fill with soil.
✔ Step 5: Press soil lightly
Ensure roots make good contact with soil.
✔ Step 6: Water deeply
Helps settle the soil around roots.
✔ Step 7: Provide initial shade
Cover with shade net or cardboard for 1–2 days.
Post-Transplant Care
After transplanting, plants need special attention.
✦ Watering
- Water daily for the first 3 days
- After establishment, water 2–3 times a week
- Keep soil consistently moist during flowering
✦ Support
Bottle gourd is a climber; provide a trellis, stick, or net.
✦ Mulching
Use dried leaves or straw to retain moisture and reduce weeds.
✦ Feeding
After 10–12 days, start feeding with:
- Compost tea
- Cow dung water
- Seaweed extract
Feed every 10–15 days.
Common Problems and Solutions
1. Yellow Leaves
Cause: Nutrient deficiency or overwatering
Solution: Apply diluted compost tea + reduce watering
2. Slow Growth
Cause: Poor soil or low temperature
Solution: Add vermicompost and move to warmer area
3. Seedlings falling over
Cause: Damping-off disease
Solution: Improve ventilation, avoid soggy soil, sprinkle cinnamon powder
4. Wilting after transplant
Cause: Root shock
Solution: Shade for 2 days + deep watering
Final Thoughts
Growing bottle gourd from seed to transplant is easy, rewarding, and gives your plants the strongest start possible. When you nurture seeds with the right medium, moisture, light, and nutrition, they quickly turn into vigorous seedlings capable of producing dozens of delicious gourds.
With proper transplanting and early care, your bottle gourd plant will climb quickly, flower abundantly, and reward you with a bountiful harvest in the months to come.