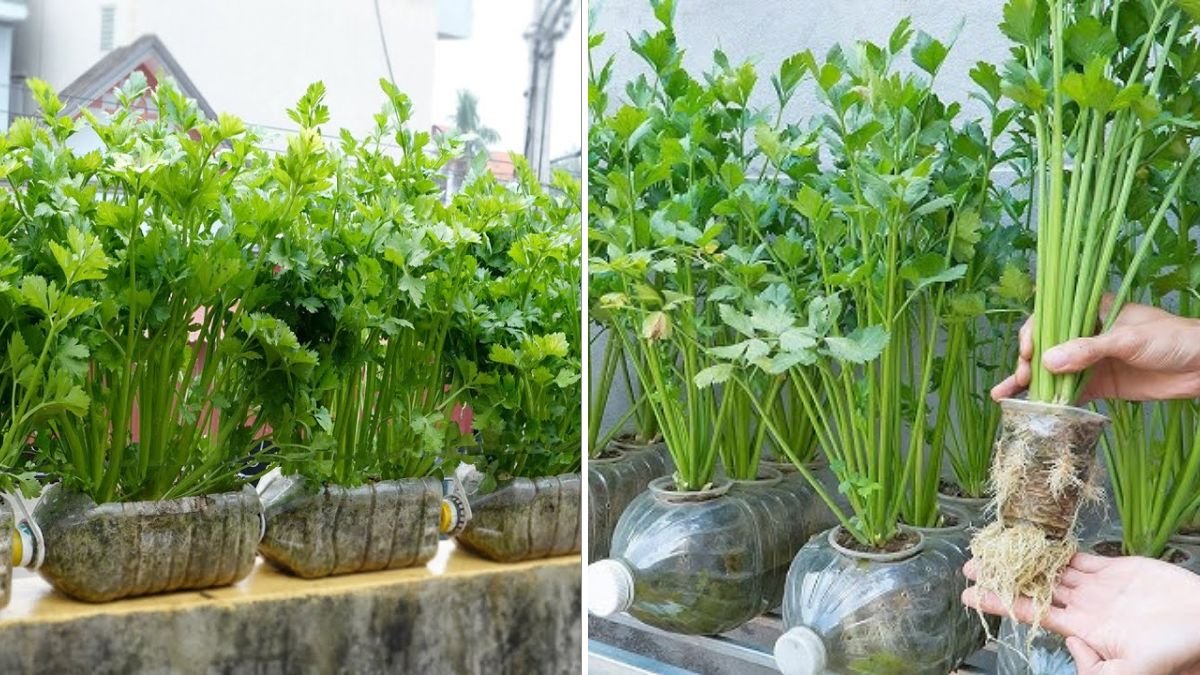
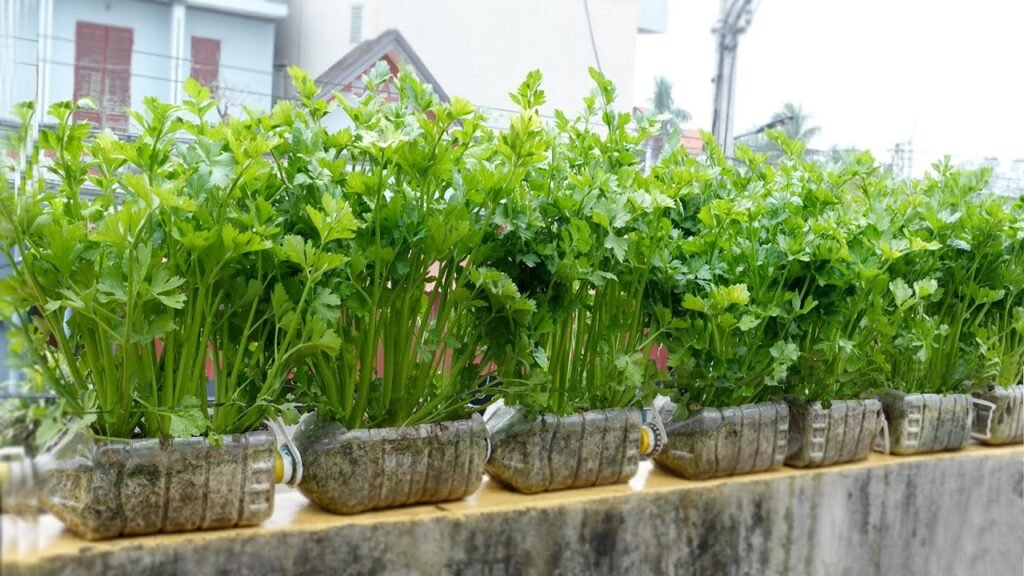
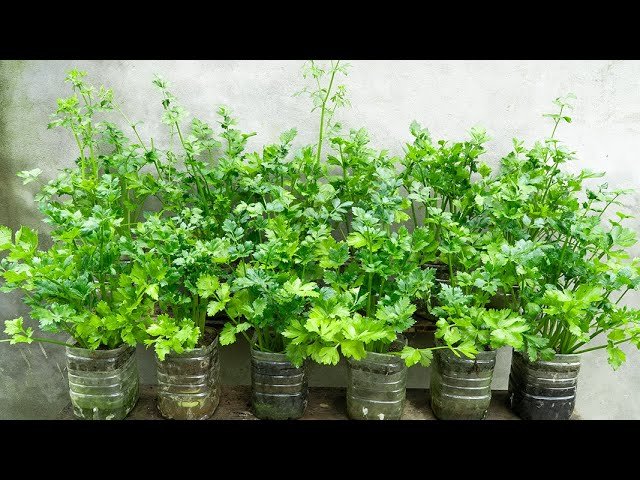
Growing celery at home doesn’t have to be expensive, complicated, or time-consuming. In fact, with just a few plastic bottles and a bit of creativity, you can build an automatic watering garden that keeps your celery hydrated, thriving, and growing at impressive speed. This clever method is perfect for beginners, urban gardeners, or anyone who wants fresh, crisp celery without constant maintenance.
In this detailed 1200-word guide, you’ll learn exactly how to create your own plastic-bottle self-watering celery system, why it works so effectively, and how you can enjoy continuous harvests year-round.
Why an Automatic Watering Celery Garden Works So Well
Traditional celery cultivation requires moist soil, consistent watering, and gentle sunlight. The biggest challenge for most gardeners? Keeping the soil evenly moist. Celery hates drying out—and even small fluctuations can lead to tough fibers, hollow stems, or stunted growth.
A plastic-bottle self-watering system solves all these problems:
Constant Moisture
A built-in reservoir ensures water is always available.
Efficient Water Usage
Plants take only the amount they need, eliminating waste.
Low Maintenance
Water once every 7–10 days instead of daily watering.
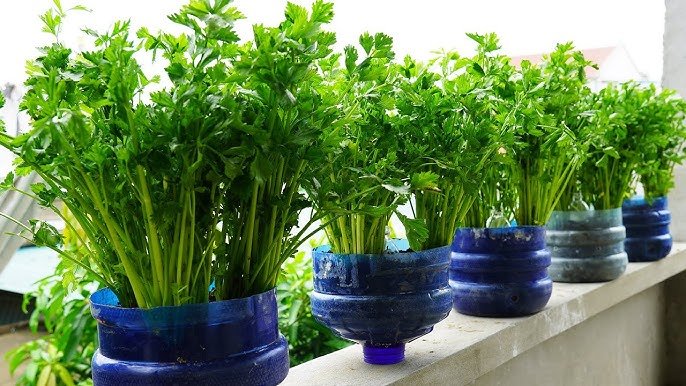
Perfect for Small Spaces
Balconies, windowsills, patios—even kitchen counters.
Upcycling Plastic for Sustainability
Better for the environment and your wallet.
This method is especially advantageous for celery, which thrives in steady, moist, nutrient-rich conditions.
Materials You Need (Virtually Free!)
You only need a few simple items:
- 2-liter plastic bottles (one bottle per celery plant)
- A sharp knife or scissors
- Cotton rope, shoelace, or microfiber strip (to act as a wick)
- Potting soil mixed with compost
- Celery seeds or celery cuttings
- A small nail or hot needle (to make holes)
Optional but useful:
- Liquid fertilizer
- Black paint or paper (to wrap the bottle and block sunlight)
Step-by-Step Guide: Building Your Automatic Watering Celery Garden
Step 1: Prepare the Plastic Bottle
Cut the bottle horizontally at about one-third from the top.
- The top part becomes the planter.
- The bottom part becomes the water reservoir.
Turn the top upside down so the neck faces downward, like a funnel.
Step 2: Insert the Wick
Thread your cotton rope or cloth strip through the bottle neck.
The wick should:
- Be long enough to touch the water in the reservoir,
- Extend well into the soil of the planting chamber.
This wick ensures continuous water absorption.
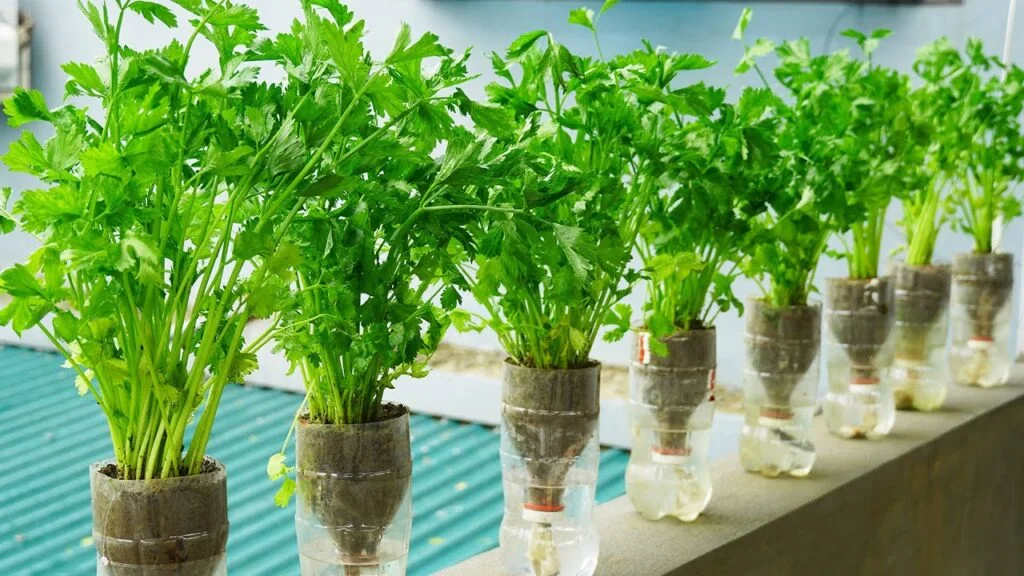
Step 3: Assemble the Self-Watering System
Place the inverted top (with soil and wick) into the bottom reservoir.
It should sit snugly but with room for air circulation.
This creates a clean, non-messy hydro-soil hybrid system.
Step 4: Add Soil
Fill the upper chamber with a loose soil mix:
- 70% potting soil
- 30% compost
Make sure the wick is surrounded by soil for optimal moisture distribution.
Step 5: Planting Your Celery
You can grow celery in two ways:
Method 1: From Seeds
- Sow seeds lightly on the soil surface
- Cover with 0.5 cm thin soil layer
- Mist gently
Celery seeds germinate slowly (10–20 days), so patience is key.
Method 2: From Celery Base
If you have store-bought celery:
- Cut off the base with 3–5 cm of stem intact.
- Place it in water for 3–4 days until new leaves sprout.
- Plant the revitalized base in the soil.
This method grows faster and is ideal for beginners.
Step 6: Fill the Reservoir
Pour water into the bottom chamber until it’s 70–80% full.
Your self-watering celery garden is now fully operational!
Caring for Your Plastic Bottle Celery Garden
Even though the system waters itself, a few care tips will help you achieve the best results.
1. Sunlight
Celery loves:
- Indirect light,
- OR light morning sun and shaded afternoons.
Avoid intense heat, which dries plants quickly.
2. Water Reservoir Check
Check water levels every 7–10 days.
Refill when water drops below half.
3. Fertilizing
Every 10–14 days, add:
- 5–10 drops of liquid fertilizer into the reservoir
OR - Compost tea added at soil level
This produces thick, juicy, and flavorful stalks.
4. Temperature
Celery grows best between 15°C–24°C.
Extreme heat causes bolting (premature flowering).
Why Celery Thrives in This Self-Watering Setup
Even Moisture
The wick system mimics the conditions of naturally moist soil.
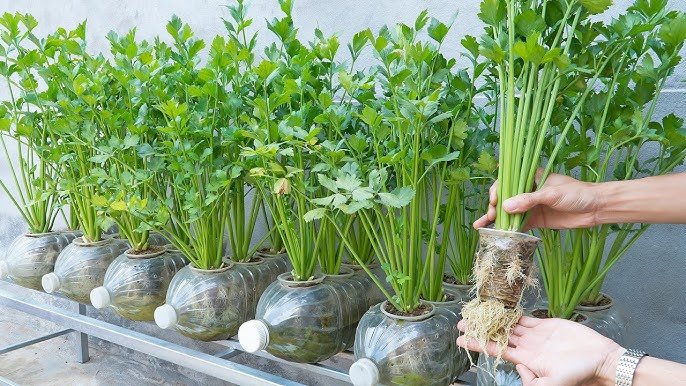
Deep Hydration
The roots grow downward toward the wick, strengthening the plant.
Prevents Overwatering
Soil absorbs just enough moisture, avoiding root rot.
Improves Growth Rate
Since celery never experiences drought stress, it grows faster and produces thicker stalks.
Harvesting Celery for Continuous Supply
Celery is a cut-and-come-again crop.
You can harvest it in several ways:
Method 1: Outer Stalk Harvest
Cut the outermost stalks first, leaving the inner growth untouched.
This encourages continuous production.
Method 2: Whole Plant Harvest
Cut the entire plant, leaving the root base.
It will regrow 2–3 times.
Method 3: Leaf Harvest
Celery leaves are nutritious and delicious in soups and stir-fries.
With consistent moisture, your celery can yield for months from a single bottle.
Troubleshooting Common Problems
Pale Leaves
Usually nitrogen deficiency.
→ Add compost tea or liquid fertilizer.
Slow Growth
Caused by low light or cold conditions.
→ Move to a brighter, warmer area.
Brown Leaf Tips
Indicates underwatering (rare with the wick system).
→ Check if the wick is firmly touching water.
Algae in Reservoir
Block sunlight using:
- Black paint
- Paper wrap
- Aluminum foil
Sustainable Gardening for Modern Living
This simple plastic-bottle celery garden proves that:
- You don’t need land
- You don’t need expensive tools
- You don’t need gardening experience
What you do need is creativity, consistency, and the willingness to try something new.
Growing celery in this eco-friendly, automatic-watering setup reduces plastic waste, saves water, and gives you a regular supply of fresh, healthy produce right from your windowsill or balcony.
Final Thoughts
Creating an automatic watering celery garden from plastic bottles is easy, fun, and surprisingly productive. With just a few recycled materials, you can enjoy fast-growing, high-quality celery all year long—even if you live in a small apartment.
Whether you’re a beginner gardener or a seasoned plant lover, this method is a game-changer. Give it a try, and watch your celery flourish like never before!