
Mint is one of the most popular herbs in the world—fragrant, refreshing, and incredibly versatile. Whether you enjoy mint in tea, chutneys, salads, smoothies, or as a natural breath freshener, having a constant supply at home is a true blessing. But what if you could grow endless mint without soil, without buying pots, and almost for free?
Yes—you can grow lush, vigorous, healthy hydroponic mint right at home using simple plastic bottles that most people throw away. This DIY hydroponic setup is budget-friendly, space-efficient, and easy enough for beginners, kids, and even busy gardeners.
Hydroponics allows plants to grow faster, cleaner, and with fewer pests, all while saving space. With just a few recycled bottles and a little care, you can enjoy a thriving mint garden all year long.
This step-by-step guide will show you exactly how to grow beautiful hydroponic mint in plastic bottles—perfect for windowsills, balconies, kitchens, and tiny spaces.
Why Grow Mint Hydroponically?
Growing mint in soil is easy—but hydroponics makes it even easier and more efficient.
Benefits of Hydroponic Mint:
- Faster growth (up to 25–50% quicker than soil-grown mint)
- Zero soil mess—no mud, no pests hiding in dirt
- Water-efficient—plants use only what they need
- Space-saving—perfect for hanging, stacking, or vertical setups
- Reusable system—one-time setup, continuous harvest
- Cleaner leaves—ready to eat with minimal washing
Plus, hydroponic mint rarely suffers from pests like fungus gnats or soil diseases, making it ideal for indoor kitchens.
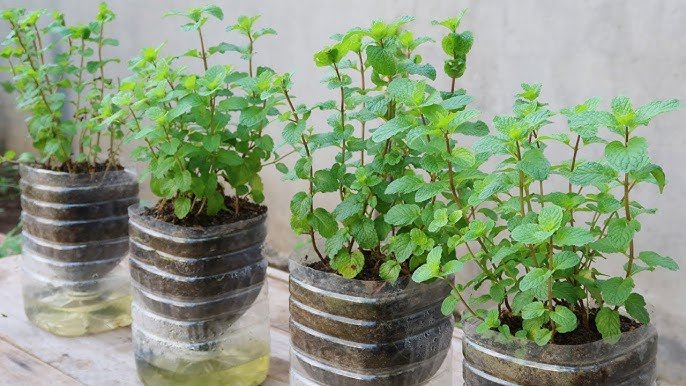
Step 1: Choosing and Preparing Plastic Bottles
Any plastic bottle can work, but the most common options include:
- 1-liter bottles
- 1.5-liter bottles
- 2-liter bottles
Best Choice:
A 2-liter bottle is ideal because it offers more water capacity and plant support.
How to Prepare the Bottle:
- Wash the bottle thoroughly.
- Cut the top third off the bottle.
- Turn the top part upside down—like a funnel—and place it into the bottom part.
- This creates a self-watering hydroponic cup.
If using net cups, cut a hole in the bottle cap so water can wick up.
Make Holes in the Bottle Cap
Drill or poke 2–4 small holes in the cap to allow the wick or roots to draw water.
Step 2: Use a Wick for Water Absorption (Optional)
If your bottle design uses a wick, you’ll need:
- Cotton rope
- Old shoelace
- Cotton cloth strip
Thread it through the bottle cap so that:
- Half of it stays inside the upper cup
- Half dips into the nutrient solution below
The wick supplies moisture constantly, ensuring the mint roots never dry out.
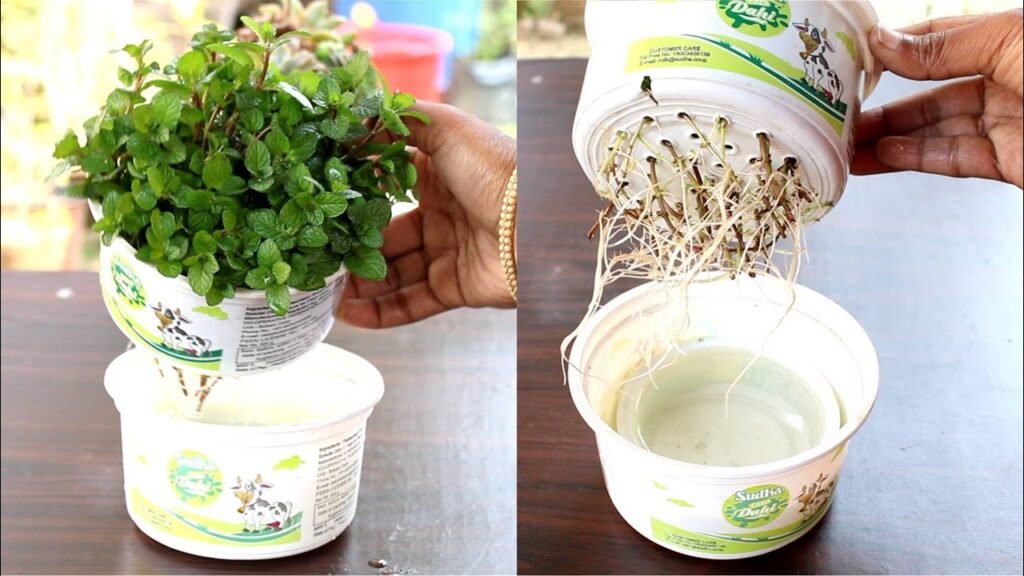
Step 3: Select Your Mint Cuttings
Hydroponic mint grows best from fresh cuttings, not seeds.
Choose Healthy Cuttings:
- 10–15 cm long
- At least 3–4 nodes
- No pests
- Fresh green leaves
How to Prepare the Cuttings:
- Remove the bottom leaves to expose nodes.
- Leave only 2–3 leaves at the top.
- Place the cutting in water for 2–5 days until roots begin forming.
Mint roots develop quickly—often within 48 hours.
Step 4: Prepare the Hydroponic Nutrient Solution

Hydroponics requires balanced nutrients since there is no soil.
You can use:
- Ready-made hydroponic nutrients
- Homemade organic fertilizer (compost tea, seaweed extract)
- Liquid NPK fertilizer (very diluted)
Ideal Nutrient Strength:
Hydroponic mint prefers a mild nutrient solution.
- Mix nutrients to ¼ strength
- Increase to ½ strength after roots grow
Too much fertilizer burns mint roots, so always err on the lighter side.
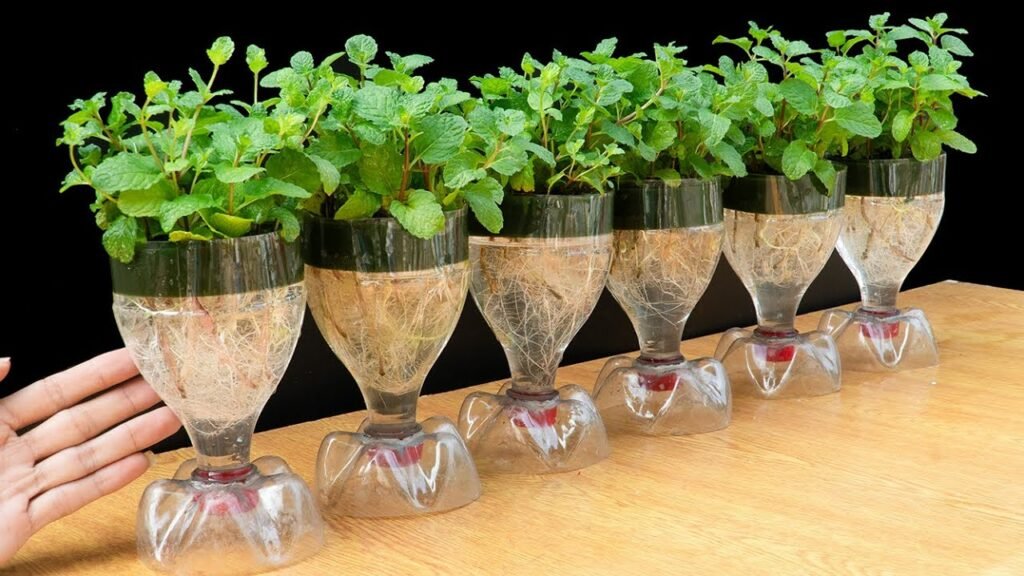
Step 5: Plant the Mint Cutting in the Bottle System
Fill the bottom part of the bottle with:
- Hydroponic nutrient solution
- Enough water to touch the wick or bottle cap holes
Place the upper part (inverted top) onto the reservoir.
Add a Growing Medium
Mint cuttings root even in plain air and water, but adding a medium supports stability.
Best options:
- Cocopeat
- Perlite
- LECA (clay balls)
- Sand + cocopeat mix
Fill the upper cup lightly around the cutting.
Step 6: Provide Proper Light and Temperature
Mint grows best under:
- Bright indirect sunlight (4–6 hours daily)
- Indoor grow lights (10–12 hours)
- Cool temperatures (18–28°C / 65–82°F)
Avoid placing the system in harsh direct afternoon sunlight—it can heat the bottle and harm roots.
Step 7: Maintain the Water Level and Nutrients
Hydroponic systems are simple, but they require regular monitoring.
Water Level
Keep water touching the wick or cap holes.
Refill every 3–5 days, depending on temperature.
Change Solution Every 10–14 Days
This prevents:
- Algae growth
- Salt buildup
- Root rot
Clean the Bottle Monthly
Mint roots love clean, oxygen-rich water.
Step 8: Train and Prune Mint for Bushier Growth
Mint grows aggressively, so pruning helps it become bushy and productive.
When to Prune:
- Once the plant reaches 15–20 cm
- Trim the top 2–3 leaf nodes
This encourages:
- More branches
- Denser leaves
- Faster regrowth
Always prune above a node—new shoots will grow from each side.
Step 9: Troubleshooting Problems
Even hydroponic mint may develop issues if not maintained properly.
Root Rot
Cause: Stagnant water, dirty bottle
Solution: Change water, add air space, clean system
Yellow Leaves
Cause: Too much fertilizer
Solution: Dilute nutrients
Weak Growth
Cause: Low light
Solution: Move to a brighter location
Algae Growth
Cause: Transparent bottles
Solution: Wrap bottle in paper or foil
Step 10: Harvesting Your Mint
Mint grows rapidly in hydroponics—harvest begins as early as 3–4 weeks.
How to Harvest:
- Cut stems above a leaf node
- Never remove more than 1/3 of the plant at once
- Leave lower leaves for regrowth
Regular harvesting keeps mint healthy and prevents legginess.
Benefits of Growing Hydroponic Mint in Plastic Bottles
This method combines sustainability, simplicity, and efficiency.
Eco-Friendly
Reuses plastic waste
Reduces soil use
Promotes recycling
Cost-Free Gardening
No soil
No pots
Minimal fertilizer
Perfect for Small Spaces
Windowsills
Kitchen counters
Balcony rails
Indoor gardens
Endless Supply
Mint grows continuously with proper care—your kitchen will never run out!
Conclusion: Homegrown Mint Made Easy with DIY Hydroponics
Growing mint hydroponically in plastic bottles is one of the easiest, cleanest, and most affordable ways to cultivate fresh herbs year-round. With just recycled bottles, a few mint cuttings, and a simple nutrient solution, you can enjoy a highly productive herb system that requires minimal effort and no soil at all.
Whether you’re a beginner gardener, a sustainability enthusiast, or someone looking to grow food for free, this method offers everything: