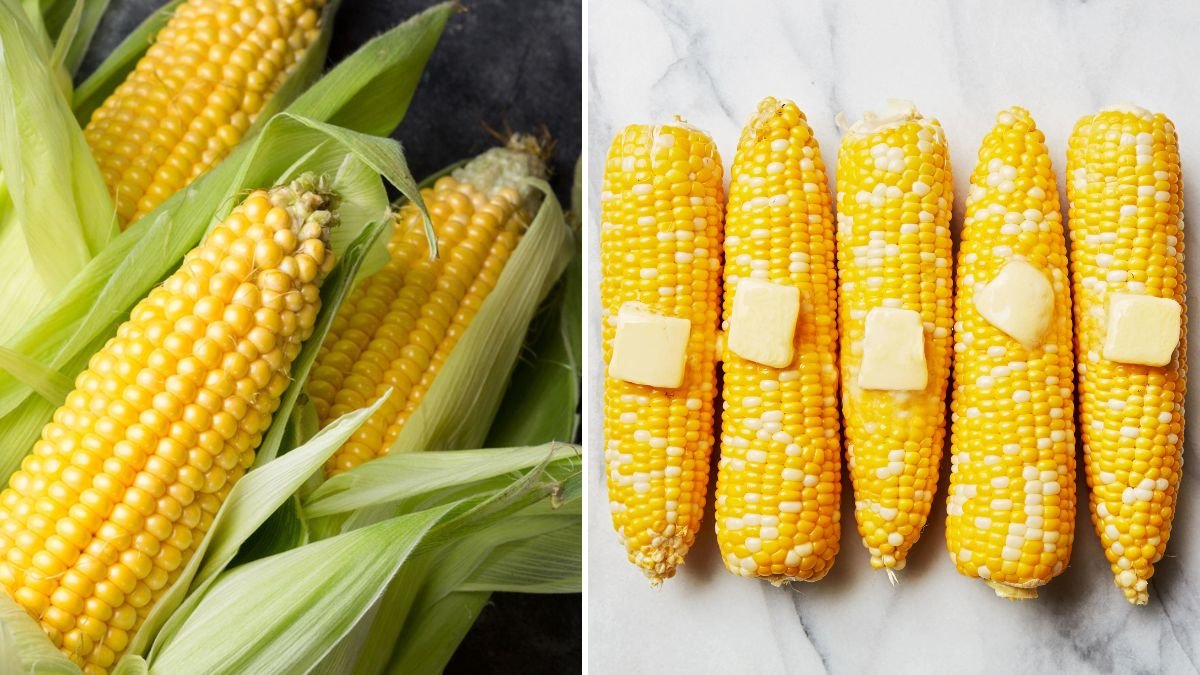
Corn is one of the most satisfying crops to grow—tall, vigorous, and incredibly rewarding at harvest time. But did you know you can start your corn garden using nothing more than store-bought corn? Yes! As long as the kernels are healthy and capable of sprouting, you can regenerate a full corn plant from them. This method is cost-effective, fun, and perfect for home gardeners who want to experiment with an easy, high-yield technique.
In this detailed 1200-word guide, you’ll learn exactly how to regrow corn from store-bought ears, the science behind germination, soil preparation, planting techniques, and how to care for your growing corn until you’re harvesting fresh, sweet ears right from your garden.
Let’s begin your corn-growing journey!
Why Regrow Corn from Store-Bought Corn?
Store-bought corn is typically fresh, widely available, and inexpensive. When you use it as seed material, you enjoy several benefits:
Affordable planting material
Instead of buying seed packets, you can use kernels from the corn you already purchased.
Beginner-friendly
The germination process is straightforward and visually exciting.
Fast growth
Corn grows rapidly—perfect for impatient gardeners!
High yield
A single ear can produce dozens of viable plants.
However, the key is choosing the right type of corn, which leads us to the next step.
Choosing the Right Store-Bought Corn
Not all store-bought corn will germinate. Some are processed, some are boiled, and others may be dried too harshly.
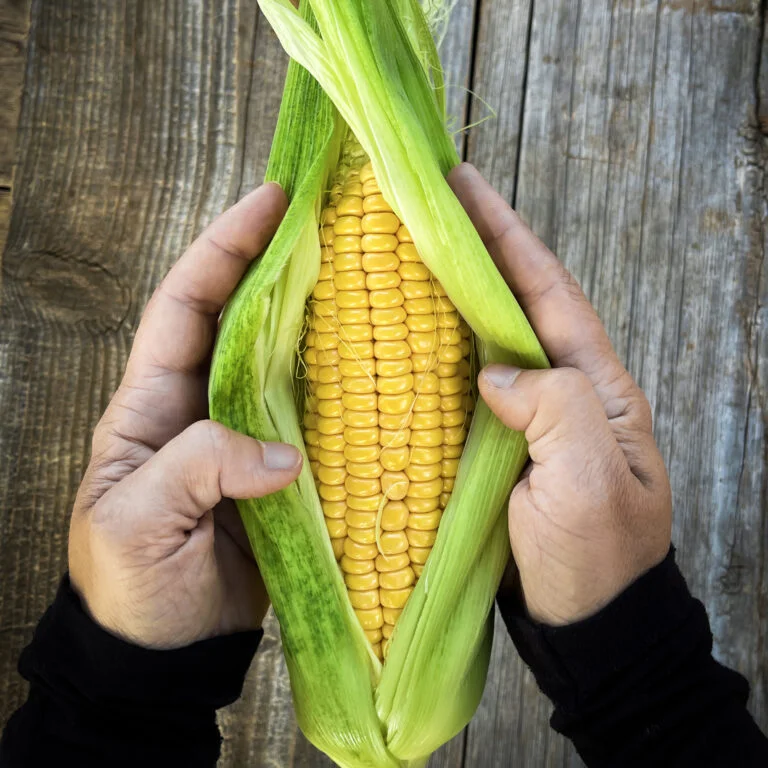
To regrow successfully, your corn should be:
- Raw (not cooked or steamed)
- Fresh and moist, with kernels still plump
- Not genetically modified to prevent sprouting
- Preferably organic, as some conventional corn is treated with chemicals
Types of corn you can regrow:
- Sweet corn
- Field corn
- Baby corn (will grow into normal-size corn plants)
If your corn is fresh and uncooked, you can extract the kernels and grow them.
Step 1: Preparing the Corn Kernels
To start regrowing corn, you need to remove healthy kernels from the cob.
How to remove kernels safely
- Hold the corn firmly upright.
- Using your thumb or the back of a spoon, press a kernel forward until it pops off.
- Continue removing kernels until you have enough for planting.
Each corn plant needs one kernel, so even a small section of the cob can produce several plants.
Optional Pre-Soaking
Soak the kernels in room-temperature water for 8–12 hours.
This:
- Triggers germination
- Softens the hard shell
- Encourages faster growth
Step 2: Germinating Corn Kernels (Paper Towel Method)
This is the easiest method to see whether your store-bought kernels are viable.
You will need:
- Paper towels
- A zip-lock bag
- Spray bottle
- Soaked corn kernels
Steps:
- Lay two sheets of paper towel flat.
- Place the kernels spaced out (1 inch apart).
- Spray with water until damp—not soaked.
- Fold the towel over the kernels.
- Place it inside the zip-lock bag.
- Store the bag in a warm area for 3–5 days.
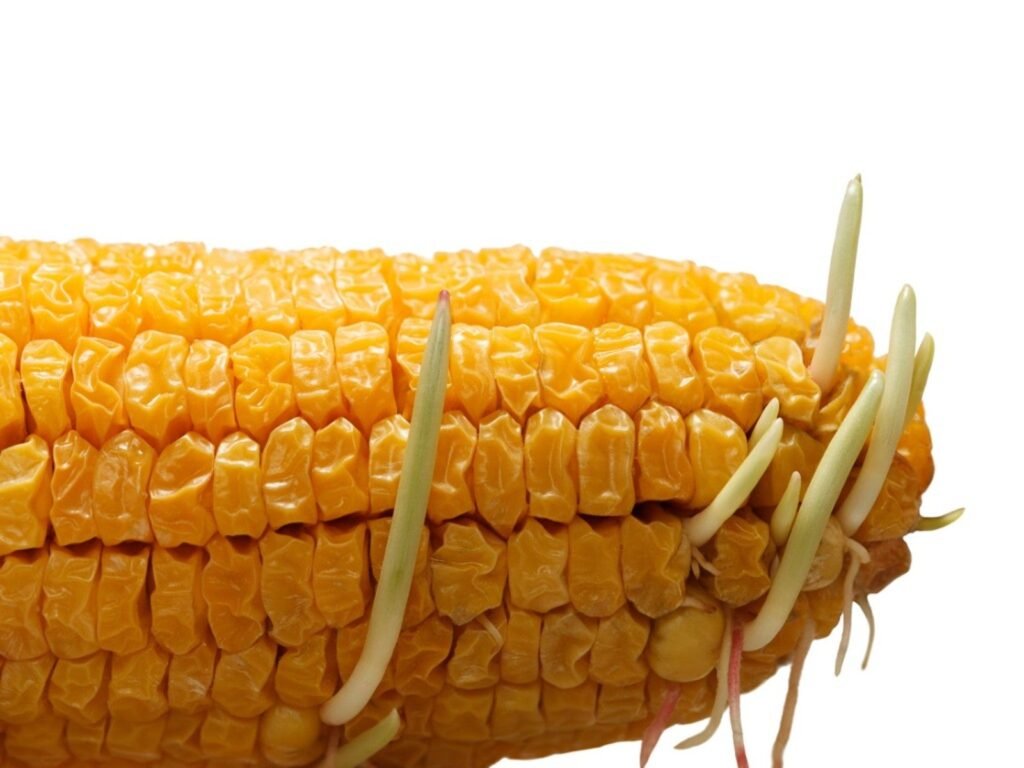
What to expect:
- Small white roots (“radicles”) will emerge.
- Sprouts will appear shortly after.
- At least 70–80% of healthy kernels should sprout.
Once they sprout, they’re ready to plant.
Step 3: Preparing Soil for Corn
Corn grows best in deep, fertile soil. For large, sweet, and juicy ears, the soil must be rich.
Ideal soil mix:
- 50% garden soil
- 30% compost or well-rotted manure
- 20% sand or coco peat for drainage
Optimal pH:
Between 6.0 and 6.8
Corn roots grow deep, so choose a planting area with at least 12–15 inches of loose soil.
Step 4: Planting Sprouted Corn Kernels

Spacing is critical for corn
Corn relies on wind pollination. To ensure good pollination, plant in blocks rather than single rows.
Planting instructions:
- Dig a hole 1 inch deep.
- Place a sprouted kernel with the root facing downward.
- Cover with loose soil.
- Space plants 8–10 inches apart.
- Space rows 18–24 inches apart.
For container gardening:
Use a deep pot (minimum 12 inches).
Plant 3–5 corn plants together—they pollinate each other better.
Step 5: Watering and Early Care
Corn loves water, especially during early growth.
Watering tips:
- Keep the soil consistently moist during the first 2 weeks.
- Water deeply at the base.
- Reduce watering slightly once plants reach 1 foot tall.
Corn leaves can dry out quickly, especially in summer, so check the soil often.
Step 6: Feeding the Corn Plants
Corn is a heavy feeder, meaning it needs lots of nutrients to grow tall and produce full ears.
Best fertilizers for big, sweet corn:
- Compost tea
- Cow manure
- Liquid seaweed
- Fish emulsion
- Wood ash (for potassium)
Fertilizing schedule:
- At planting (mix compost into soil)
- After 3 weeks
- When plants reach knee height
- When tassels form (top flowers)
Feeding at the right times ensures larger ears and more kernels.
Step 7: Support and Pollination
Corn plants can grow 5–8 feet tall, depending on the variety. Providing a little support ensures they stay upright during windy days.
Supporting corn:
- Hill soil around the base
- Use bamboo stakes if your area is windy
Better pollination tips:
- Gently shake the plants in the morning to release pollen
- Plant in blocks, not single rows
- Maintain at least 3 rows for small gardens
This helps the pollen fall evenly onto the silks, resulting in fuller ears.
Step 8: Knowing When to Harvest
Corn gives clear signs when it’s ready.
Harvest indicators:
- Silks turn brown and dry
- Kernels feel full and plump
- Pressing a kernel releases a milky liquid
- Ears feel firm and well-rounded
Sweet corn is usually ready 18–24 days after silks appear.
Don’t leave it too long—sweetness declines the longer it stays on the plant.
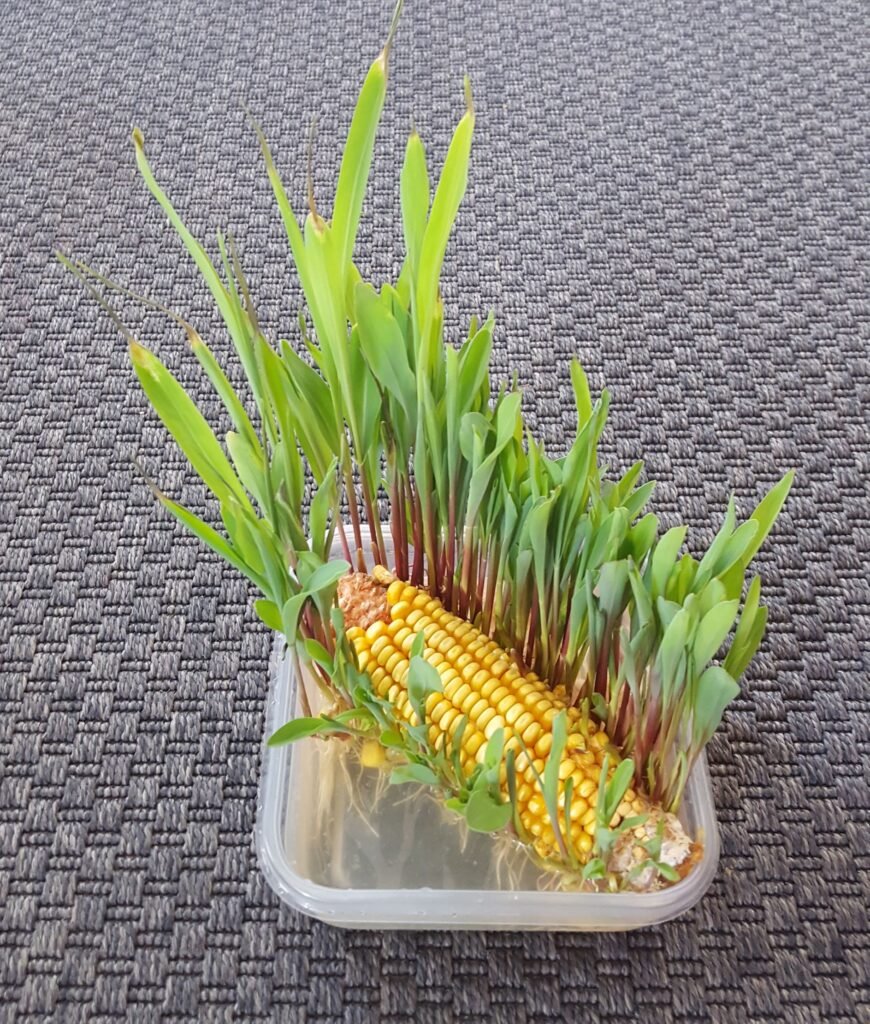
Why This Method Works
Regrowing corn from store-bought ears works because:
The kernels are already mature
Fresh kernels often retain high moisture content
Corn is naturally easy to germinate
A single ear has dozens of seeds
You can visually select healthy kernels
Corn grows rapidly once sprouted
With proper care, you can harvest corn from your own garden within 70–100 days depending on the variety.
Helpful Tips for Even Bigger Corn Ears
- Grow corn in full sunlight (minimum 6 hours daily)
- Use deep, rich soil
- Water regularly during pollination
- Keep 3–4 corn plants together at minimum
- Fertilize with nitrogen during early stages
- Switch to potassium-rich feed during tasseling
Following these steps boosts both size and sweetness.
Final Thoughts
Regrowing corn from store-bought corn is one of the easiest, most budget-friendly gardening projects you can try. With just a few kernels, a bit of soil, and some sunlight, you can grow tall, healthy corn plants and enjoy fresh, homegrown ears right from your garden.
Whether you’re a beginner or an experienced gardener, this method gives you a simple and rewarding way to produce your own delicious corn—starting with something you already have in your kitchen.