Hibiscus is one of the most loved flowering plants worldwide. With its vibrant, tropical blossoms and lush green leaves, it adds instant charm to any garden or balcony. The good news? You don’t need to buy new plants to expand your hibiscus collection—you can easily propagate hibiscus from simple stem cuttings at home!
Growing hibiscus from cuttings is not only cost-effective but also the fastest way to get a mature, flowering plant. In this detailed 1200-word guide, you’ll learn everything you need to know—from choosing the right cutting to rooting it successfully and caring for your new plant.
Let’s begin creating beautiful hibiscus plants right at home!
Why Propagate Hibiscus from Cuttings?
Propagation from cuttings is popular for hibiscus because:
It is fast:
Cuttings root much quicker than growing from seeds.
Guaranteed plant quality:
You get an exact clone of the parent plant—same flower color, size, and growth habit.
Low-cost method:
No need to buy new plants. Just use pruned stems.
High success rate:
With proper technique, hibiscus cuttings root very easily.
Best Time to Propagate Hibiscus
The ideal time to take hibiscus cuttings is:
- Early spring to late summer
- When the plant is actively growing
- When temperatures are between 20°C to 32°C
Avoid winter, as growth slows down and cuttings root poorly.
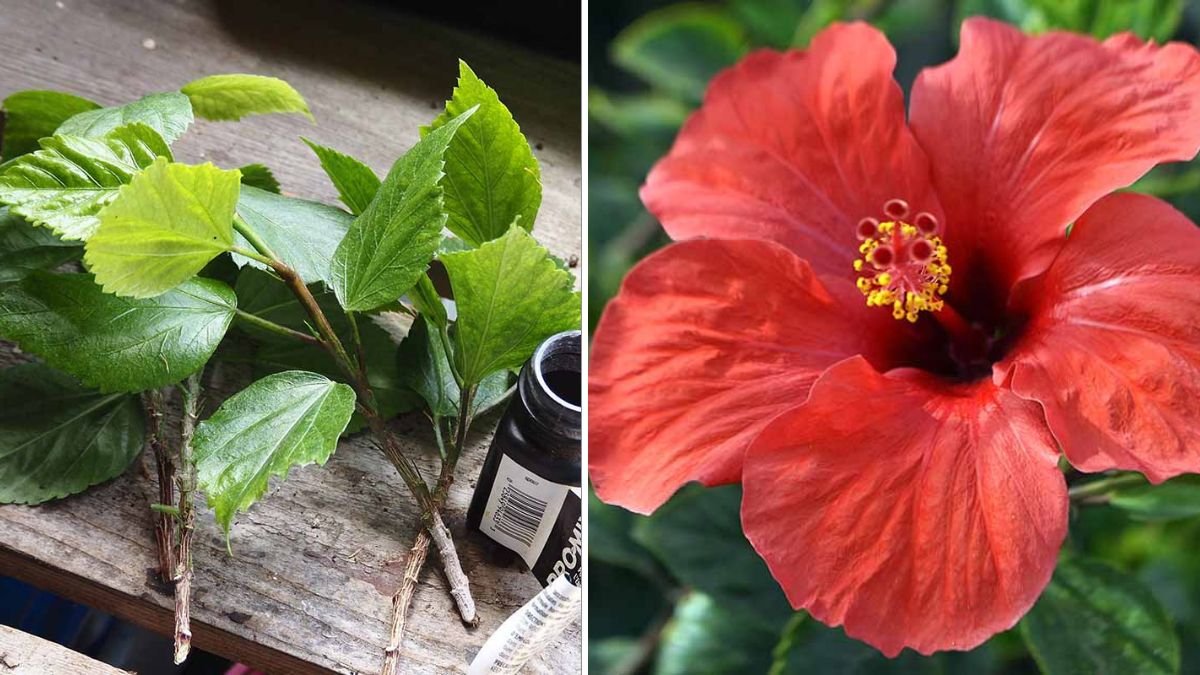
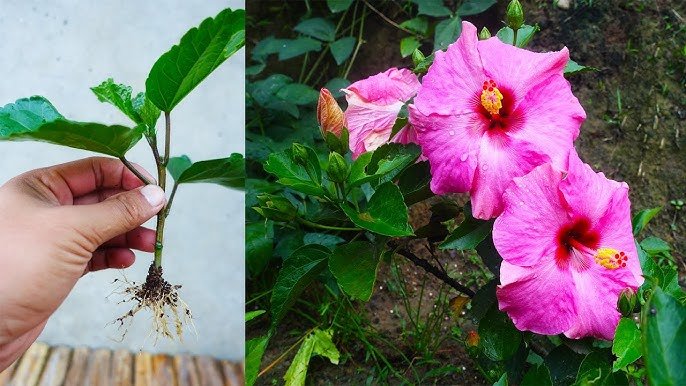
Step 1: Choose the Right Hibiscus Cutting
Selecting the correct cutting is the most important step.
Choose semi-hardwood stems:
Not too soft, not fully woody. These root the fastest.
Ideal cutting length:
6 to 8 inches (15–20 cm)
Include 3–5 nodes
Nodes are where roots will emerge.
Use healthy stems:
No pests, no diseases, and no buds or flowers.
If your cutting has flowers, remove them—the plant must focus on rooting, not blooming.
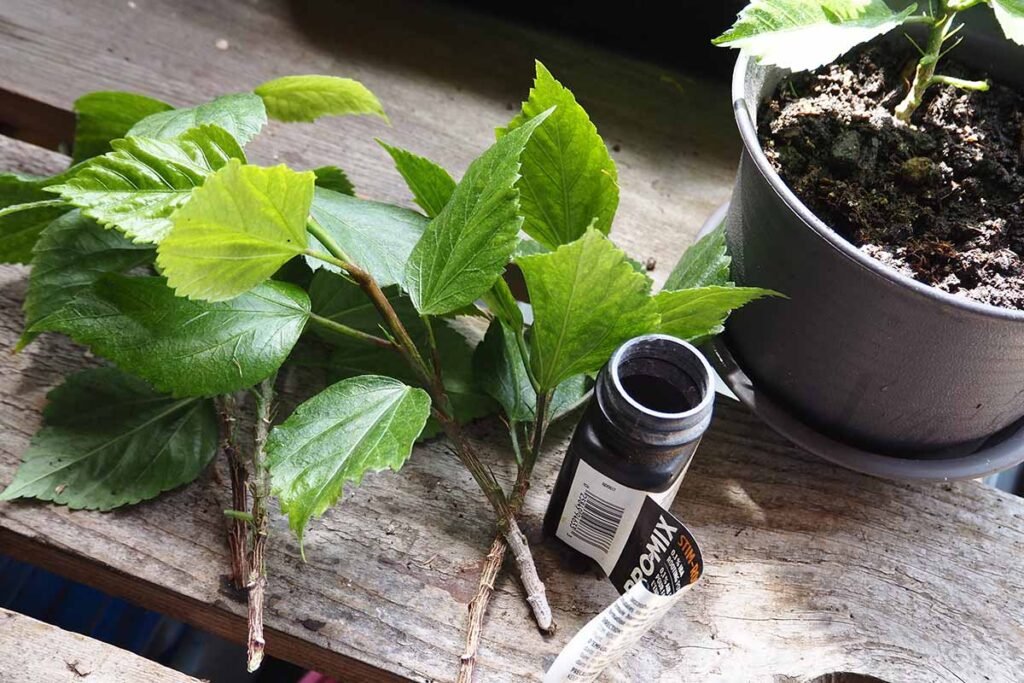
Step 2: Prepare the Hibiscus Cutting Properly
Remove lower leaves
Strip off the leaves from the bottom 2–3 nodes.
This prevents rotting and encourages root growth.
Trim big leaves
Cut large upper leaves in half.
This reduces water loss through transpiration.
Make a clean diagonal cut
This increases rooting surface.
Optional but helpful:
Dip the cut end in:
- Aloe vera gel
- Cinnamon powder
- Honey
- Commercial rooting hormone
These prevent fungal infection and encourage faster rooting.
Step 3: Prepare the Perfect Potting Mix
Hibiscus cuttings root best in a light, airy, drain-fast mix.
Here’s an ideal mixture:
- 40% cocopeat or peat moss
- 30% perlite or sand
- 30% garden soil or compost
Characteristics of a good mix:
Moist but not soggy
Loose enough for roots to breathe
Sterile to prevent fungal infection
Avoid heavy clay soil—it suffocates the new roots.
Step 4: Plant the Hibiscus Cutting
- Fill a small pot or tray with your potting mix.
- Make a 2–3 inch deep hole with a stick or finger.
- Insert the cutting into the hole.
- Press gently to secure the cutting in place.
- Water lightly to settle the soil.
Plant at least 2 nodes under the soil to increase rooting success.
Step 5: Create a Mini Greenhouse (Very Important!)
Hibiscus cuttings LOVE humidity!
To keep moisture around the cutting:
Cover with:
- A plastic bag
- A clear plastic bottle
- A transparent box
This traps humidity and prevents the cutting from drying out.
Keep the cutting:
- In bright, indirect sunlight
- Away from harsh afternoon sun
- In warm temperatures (25–30°C)
Avoid direct sun—it will cook the cutting inside the plastic.
Watering and Care During Rooting Stage
- Keep the soil slightly moist, never waterlogged.
- Mist the inside of the plastic cover occasionally.
- Check for fungus; if present, open the cover for ventilation.
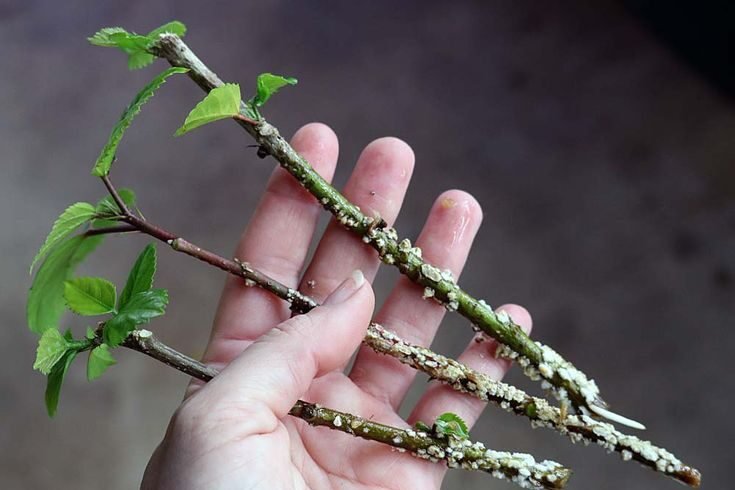
Roots usually start forming in 3–4 weeks.
How to Check If Your Cutting Has Rooted
After about 25–30 days:
Gently tug the cutting.
If you feel resistance, it means:
Roots have formed!
You may also observe:
- New leaf growth
- Stem becoming firm
- Cutting turning greener
These are signs of healthy rooting.
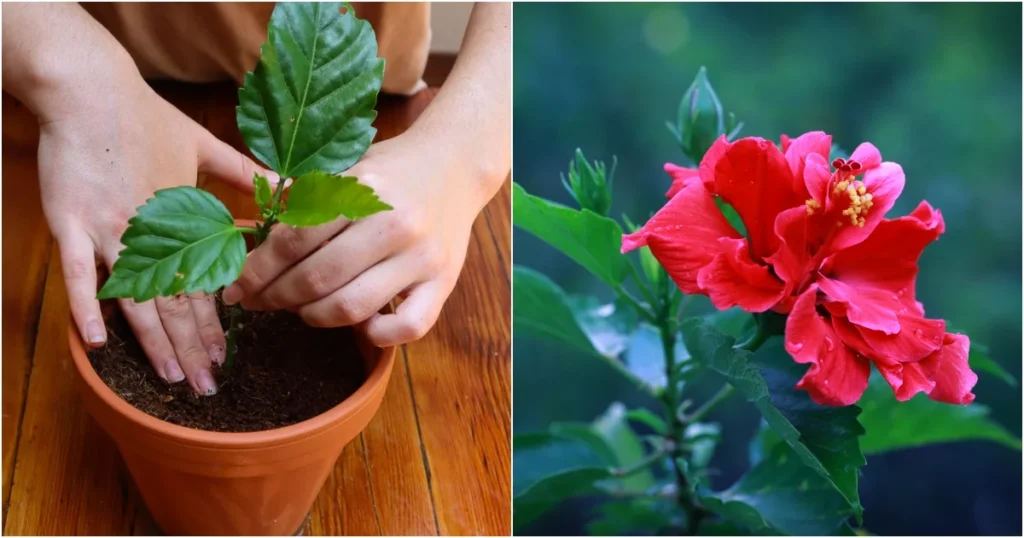
Step 6: Transplanting the New Hibiscus Plant
After 5–6 weeks, once the roots have developed well:
Transfer the rooted cutting into:
- A 6–8 inch pot OR
- Directly into the ground
Use a nutrient-rich potting mix:
- 50% garden soil
- 20% compost
- 20% cow dung or vermicompost
- 10% sand
Water regularly and keep in semi-shade for 10 days, then slowly expose to full sunlight.
Caring for Your Newly Grown Hibiscus Plant
Sunlight
Hibiscus loves 6–7 hours of sunlight.
Watering
Keep soil evenly moist.
Avoid overwatering—it causes root rot.
Fertilizing
Feed your plant:
- Organic compost every 30 days
- Liquid fertilizer every 2 weeks
- Banana peel fertilizer for flowering
Pruning
Prune tips once in 2–3 months to encourage branching and more blooms.
Pest Control
Common pests: aphids, mealybugs, whiteflies.
Use neem oil spray every 10 days to keep your plant healthy.
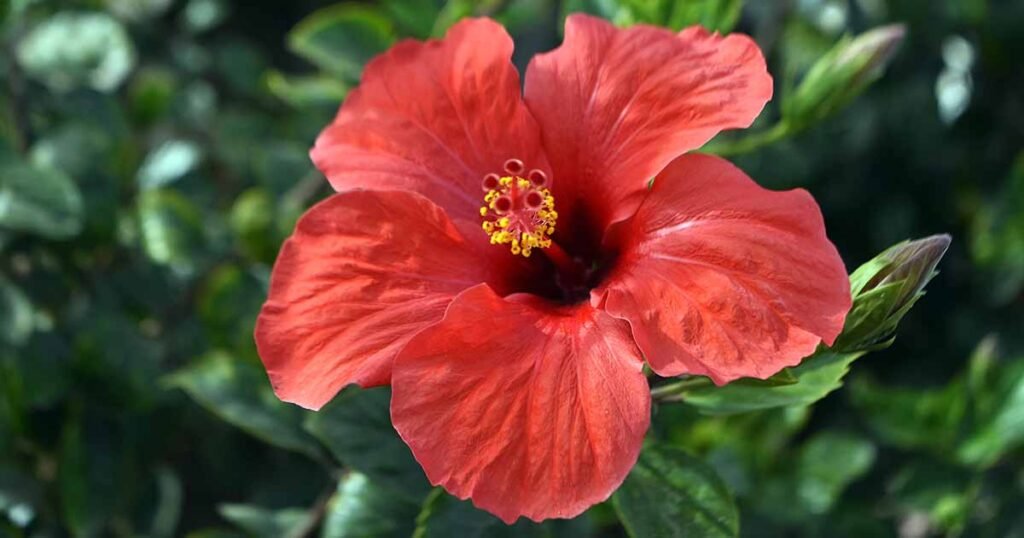
When Will Your Hibiscus Cutting Bloom?
A well-grown cutting can start flowering in:
4–6 months
(If grown under ideal conditions)
Regular feeding, sunlight, and pruning help the plant bloom faster.
Common Problems & Solutions
Cutting turning yellow or soft
—Overwatering
Let soil dry slightly and give ventilation.
Cutting drying out
—Low humidity
Use plastic cover or mist more often.
No roots even after 6 weeks
—Stem too old or too young
Use fresh semi-hardwood cuttings.
Fungus on soil
—Poor air circulation
Open cover for 1 hour daily.
Final Thoughts: Growing Hibiscus from Cuttings Is Easy and Rewarding!
Propagating hibiscus from cuttings is one of the simplest gardening techniques, even for complete beginners. With just a healthy stem, some soil, and a humid environment, you can grow multiple hibiscus plants without spending a rupee!
Whether you love red, yellow, pink, double-petal, or giant hibiscus varieties—cuttings ensure you get the exact same beautiful blooms.
Try this method today and fill your garden with stunning hibiscus flowers!