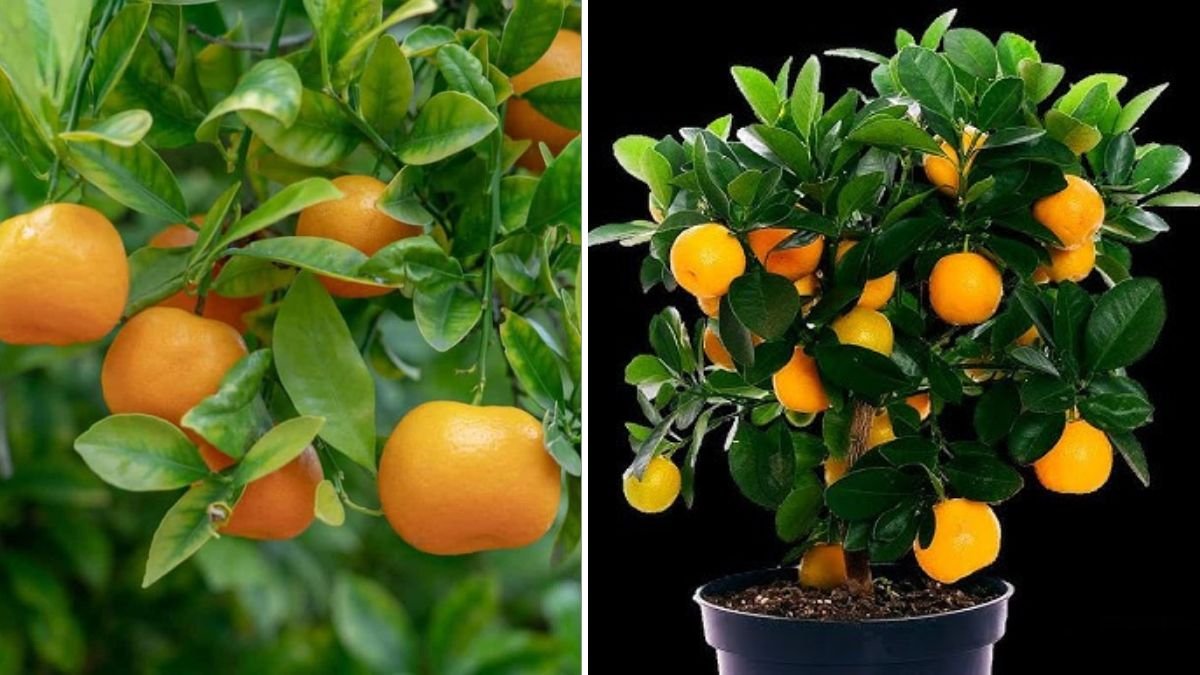
Oranges are among the most beloved fruits worldwide, cherished for their juicy sweetness, refreshing flavor, and high vitamin C content. Imagine being able to grow your very own orange tree from a single orange—tending it from seedling to fruit-bearing tree in your backyard or garden. Not only does this bring fresh oranges to your home, but it also provides a rewarding gardening experience that connects you to nature.
In this comprehensive guide, we’ll explore how to grow an orange tree from an orange, covering every step from seed preparation to harvesting, along with tips on soil, care, fertilization, and disease management.
Why Grow an Orange Tree from an Orange?
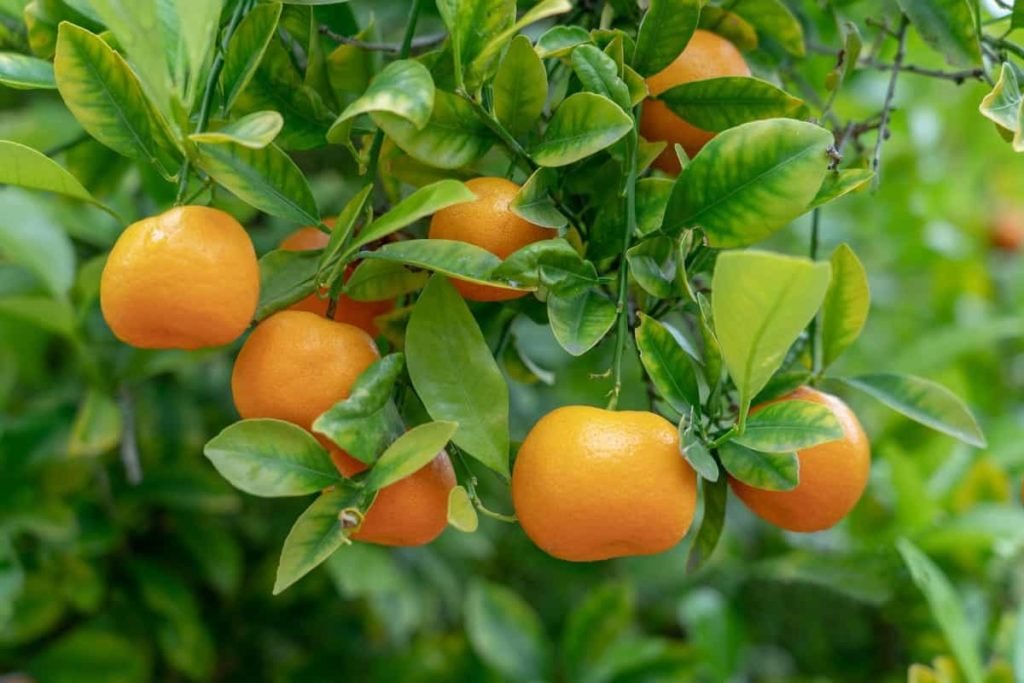
Growing an orange tree from seeds offers several advantages:
- Cost-effective: Seeds from store-bought oranges or your own fruit are free and readily available.
- Satisfaction: Nurturing a tree from seed to fruit is a fulfilling process.
- Homegrown quality: You control the care, ensuring organic, pesticide-free fruit.
- Learning experience: Growing a tree from seed teaches patience, observation, and gardening skills.
While seed-grown trees may take longer to bear fruit compared to grafted trees, they allow you to experiment with unique varieties and enjoy the complete growth journey.
Step 1: Selecting the Orange
Choosing the right orange is crucial:
- Healthy fruit: Use a fresh, ripe orange free from blemishes or disease.
- Organic if possible: Organic fruits reduce the risk of chemical treatments that can affect germination.
- Seed-rich variety: Some oranges have more viable seeds, increasing your success rate.
Store-bought oranges are suitable, but seeds from homegrown or local oranges often perform better.
Step 2: Extracting and Preparing Seeds
- Cut the orange carefully and remove the seeds.
- Wash seeds thoroughly to remove pulp and sugar residue, which can promote mold.
- Optional: Soak seeds in lukewarm water for 12–24 hours to soften the seed coat and improve germination.
- Inspect seeds: Discard any damaged or shriveled seeds.
Seed preparation ensures that only healthy seeds are planted, which boosts your chances of success.
Step 3: Germination
Orange seeds require warmth, moisture, and light for germination:
- Fill a small container or seed tray with a well-draining soil mix (50% garden soil, 30% compost, 20% sand).
- Plant seeds about 1 cm deep. Cover lightly with soil.
- Water gently to moisten the soil.
- Place the container in a warm, sunny location with indirect sunlight.
- Keep the soil consistently moist but not waterlogged.
Germination usually occurs within 2–4 weeks, depending on temperature and seed quality. Using a clear plastic cover or mini greenhouse can help retain humidity and speed up germination.
Step 4: Caring for Seedlings
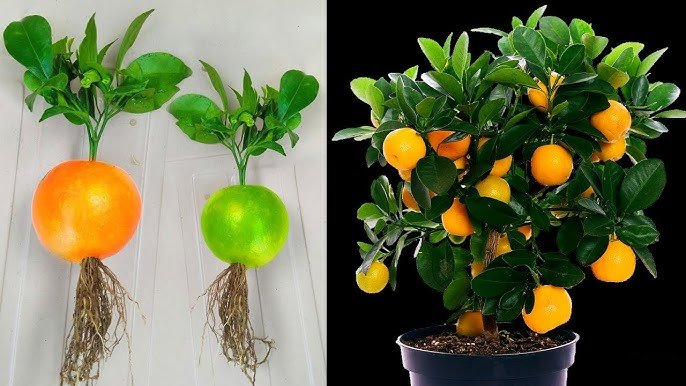
Once the seeds sprout, proper care is essential for strong, healthy seedlings:
- Sunlight: Gradually expose seedlings to full sun to prevent scorching.
- Watering: Keep soil moist but avoid overwatering to prevent root rot.
- Thinning: If multiple seeds germinate in one container, thin to one seedling per pot.
- Fertilization: After the first true leaves appear, apply a mild liquid fertilizer every 2–3 weeks.
Seedlings grow slowly initially, but with proper care, they develop strong roots and stems.
Step 5: Transplanting Seedlings
Seedlings are ready for transplanting when they reach 10–15 cm in height and have 4–6 true leaves:
- Harden off seedlings by gradually introducing them to outdoor conditions over 7–10 days.
- Prepare the planting site or larger pots with fertile, well-drained soil.
- Dig a hole slightly larger than the root ball.
- Plant the seedling carefully and water immediately to settle the soil.
- Space trees 3–4 meters apart in a garden setting to allow proper growth.
Proper transplantation reduces stress and ensures successful establishment.
Step 6: Soil and Site Requirements
Orange trees thrive in well-draining, fertile soils with a pH of 6–7.5:
- Full sun: At least 6–8 hours daily for optimal growth and fruiting.
- Well-draining soil: Avoid waterlogged areas that cause root rot.
- Mulching: Use straw, dried leaves, or wood chips to retain moisture, regulate temperature, and reduce weed growth.
Selecting the right site and soil ensures strong growth and early fruit production.
Step 7: Fertilization
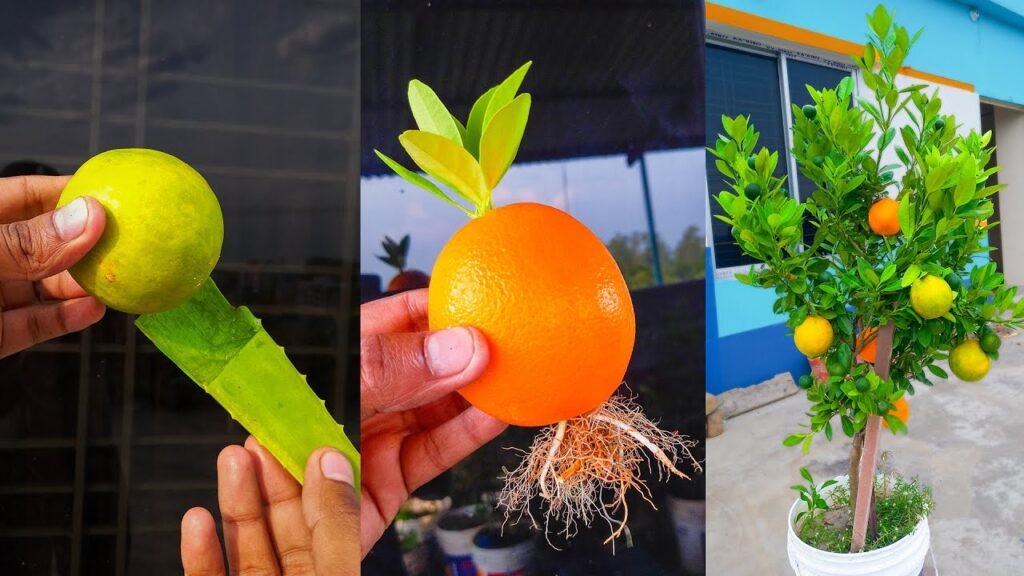
Citrus trees are nutrient-hungry. Fertilization is key for healthy growth and abundant fruit:
- Nitrogen: Promotes leafy growth.
- Phosphorus: Supports root development and flowering.
- Potassium: Improves fruit size, sweetness, and color.
Recommended schedule:
- Apply organic compost at planting and top-dress every 2–3 months.
- Use balanced NPK fertilizer (10:10:10) every 6–8 weeks.
- Apply micronutrients like magnesium and calcium for better fruit quality.
Regular fertilization encourages vigorous growth, flower development, and high-quality fruit production.
Step 8: Watering and Irrigation
- Young seedlings require frequent, gentle watering.
- Established trees need deep watering once or twice a week depending on rainfall.
- Avoid overwatering, which can lead to fungal diseases.
Drip irrigation or soaker hoses work best for consistent moisture management.
Step 9: Pruning and Training
Pruning maintains tree health and shape:
- Remove dead, damaged, or crossing branches.
- Prune lightly to encourage branching and stronger structure.
- Shape young trees to form a single central leader or open vase form.
Pruning improves sunlight penetration, airflow, and fruit development.
Step 10: Pest and Disease Management
Common pests:
- Aphids
- Citrus leaf miners
- Whiteflies
Common diseases:
- Citrus canker
- Root rot
- Fungal leaf spot
Preventive measures:
- Inspect trees regularly
- Use neem oil or insecticidal soaps for pests
- Avoid overhead watering to prevent fungal infections
- Remove affected leaves immediately
Healthy trees are more resilient to pests and produce better fruit.
Step 11: Flowering and Fruit Development
- Orange trees grown from seeds take 3–6 years to bear fruit, depending on variety and care.
- Flowers appear as small white clusters, eventually developing into fruit.
- Hand pollination can improve fruit set if pollinators are scarce.
- Thin fruit clusters to ensure larger, juicier oranges.
Proper care during flowering is essential for high-quality fruit production.
Step 12: Harvesting Oranges
- Oranges are ready to harvest when they reach full color and firm texture.
- Use a sharp knife or clippers to cut fruits, leaving a small portion of the stem attached.
- Avoid picking immature fruits, as they will not ripen properly.
Regular harvesting encourages the tree to continue producing fruits seasonally.
Tips for Maximizing Growth and Yield
- Choose healthy seeds from disease-free oranges.
- Maintain consistent sunlight and moisture.
- Fertilize regularly with organic and chemical fertilizers.
- Prune to improve shape and airflow.
- Protect seedlings and trees from pests and extreme weather.
- Mulch to conserve soil moisture and reduce weeds.
By following these steps, your orange tree will thrive, producing sweet, juicy fruits for years to come.
Conclusion
Growing an orange tree from an orange is a rewarding journey that combines patience, care, and knowledge. From carefully preparing seeds to nurturing seedlings, transplanting, and eventually harvesting, this process allows gardeners to connect deeply with their plants and enjoy the fruits of their labor.
Although seed-grown trees take longer to bear fruit than grafted trees, the satisfaction of growing a tree from a single seed is unparalleled. With proper care, fertilization, watering, and pest management, your orange tree will flourish, producing delicious, home-grown oranges that are fresh, nutritious, and full of flavor.