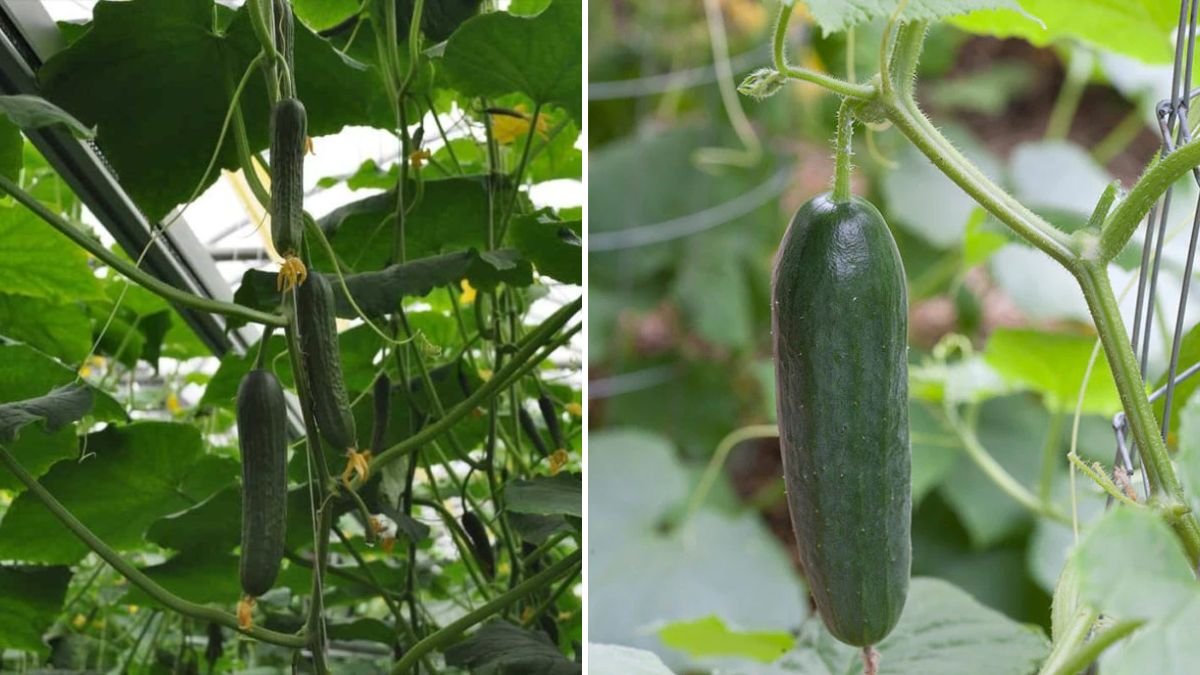
The cucumber tree—known in many regions as Averrhoa bilimbi or bilimbi tree—is a hardy tropical fruit tree valued for its tangy, cucumber-like fruits used in pickles, chutneys, curries, salads, and traditional medicine. Although the tree grows naturally in warm climates, many gardeners face challenges when trying to propagate it successfully. Traditional methods like direct seeding or basic cuttings often fail due to low germination rates and slow root development.
If you’ve struggled to grow a cucumber tree or simply want a more reliable method, this article introduces a new, highly effective way to grow a cucumber tree—a technique that enhances root strength, speeds up establishment, and improves survival even in harsh conditions. This innovative method combines modern horticulture practices with simple materials you can find at home.
Understanding the Cucumber Tree Before Propagation
The cucumber tree is an evergreen tropical fruit tree that prefers:
- Warm temperatures (20–35°C)
- Partial to full sunlight
- Moist but well-drained soil
- High humidity
- Protection from cold winds
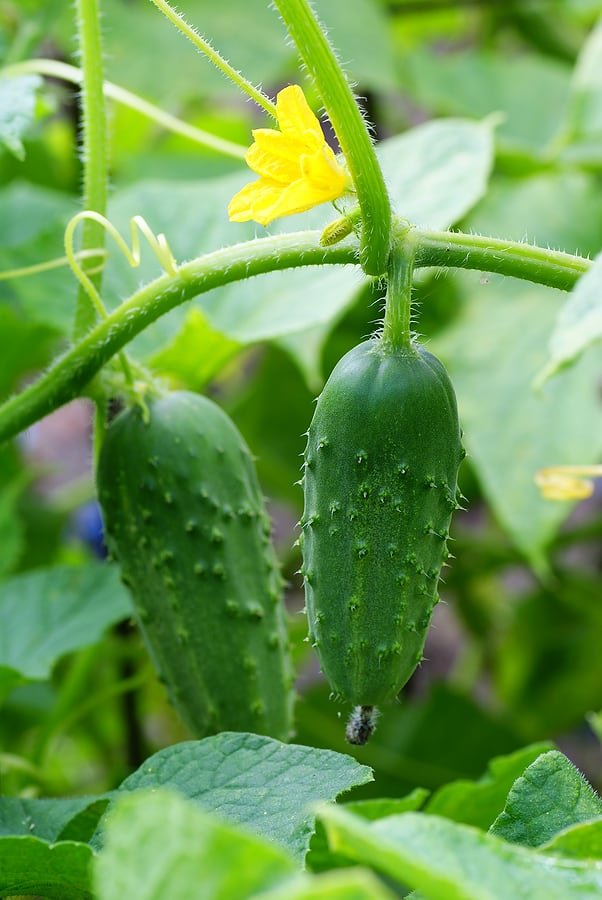
It grows up to 5–10 meters tall, with clusters of green, finger-like fruits that grow directly on the trunk and branches—a unique feature that makes it a favorite among fruit lovers.
Traditionally, cucumber trees are grown from seeds or semi-hardwood cuttings. However, these methods sometimes produce weak plants or result in slow growth. This is where the new propagation method shines.
A New Way to Grow Cucumber Tree: The “Root-Boosted Air-Layering Technique”
Air-layering is already known for propagating many fruit trees like guava, lemon, and litchi. But the root-boosted air-layering method, specifically adapted for cucumber trees, delivers better results. It helps form strong roots while the branch is still attached to the mother plant, ensuring faster establishment when transplanted.
This new method combines traditional air-layering with a special rooting mix, moisture control technique, and a clever use of natural growth boosters.
Let’s break it down step-by-step.
Step 1: Choose the Perfect Branch
Choose a healthy, disease-free branch for air-layering. The ideal branch should be:
- 1–2 years old
- Pencil-thick to thumb-thick
- Free from cracks or pests
- Growing in good sunlight
Branches at eye level make the process easier.
Step 2: Prepare the Branch Using the “Double-Strip Technique” (New Method)
Traditional air-layering uses one ring cut. In this new method, we use a double-strip method for faster root growth.
✔️ How to do it:
- Select a 2–3 inch section on the branch.
- Remove a thin ring of bark at both ends of the selected section—about 0.5 inch wide each.
- Lightly scrape the green layer (cambium) until wood becomes visible.
- Leave the inner wood intact.
Why this works:
It slows downward sap flow slightly and encourages the plant to produce stronger, thicker roots in the layered zone without stressing the branch.
Step 3: Apply Root-Boosting Paste
This is the secret of the new method.
✔️ Special Root-Boosting Paste Includes:
- 1 spoon aloe vera gel
- 1 spoon honey
- A pinch of cinnamon powder
- A few drops of rooting hormone (optional but effective)
Mix well until it forms a sticky paste.
✔️ Why this paste is powerful:
- Aloe vera increases cell division.
- Honey acts as a natural antiseptic and rooting enhancer.
- Cinnamon prevents fungal infection.
- Rooting hormone accelerates root formation.
Apply the paste evenly over the exposed wood.
Step 4: Prepare the Moisture-Controlled Rooting Mix
This is another improvement over traditional techniques.
✔️ The Perfect Rooting Mix:
- 40% coco peat
- 40% river sand
- 20% compost or vermicompost
This mix keeps the rooting zone:
- Moist
- Aerated
- Fast-draining
- Rich in beneficial microbes
Avoid using garden soil—it stays too wet and may rot the branch.
Step 5: Wrap the Rooting Zone Correctly
Use a clean plastic sheet or coconut fiber wrap.
✔️ Wrapping Steps:
- Hold the rooting mix in your palm.
- Apply the mix around the exposed section.
- Wrap firmly with plastic.
- Tie both ends using thread, jute rope, or tape.
- Wrap again with brown paper or cloth to protect from sunlight.
✔️ Bonus Tip:
Prick small holes in the plastic to avoid waterlogging.
Step 6: Maintain Moisture for 4–8 Weeks
Check the air-layer once every 10 days.
Signs of proper development:
- Moist rooting mix
- No foul smell
- Presence of small white roots (after 3 weeks)
- Thick root mass (after 6–8 weeks)
Keep the layer warm and moist for best results.
Step 7: Remove and Transplant Your New Cucumber Tree Plant
After 6–8 weeks, the air-layer will have developed strong roots.
✔️ To transplant:
- Cut the branch below the bottom ring.
- Remove the outer wrapping gently.
- Keep the rooting mix intact—do NOT disturb the new roots.
- Plant it in a medium-sized pot or a shaded area of your garden.
- Water lightly and keep in semi-shade for 2 weeks.
- Gradually shift it to full sunlight.
Your new cucumber tree plant will now grow rapidly.
Advantages of This New Method
⭐ 1. Higher Success Rate (90–95%)
Because the branch stays attached to the mother plant during rooting.
⭐ 2. Faster Growth
The root-boosting paste accelerates cell division.
⭐ 3. Healthy, Thicker Roots
The moisture-controlled medium prevents rot.
⭐ 4. Plant Begins Fruiting Earlier
Air-layered plants mature faster than seed-grown plants.
⭐ 5. Better Survival After Planting
Young plants do not suffer from transplant shock.
How to Care for The Newly Planted Cucumber Tree
✔️ Watering
- Water every 2–3 days
- Avoid overwatering
- Keep soil moist but not soggy
✔️ Sunlight
- First 2 weeks: semi-shade
- After 2 weeks: full sunlight
✔️ Fertilization
Apply once per month:
- Compost
- Banana peel water
- Seaweed extract
- Neem cake powder
✔️ Mulching
Use dry leaves or coconut husk around the base to conserve moisture.
✔️ Pruning
Remove weak or crossing branches to encourage multiple shoots.
When Will It Start Fruiting?
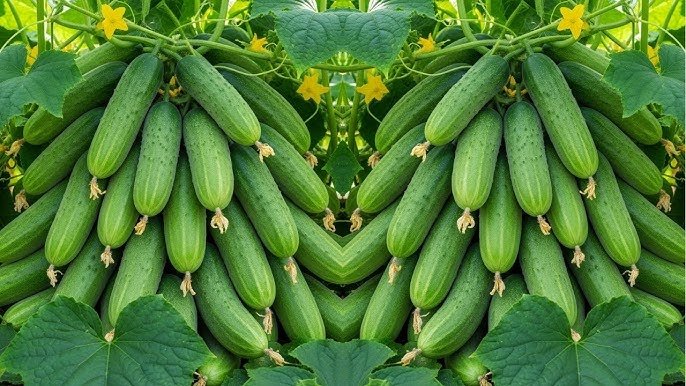
Air-layered cucumber trees fruit much faster:
- Seed-grown: 4–6 years
- Air-layered: 2–3 years
This is one of the biggest advantages of using the new method.
Troubleshooting Common Problems
Root Rot
Cause: Too much moisture
Solution: Ensure drainage holes and avoid soggy rooting mix.
Leaves Turning Yellow
Cause: Nutrient deficiency
Solution: Add compost or liquid organic fertilizer.
Fungal Growth on Layer
Cause: High humidity and no airflow
Solution: Add cinnamon powder during preparation.
Final Thoughts
Growing a cucumber tree doesn’t have to be difficult or unpredictable. With this new root-boosted air-layering technique, you can create strong, healthy, fast-growing plants with minimal effort. This method is simple enough for home gardeners and powerful enough for farmers who want consistent, reliable results.
By applying this innovative propagation technique, you’ll enjoy faster fruiting, improved survival rates, and a thriving cucumber tree that produces abundant, tangy fruits for many years.