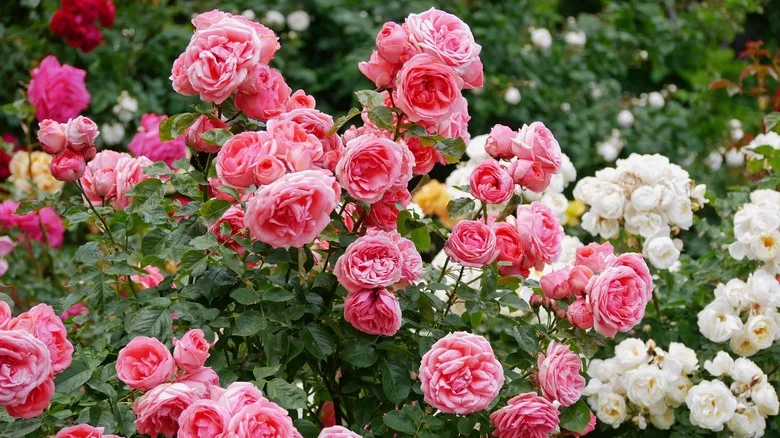
Roses are the queens of the garden—elegant, fragrant, and breathtakingly beautiful. Whether you grow climbing roses, hybrid teas, desi roses, or miniature varieties, the joy of seeing their blooms never fades. But did you know you can multiply your favorite rose plants for free and grow unlimited roses at home?
The secret lies in propagating roses—the art of growing new rose plants from cuttings. This method is simple, cost-effective, and perfect for gardeners of all experience levels. Propagating roses ensures that the new plant will have the same color, fragrance, and growth pattern as the parent plant.
In this complete guide, you’ll learn everything you need to know about propagating roses using stem cuttings, soil techniques, water propagation, and more—plus expert tips to ensure maximum success.
What Is Rose Propagation?

Propagation is a method of reproducing plants from various parts such as stems, leaves, or roots. When it comes to roses, stem cuttings are the most popular and reliable.
Propagation gives you:
- Identical clones of the parent plant
- Faster flowering compared to seed-grown roses
- A cost-friendly way to fill your garden with roses
- A chance to preserve special or rare varieties
Whether you’re starting a rose garden or expanding an existing one, propagating roses is the easiest and most satisfying technique.
Best Time to Propagate Roses
Roses can be propagated anytime, but certain seasons offer better results.
Best Seasons
- Monsoon (excellent rooting)
- Late winter to early spring (ideal temperature)
- Early monsoon when humidity is high
Avoid
- Peak summer (too hot)
- Cold winter months (slow root growth)
Rooting success improves dramatically when humidity and temperature are balanced.
Tools You Will Need
- Healthy rose plant
- Sharp pruning scissors
- Rooting hormone or honey
- Small pots
- Garden soil, sand, and compost
- Spray bottle
- Transparent plastic bottle or bag
- Gloves (roses are thorny!)
Clean tools prevent infection and help your cuttings root faster.
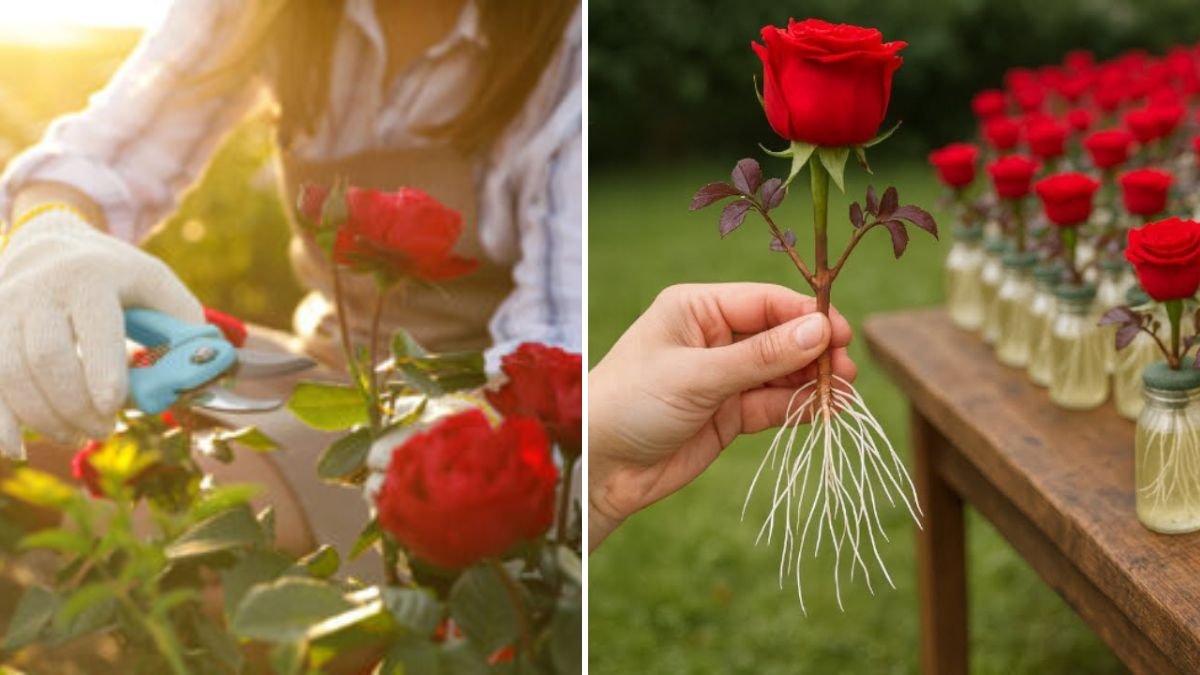
Step-by-Step Guide: How to Propagate Roses from Stem Cuttings

This is the most successful and beginner-friendly method. Follow each step carefully for best results.
Step 1: Select the Perfect Stem
Choose a stem that is:
- About 6–8 inches long
- Healthy and disease-free
- Semi-hardwood (neither too soft nor too woody)
- Not flowering or budding
Cutting must come from a branch that has flowered at least once—it ensures maturity.
Step 2: Make the Ideal Cutting
- Cut just below a node (the area where leaves grow).
- Remove all leaves from the lower half.
- Keep only 2–3 small leaves at the top.
- Remove any thorns on the part that will go into the soil.
This helps the cutting focus energy on rooting instead of sustaining leaves.
Step 3: Dip in Rooting Hormone or Natural Alternatives
Dip the lower part of the stem in:
- Commercial rooting hormone
OR - Honey
OR - Aloe vera gel
These protect against fungi and stimulate root formation.
🪴 Step 4: Prepare the Soil Mix
Roses need well-draining yet moisture-retentive soil.
Ideal Propagation Mix:
- 40% sand
- 40% garden soil
- 20% compost or coco peat
Sand ensures drainage while compost provides nutrients.
Step 5: Plant the Cutting
- Insert the cutting 2–3 inches into the soil.
- Press the soil gently around it.
- Avoid shaking or disturbing the cutting.
You can plant 3–4 cuttings in a single pot if it’s large enough.
Step 6: Create a Humid Environment

Roses root best when humidity is high.
You can do this in two ways:
Method A: Plastic Bottle Dome
Cut a plastic bottle and place it over the pot.
Method B: Polythene Bag
Cover the pot with a transparent bag and tie the base.
This creates a mini greenhouse, preventing water loss and speeding up rooting.
Step 7: Provide Proper Light
Place the pot in:
- Bright, indirect light
- A shaded balcony
- Under a tree
Never keep newly planted cuttings in direct, harsh sunlight.
Step 8: Watering
- Use a spray bottle to mist the soil.
- Keep it moist but never soggy.
- Overwatering causes stem rot.
Water lightly every 2–3 days, depending on climate.
How Long Does It Take for Rose Cuttings to Root?
Under good conditions:
- Callusing: 10–15 days
- Rooting: 30–45 days
- New growth: 45–60 days
You’ll know your cutting has rooted when:
- New leaves appear
- Stem feels firm
- No yellowing or drooping
Once rooted, you can transplant to an individual pot.
Alternative Methods to Propagate Roses
Here are more ways to grow roses if you want to experiment.
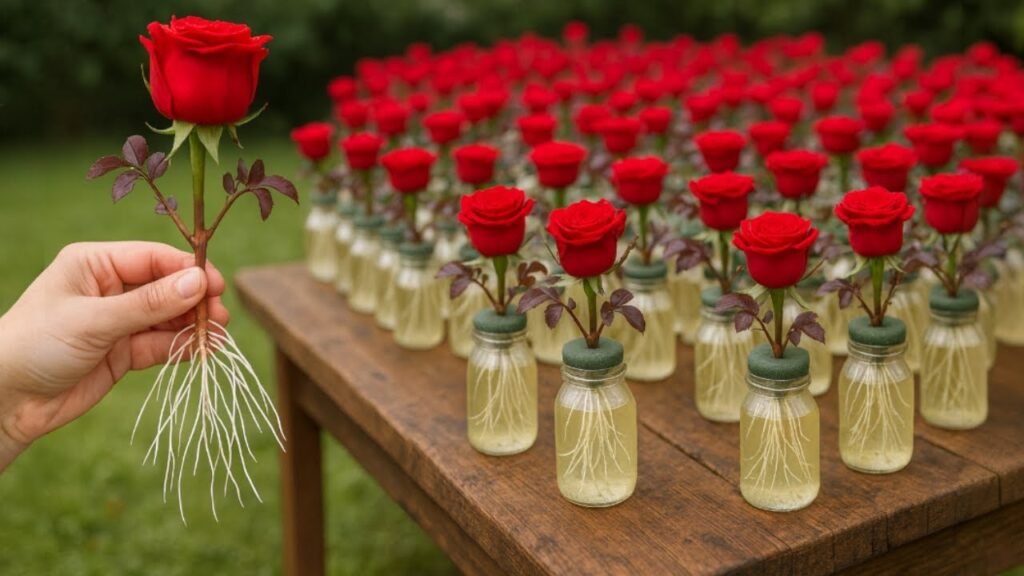
1. Water Propagation (Very Easy)
Roses can root in water too.
Steps:
- Place the stem cutting in a glass of clean water.
- Change the water every 3 days.
- Keep in a bright, shaded area.
- Roots appear in 2–4 weeks.
Not all varieties root successfully in water, but many do.
2. Propagation Through Air Layering
Air layering works well for thick, woody rose stems.
Steps:
- Select a woody branch.
- Remove bark from a small section.
- Apply rooting hormone.
- Wrap with moist moss and cover with plastic.
- Roots form in 4–6 weeks.
This method produces strong, well-developed plants.
3. Propagation by Ground Layering
Bend a low-growing branch to the ground and bury a portion of it.
Roots will form at the buried node.
This is easy but works best when you have space.
Caring for Newly Rooted Rose Plants
Once your rose cuttings root, they need special care.
Sunlight
- Start with morning sunlight for 1 hour.
- Gradually increase light exposure over 10 days.
Roses love sunlight, but young plants need time to adjust.
Watering
- Water when the topsoil feels dry.
- Avoid splashing water on leaves—prevents fungus.
Feeding
After 30–45 days of rooting, start feeding:
- Vermicompost
- Banana peel fertilizer
- Rose-specific NPK (once a month)
- Neem cake powder (for pest prevention)
🪴 Repotting
Shift to a bigger pot (12–14 inches) once roots are strong.
Use a nutrient-rich soil mix for healthy growth.
Common Mistakes to Avoid During Rose Propagation
Avoid these mistakes to improve your success rate:
Using soft, immature stems
Young green stems rot easily.
Overwatering
Too much water leads to fungus.
Keeping cuttings in harsh sun
Sunlight dries them out before roots develop.
Using soil with poor drainage
Heavy clay soil destroys cuttings.
Removing too few leaves
Leaves consume energy needed for rooting.
Using diseased stems
They fail quickly.
How to Increase Propagation Success Rate
Follow these expert tips:
✔ Use semi-hardwood cuttings
✔ Maintain 60–80% humidity
✔ Use a sharp, sterilized knife
✔ Dip in rooting hormone
✔ Place in bright, indirect light
✔ Keep temperature between 20–30°C
These small adjustments significantly boost success.
When Will Your Propagated Rose Start Flowering?
Depending on the method:
- Stem cuttings: 6–12 months
- Air layering: 4–6 months
- Ground layering: 8–10 months
Once established, the new rose plant will bloom just like its parent.
Final Thoughts
Propagating roses is one of the most enjoyable gardening experiences. With just a single stem cutting, you can grow a brand-new rose plant that blooms beautifully and fills your garden with fragrance.
Whether you’re a beginner or an experienced gardener, mastering rose propagation will allow you to grow unlimited roses, preserve rare varieties, and experience the joy of creating life from a simple cutting.
With the right technique, a little patience, and proper care, your rose propagation journey will be successful—and your garden will soon be overflowing with vibrant, healthy roses grown by your own hands.