
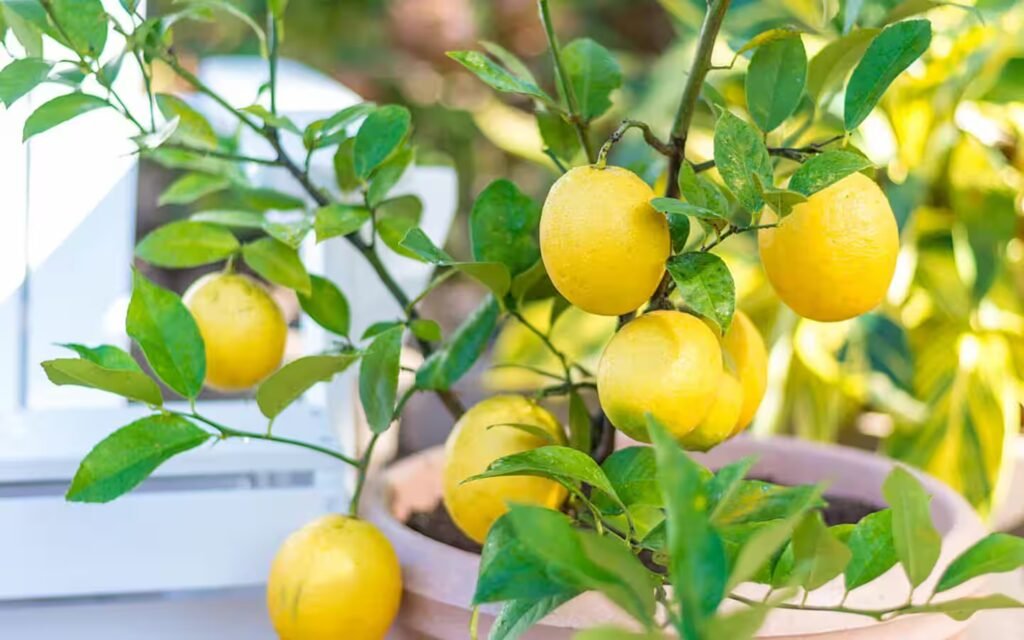
Lemon trees are among the most rewarding fruit trees you can grow at home. Their glossy leaves, fragrant blossoms, and year-round fruit production make them a favorite for home gardeners. But buying new plants every time isn’t necessary—you can easily propagate lemon trees yourself using simple techniques that work even for beginners.
In this in-depth 1200-word guide, you will learn why propagation works, the best methods to use, step-by-step instructions, and pro tips to boost your success rate. Whether you’re growing lemons in pots, backyards, or small spaces, this comprehensive guide will help you grow healthy, vigorous new plants from your existing lemon tree.
Why Propagate Lemon Trees?
Propagating your own lemon trees offers numerous benefits:
Cost-Effective
Instead of purchasing new saplings, you create new plants for free.
Genetically Identical Plants
Propagation from cuttings or layering produces a clone of the mother plant.
If the original tree is sweet, disease-resistant, or high-yielding, the new plants will share these same qualities.
Faster Growth
Plants grown from cuttings mature faster than seedlings, which often take many years to fruit.
Satisfying Experience
Watching a cutting transform into a full tree is deeply rewarding.
Best Techniques to Propagate Lemon Trees
There are three effective ways to propagate lemon trees:
- Stem Cuttings
- Air Layering
- Seed Propagation (Least recommended)
Among these, stem cuttings and air layering give the best results, especially for beginners. Let’s dive deeper into the most reliable method.
Method 1: Propagating Lemon Tree from Stem Cuttings (Highly Recommended)

This is the most popular, fastest, and simplest method. If you have access to a healthy lemon tree, you can create multiple new plants in one go.
Step 1: Select the Right Cutting
Choose:
- A healthy, disease-free branch
- Semi-hardwood (not too young, not too old)
- 6–8 inches long
- With 3–4 leaf nodes
Avoid flowering branches—they root slower.
Step 2: Make a Clean Cut
Use sharp pruning shears to make a diagonal cut. A diagonal cut exposes more surface area for rooting.
Remove all leaves except the top two.
This reduces moisture loss and stress on the cutting.
Step 3: Prepare the Cutting
To increase rooting success:
- Slightly scrape the bark (1 cm) at the bottom
- Dip the end into rooting hormone
(optional but very effective)
Rooting hormone prevents fungal rot and promotes faster root development.
🪴 Step 4: Prepare the Potting Mix
The best rooting mix is:
- 50% cocopeat or peat moss
- 25% perlite or sand
- 25% garden soil
This ensures drainage + moisture retention.
Step 5: Plant the Cutting
Insert at least 2 inches of the cutting into the soil.
Press the soil to remove air pockets.
Water thoroughly.
Step 6: Create a Mini Greenhouse
Cover the pot with:
- A plastic bag
- A clear bottle
- A transparent container
This traps humidity—critical for rooting.
Place the pot in bright indirect light, not harsh sun.
Step 7: Wait for Roots to Develop
Rooting usually takes 4–6 weeks.
Signs of success:
- New leaves appear
- Cutting stands firm
- Gentle tug feels resistance
Once established, slowly remove the plastic cover over 7 days.
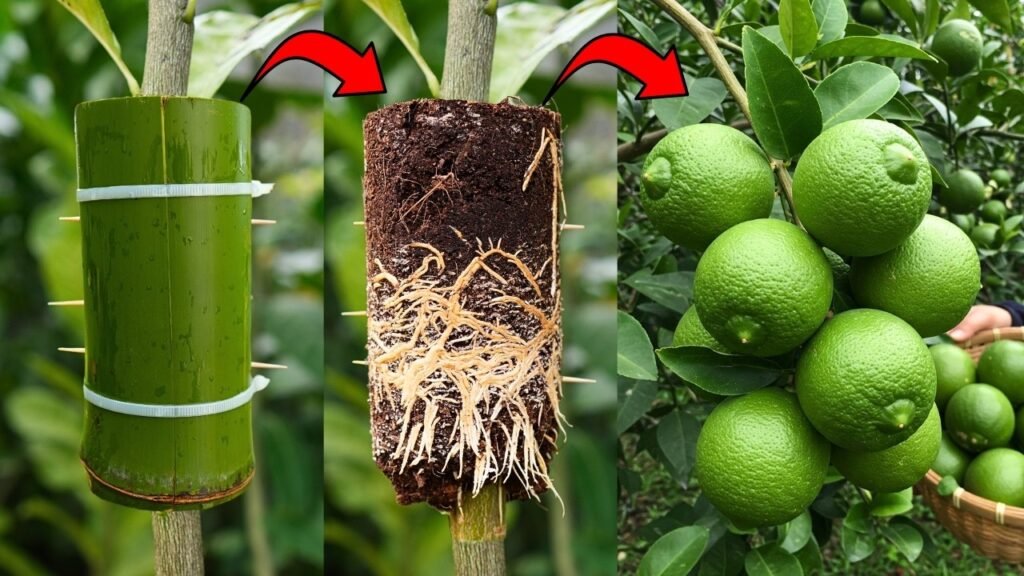
Method 2: Propagating Lemon Tree Through Air Layering (Very High Success Rate)
Air layering is an excellent method if you want:
- Faster growth
- A stronger plant
- Guaranteed rooting
It is especially useful for older branches or if your lemon tree is not responding to cuttings.
Step 1: Choose a Healthy Branch
Select a pencil-thick, flexible branch.
Semi-upright branches work better.
🪵 Step 2: Make the Air Layering Cut
Choose an area 10–12 inches from the branch tip.
Perform one of the following:
Ring Barking (Girdling)
Remove a 1–inch ring of bark
or
Upward Flap Cut
Make a 1–inch upward slant cut and insert a toothpick.
Both methods expose the cambium, encouraging roots to form.
Step 3: Apply Rooting Hormone
This significantly increases success.
Step 4: Pack With Moist Medium
Use:
- Moist sphagnum moss
- Cocopeat
- A mix of soil + compost
Wrap it tightly around the exposed area.
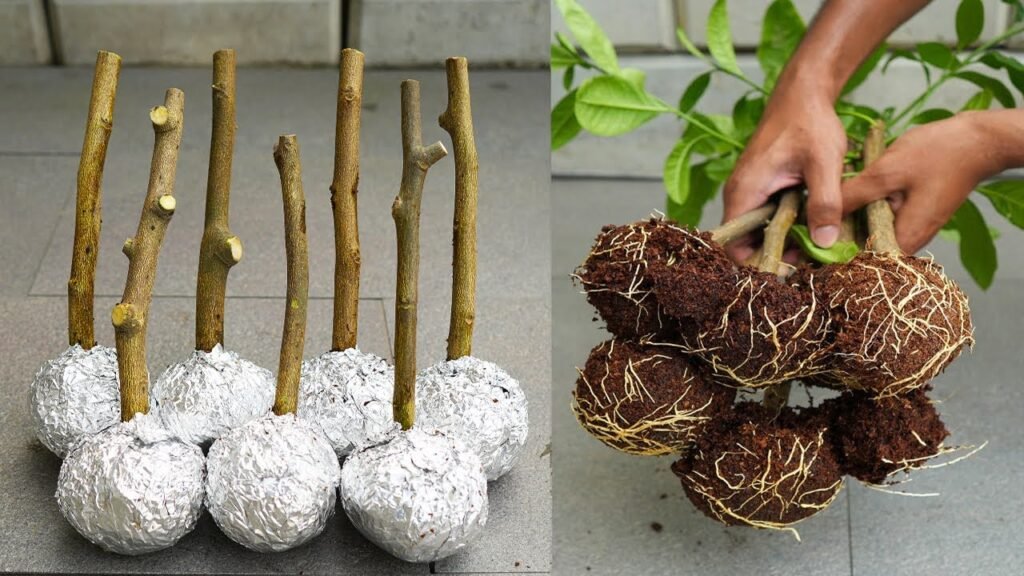
Step 5: Wrap With Plastic Sheet
Use either:
- Cling film
- Polythene bag
- Aluminum foil
Tie both ends securely.
This sealed environment triggers root formation.
Step 6: Wait 4–8 Weeks
Roots appear as a white mass inside the wrapping.
When roots become abundant, cut the branch below the root ball.
Plant it in a large pot and keep in shade for a week.
How to Care for Newly Propagated Lemon Plants
Your new lemon tree needs gentle care during its early development.
1. Sunlight
- First 2 weeks: partial shade
- After 3 weeks: morning sunlight
- After 1 month: full sun
2. Watering
Water when the top 1 inch of soil is dry.
Avoid overwatering—lemon roots are sensitive to rot.
3. Fertilization
After 6 weeks, begin feeding:
- Compost tea
- Cow dung compost
- Balanced NPK fertilizer (once a month)
4. Training & Pruning
To develop a strong structure:
- Pinch off the top once the plant reaches 1 ft
- Remove weak or inward-growing branches
This encourages bushy growth and more fruit.
Common Mistakes to Avoid
Using young, soft branches
They rot easily and root slowly.
Overwatering the cutting
Leads to fungal infections.
Keeping in strong sunlight
This evaporates moisture and stresses the plant.
Not using a humidity dome
This is the #1 reason cuttings fail.
When Will Your Propagated Lemon Tree Fruit?
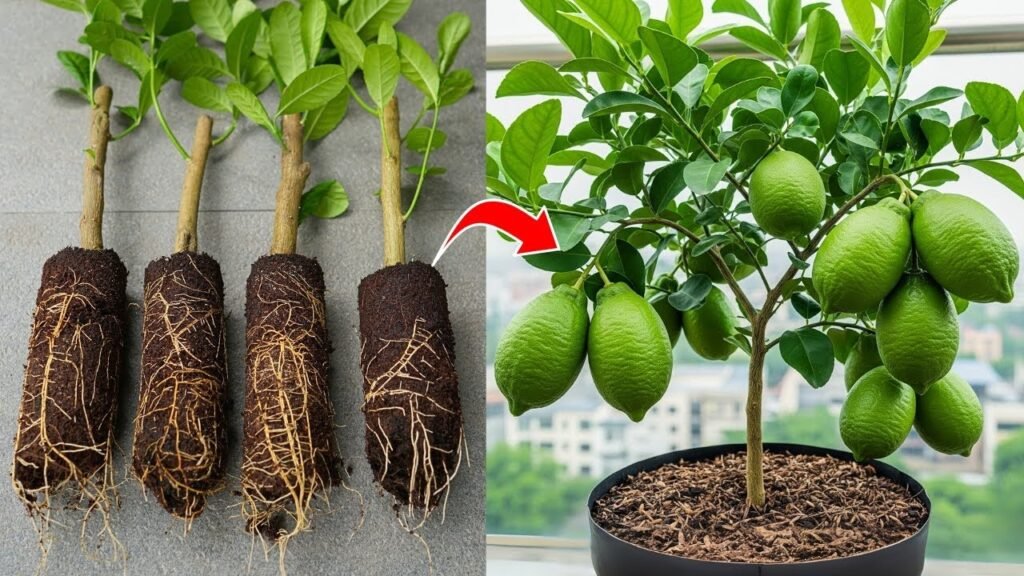
Lemon trees propagated from cuttings or layering usually fruit in:
2–3 years
(compared to 5–7 years from seeds)
With proper sunlight, watering, and nutrients, your plant will produce juicy lemons faster than you expect.
Final Thoughts
Propagating lemon trees is a simple, inexpensive, and deeply satisfying way to expand your home garden. Whether you choose stem cuttings or air layering, both methods are highly effective and beginner-friendly.
With the right technique, patience, and consistent care, you can turn a single lemon tree into a garden full of fruit-bearing beauties.