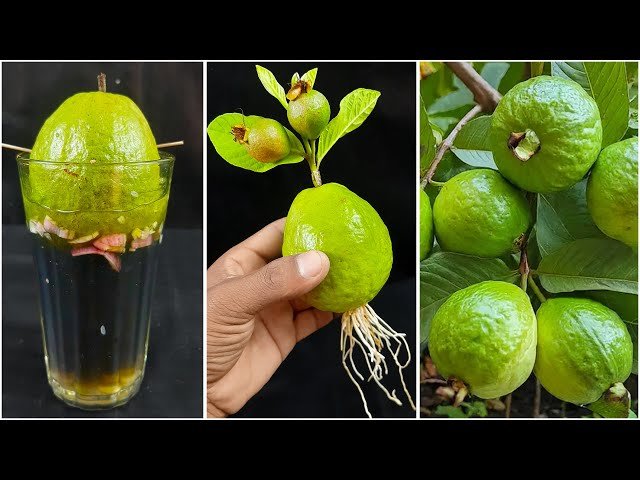
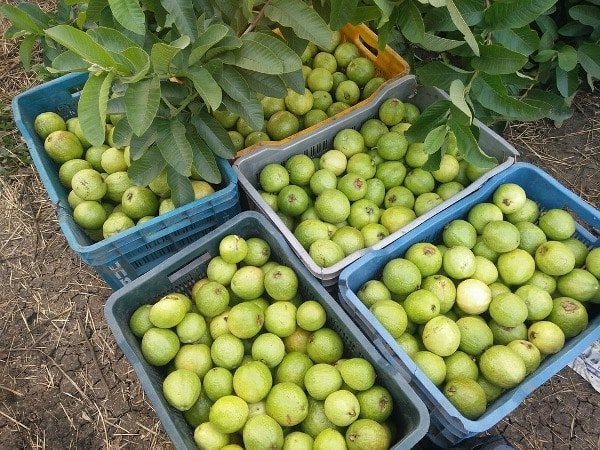
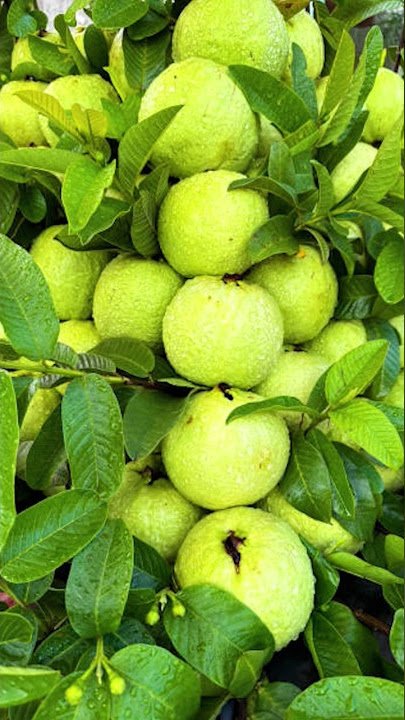
Guava trees are among the easiest and most rewarding fruit trees to grow. They adapt to different climates, grow vigorously, and produce delicious, nutrient-rich fruits. But if you want bigger fruits, faster harvests, disease resistance, and consistent quality, grafting is the most reliable method.
Grafting allows you to combine the best qualities of two plants:
🌱 A strong, disease-resistant rootstock
🍃 A high-quality fruiting scion
In this in-depth guide, you’ll learn everything you need to know about guava tree grafting, from choosing the right rootstock to successful aftercare. Whether you’re a beginner or an experienced gardener, these techniques will help you create a strong guava tree that fruits abundantly in a shorter time.
Why Grafting Guava Trees Is a Game-Changer
Grafting is not just a gardening trick—it’s a powerful technique used in commercial orchards to produce superior guava plants. Here’s why grafting is preferred over growing from seeds:
✔️ 1. Faster Fruiting
Seed-grown guava trees may take 4–6 years to bear fruit.
Grafted guava trees fruit in 1–2 years.
✔️ 2. True-to-Type Fruits
A grafted tree produces fruits exactly like the mother plant—same taste, texture, size, and quality.
✔️ 3. Strong Root System
A hardy rootstock helps the tree tolerate drought, pests, and soil variations.
✔️ 4. High Yield
Grafted guava trees produce more fruits and bloom multiple times a year.
✔️ 5. Compact Growth
Perfect for terrace gardening, balcony gardens, and small home spaces.
Best Time for Grafting Guava Trees
Guava grafting works best when the plant is actively growing.
Ideal seasons:
- Early monsoon
- Late spring
- Early summer
These periods promote rapid callus formation and improve graft success.
Choosing the Right Rootstock and Scion
Rootstock Selection
Choose a rootstock that is:
- 1–2 years old
- Healthy and disease-free
- Strong stem thickness: pencil to finger width
- Grown from a hardy local guava variety
Local rootstocks adapt better to soil and climate conditions.
Scion (Grafting Material) Selection
Choose the scion from:
- A high-yielding, delicious mother plant
- A branch that is disease-free
- A mature stem (green-brown color)
- 2–3 healthy buds present
The scion should be freshly cut and used immediately for best results.
Popular Grafting Techniques for Guava Trees
There are several grafting techniques, but the most effective ones for guava include:
1. Cleft Grafting (Most Popular & Beginner-Friendly)
2. Veneer Grafting
3. Wedge Grafting
4. Patch Budding (Advanced Method)
Let’s go through the most successful and easy method: cleft grafting.
Step-by-Step Guide: Cleft Grafting Guava Trees
This method is simple, fast, and provides high success rates, especially for home gardeners.
Step 1: Prepare Your Tools
You will need:
- Sharp grafting knife or blade
- Pruning shears
- Grafting tape (or plastic strip)
- Sterilizer (spirit/bleach solution)
- Scion and rootstock
Always sterilize tools to prevent infection.
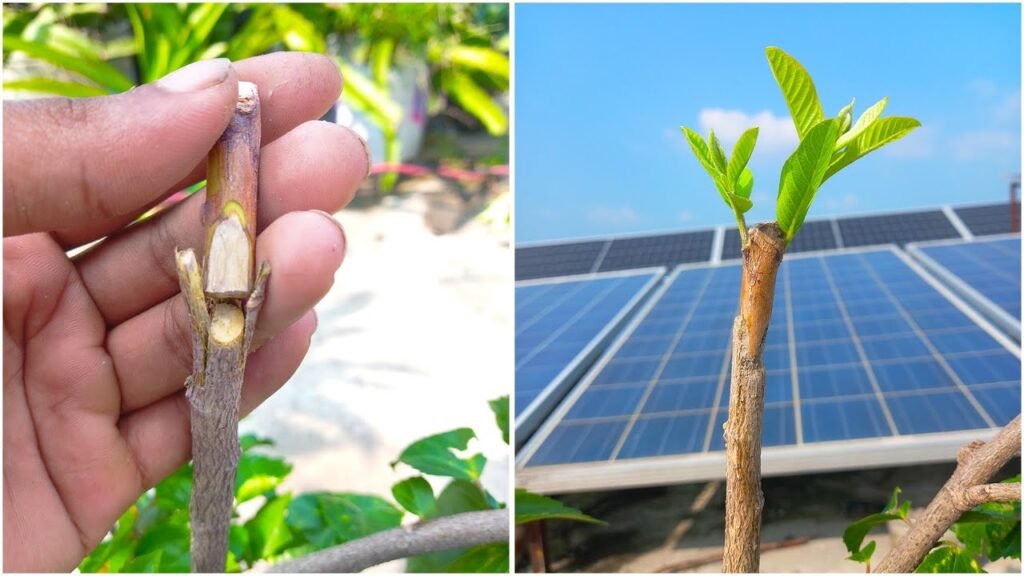
Step 2: Prepare the Rootstock
Choose a straight, healthy section of stem.
Cut the top horizontally to make a flat surface.
Now create a 2–3 cm deep vertical split in the center.
This becomes the cleft for inserting the scion.
Step 3: Prepare the Scion
Cut the scion to 3–4 inches long with 2–3 buds.
Shape the bottom end of the scion into a V (wedge shape) by making two slanted cuts.
This allows perfect contact with the rootstock.
Step 4: Insert the Scion
Open the cleft gently and insert the scion wedge into the slit.
Make sure:
- The cambium layers of both plants touch firmly
- The scion sits securely and upright
- At least one bud remains above the graft point
Proper cambium contact is the key to graft success.
Step 5: Seal the Graft
Wrap the graft area tightly with:
- Grafting tape
- Plastic strip
- Parafilm tape
This protects the graft from:
- Moisture loss
- Air exposure
- Diseases
- Insects
Sealing is extremely important for healing.
Step 6: Cover for Humidity (Optional but Helpful)
You may cover the entire scion with:
- A transparent plastic bag
- A small bottle
- A humidity dome
This reduces moisture loss and increases graft success.
Step 7: Place the Plant in Shade
Keep the grafted plant in bright, indirect light, not direct sun.
Direct sunlight may dry out and kill the scion before it unites.
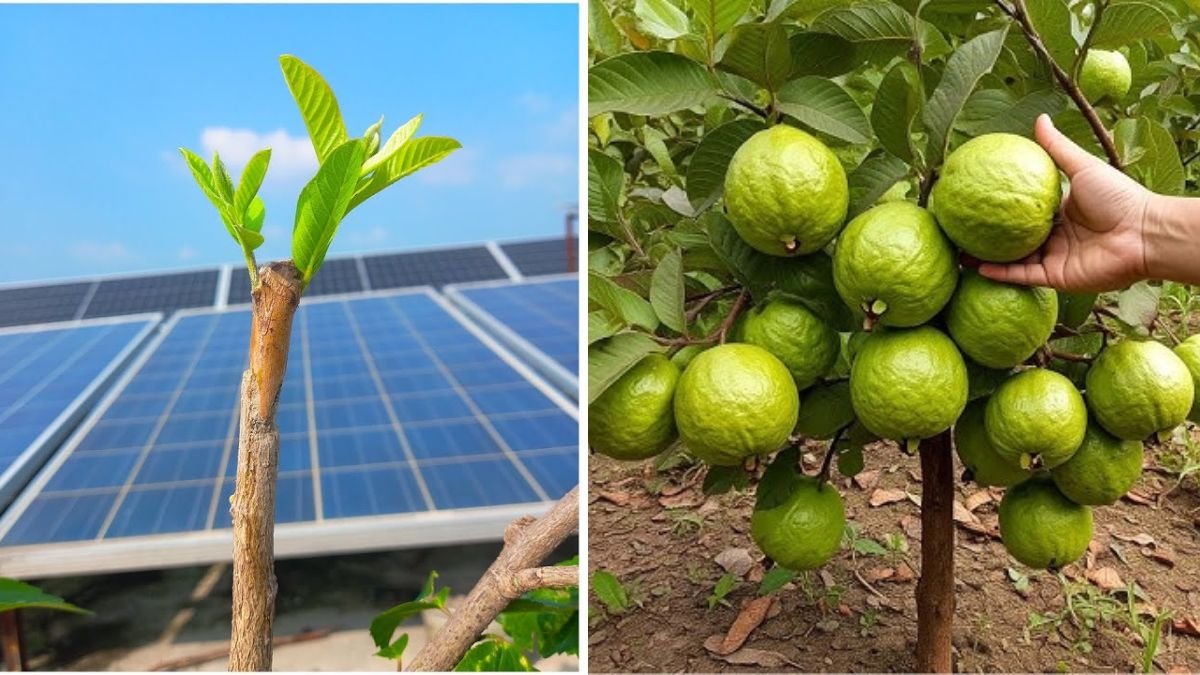
When Will the Graft Take?
If done correctly:
- Callus formation begins in 10–14 days
- Buds start swelling in 3–4 weeks
- Leaves emerge in 4–6 weeks
- Tape can be loosened after 6–8 weeks
Once the scion grows steadily, move the plant to partial sunlight and later to full sun.
Aftercare for a Successfully Grafted Guava Tree
✔️ 1. Remove Rootstock Shoots
Cut any new shoots growing below the graft point.
They steal nutrients from the grafted scion.
✔️ 2. Fertilize Lightly
After 6–8 weeks, add:
- Vermicompost
- Cow dung powder
- Banana peel fertilizer
But avoid heavy fertilizing in the early stages.
✔️ 3. Provide Support
Tie a small support stick to help the tender scion grow upright.
✔️ 4. Protect from Pests
Spray neem oil every 10–15 days to prevent stem borers and mealybugs.
✔️ 5. Shift Gradually to Full Sun
Sudden heat may damage new growth.
Gradually expose the grafted plant to full sunlight.
Benefits of a Well-Grafted Guava Plant
A properly grafted guava tree offers:
- Faster fruiting
- Larger fruit size
- Higher yield
- Multiple harvest cycles
- Strong disease resistance
- Longer lifespan
- Better adaptability to different soils
It is especially beneficial for:
- Terrace gardeners
- Home gardeners
- Farmers
- Nursery growers
Common Problems in Guava Grafting & How to Fix Them
❌ Problem 1: Scion dries out
✔️ Solution: Improve humidity and ensure tight sealing.
❌ Problem 2: No bud growth after 6 weeks
✔️ Solution: Cambium layers were not aligned—try again.
❌ Problem 3: Infection at the graft point
✔️ Solution: Always sterilize tools before cutting.
❌ Problem 4: Rootstock keeps producing shoots
✔️ Solution: Remove immediately.
Conclusion: Start Grafting and Enjoy Premium Guavas at Home
Grafting guava trees is one of the most effective and rewarding techniques for anyone who wants top-quality fruits in the shortest time possible. With just a few tools, some practice, and the steps outlined in this guide, you can produce guava plants that:
- Grow faster
- Fruit earlier
- Resist diseases
- Produce exceptional-quality fruits
Whether you’re a beginner or an enthusiast, grafting unlocks a whole new level of gardening success. Try it once, and you’ll never go back to ordinary seed-grown guava plants!