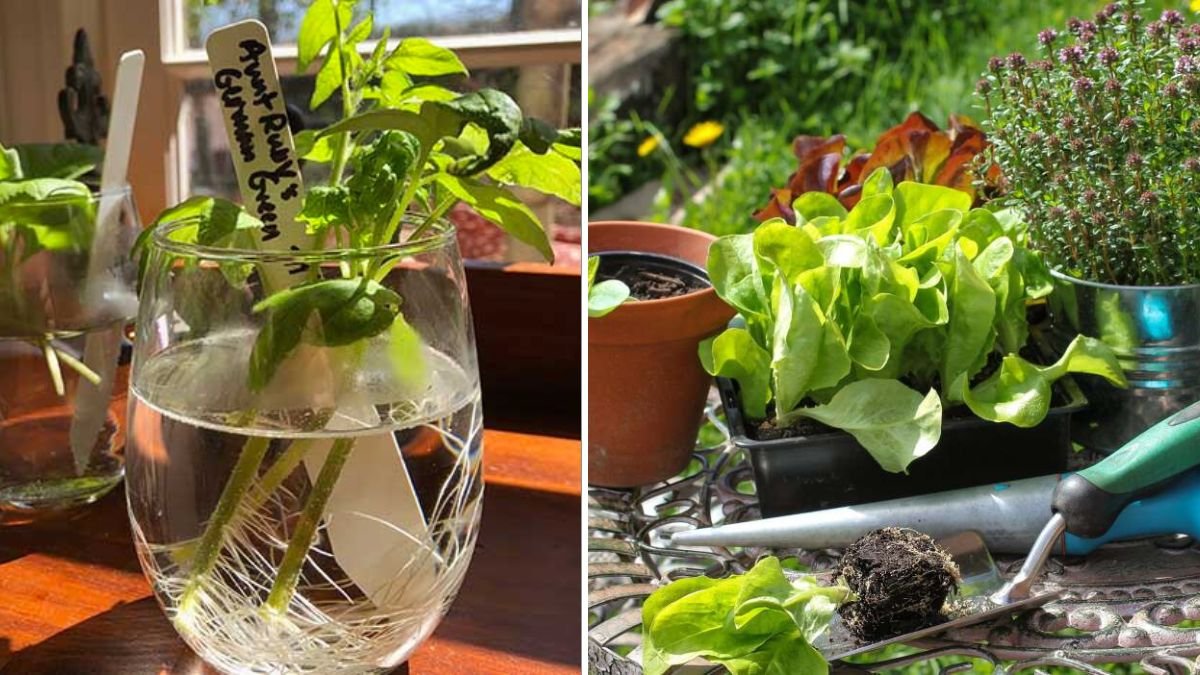
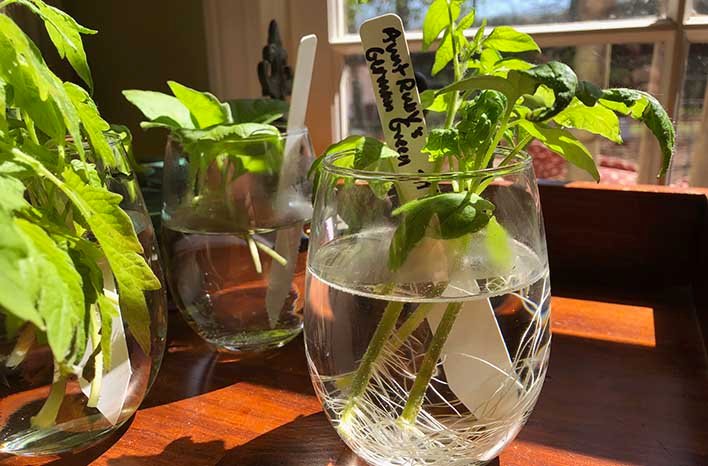
Propagation is one of the most satisfying joys of gardening. Taking a small part of a plant and turning it into a thriving new one feels like growing life from life. Whether you’re expanding your garden, sharing plants with friends, or simply saving money, propagation is the perfect solution. Among all the methods available, gardeners often ask: What is the easiest and most reliable way to propagate plants at home?
Today, we explore a brilliant, beginner-friendly method—one of the greatest ideas to propagate plants successfully—using a simple technique that works for most fruiting plants, ornamentals, and indoor varieties. This method is tried, trusted, and perfect even for complete beginners.
Let’s dive into the step-by-step guide to mastering stem cutting propagation, a method that is easy, fast, and extremely effective.
Why This Method Is a Great Idea for Propagation
There are many propagation methods—air layering, division, grafting, seed sowing—but stem cutting stands out. Why?
Works for many plant types
Guava, lemon, rose, hibiscus, bougainvillea, jasmine, papaya (semi-hardwood), and hundreds of ornamentals root easily.
Saves money
One mother plant can produce dozens of new plants.
Guarantees identical plants
Seeds sometimes produce unpredictable results.
Cuttings produce exact clones of the mother plant.
Faster than growing from seed
Cuttings mature faster, fruit sooner, and bloom earlier.
Beginner-friendly
Minimal tools, small space, low effort—high success!
If you want a simple, reliable method to grow your garden beautifully, this is the one.
The Complete Step-by-Step Method
Below is the full 1200-word guide to turning a single plant into many using one of the best propagation techniques ever.
1. Choose the Perfect Mother Plant

Always pick a healthy, disease-free plant. The cuttings will carry the same traits, so avoid:
- plants with fungus
- yellowing leaves
- pest attacks
- nutrient deficiency signs
A strong mother plant = strong baby plants.
Choose branches that are:
- green but slightly firm
- not too young and not too woody
- flexible but not soft
This is known as semi-hardwood, the best stage for rooting.
2. Prepare the Ideal Cutting
Using a sterilized knife or garden shear, follow these guidelines:
Length
6–8 inches long is perfect.
Nodes
Make sure the cutting has at least 3 nodes—rooting depends on nodes.
Leaves
Remove leaves from the bottom half.
Keep 1–2 leaves at the top.
This reduces water loss while still allowing photosynthesis.
Bottom Cut
Make a slanted cut at the bottom.
This increases surface area for root growth.
Time of Day
Early morning cuttings survive better thanks to natural moisture.
3. Use Rooting Hormone for Higher Success
Although optional, rooting hormone makes a huge difference.
You may use:
- Commercial rooting powder
- Aloe vera gel
- Honey
- Willow water
- Cinnamon powder (antifungal benefit)
Dip the lower end of the cutting into the hormone to speed root formation and prevent rot.
4. Prepare the Best Soil Mix for Propagation
Cuttings need a light, airy medium—not regular heavy soil.
Ideal Rooting Mix:
- 40% coco peat
- 30% perlite or river sand
- 30% compost or garden soil
This mix ensures:
- Moisture retention
- Proper drainage
- Oxygen flow
- Low risk of fungal rot
You can also use:
- Sphagnum moss
- Vermiculite
- Pure sand for harder plants like bougainvillea
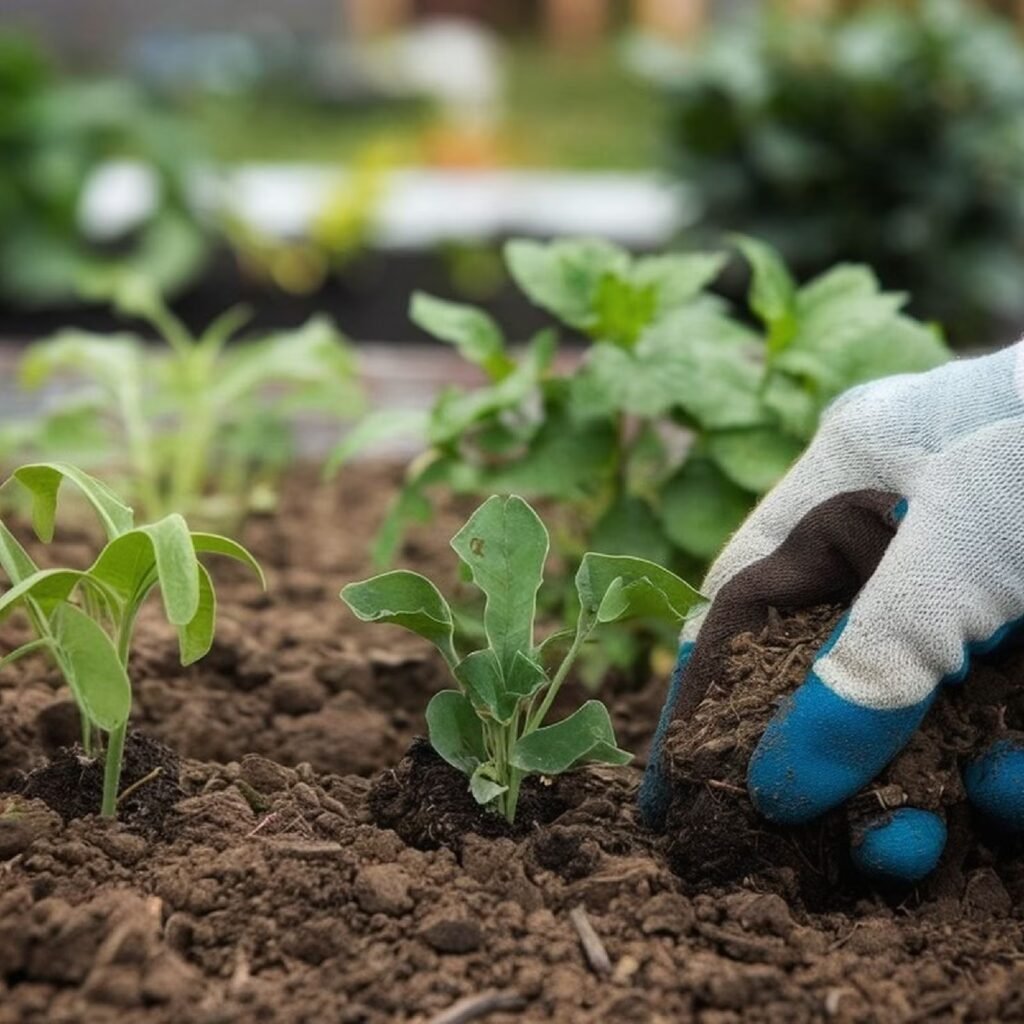
5. Plant the Cutting Properly
Use a pencil, stick, or finger to make a hole so the cutting can slide in without scraping off the rooting hormone.
Steps:
- Insert the cutting 2–3 inches deep.
- Ensure at least one node is below the soil.
- Firmly press soil around the base for stability.
Plant multiple cuttings to increase the success rate.
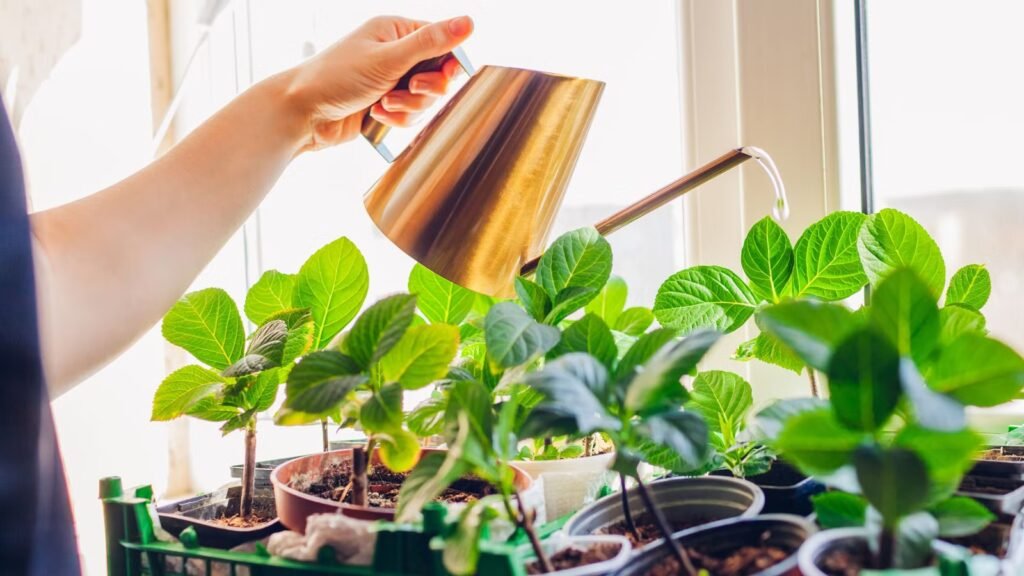
6. Water Wisely
Water the soil until it is moist but never soggy.
Golden Rule:
- Moist soil = roots form.
- Wet soil = roots rot.
Use a spray bottle for gentle watering.
7. Create a Mini Greenhouse for Humidity
Humidity is key to rooting success.
Create a greenhouse using:
- A transparent plastic bag
- A plastic bottle cut in half
- A propagation tray with a lid
Cover the pot but leave small airflow gaps.
This keeps humidity high but prevents fungal buildup.
Important:
Never place covered cuttings in direct sunlight—they may overheat.
8. Provide the Right Light and Temperature
Place your cuttings where they can receive:
- Bright, indirect sunlight
- Warm conditions (22–30°C ideal)
- Good ventilation
Avoid harsh sun and strong winds.
9. Watch the Progress Without Disturbing the Plant
Cuttings need patience.
Typical Rooting Time:
- Soft plants (pothos, basil): 7–10 days
- Roses, hibiscus: 2–3 weeks
- Guava, lemon: 4–6 weeks
- Hardwoods: 8–12 weeks
Do not pull to check roots.
Instead, gently lift the pot or touch the soil.
You will see:
- New leaf growth
- Increased thickness at nodes
- Soil resistance (indicating roots)
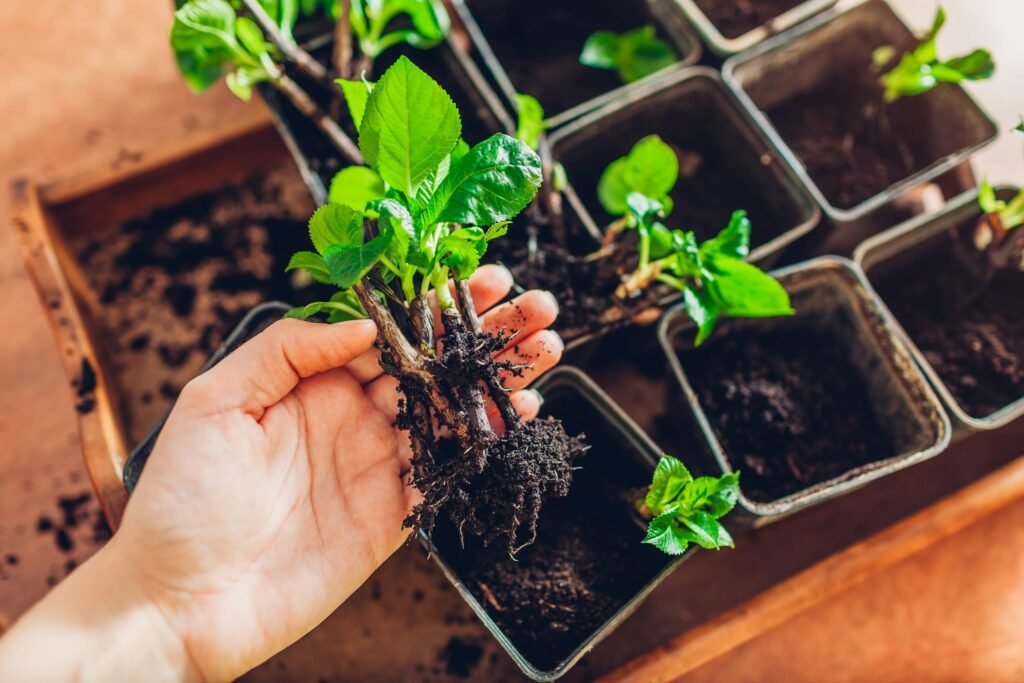
10. Transplant the Rooted Cutting
Once strong roots develop and the cutting resists when tugged, it’s time to shift it into a bigger pot.
Use a balanced soil mix:
- 40% garden soil
- 30% compost
- 30% sand or perlite
After transplanting:
- Keep the plant in shade for 4–5 days
- Water lightly
- Avoid fertilizing for 2–3 weeks
Let it settle, then slowly introduce sunlight.
Expert Tips for 100% Success
Choose the right season
Best time for propagation:
- Early monsoon
- Spring
- Early autumn
Avoid winter and harsh summer.
Sterilize tools
Prevents infection and fungal problems.
Do not overwater
Most cuttings die due to excess moisture.
Mist regularly
Humidity keeps the cutting alive until roots form.
Use healthy stems
Young but matured stems root best.
Which Plants Propagate Well Using This Method?
Very easy:
- Money plant
- Syngonium
- Snake plant
- Mint
- Basil
- Wandering Jew
Moderate:
- Hibiscus
- Bougainvillea
- Rose
- Jasmine
- Adenium
Harder but possible:
- Lemon
- Guava
- Pomegranate
- Figs
- Citrus
- Grapes
If you master this method, you can multiply almost any plant.
Why This Propagation Method Is a Game-Changer
This method is so effective because it gives you:
Fast growth
Cuttings skip the slow seed stage.
Identical plants
You get the same fruit quality, flower color, growth habit, and resistance traits.
Huge cost savings
Turn one plant into many—FREE.
Perfect for home gardens
Ideal for small spaces, balconies, and container gardening.
Fun and rewarding
Creating a new plant with your own hands feels magical.
Final Thoughts
Propagation is more than a gardening technique—it’s a celebration of nature’s ability to multiply and flourish. With this great idea for propagation, you can expand your garden beautifully and effortlessly. Whether you love fruit trees, flowering plants, succulents, or indoor species, cuttings give you a powerful way to grow more with less.
If you follow every step carefully—selecting the right cutting, preparing the right medium, maintaining humidity, and giving the right light—you’ll enjoy incredible success and a garden full of healthy, thriving plants.