Kale is one of the most nutrient-rich leafy greens you can grow at home—packed with vitamins, antioxidants, and essential minerals. But despite being a hardy plant, kale has one stage where it needs extra attention: the seedling stage. Healthy seedlings are the foundation of strong plants, fast growth, and abundant harvests.
If your kale seedlings often turn leggy, yellow, or weak, don’t worry. With the right methods, you can grow robust seedlings every single time. This guide covers everything you need to know—from sowing, soil preparation, watering techniques, light requirements, fertilizing, and troubleshooting common problems.
Whether you grow in containers, raised beds, or hydroponics, these tips and tricks will help you raise perfect kale seedlings.
1. Start with Quality Seeds for Best Results
Kale has many varieties—curly kale, Lacinato (dinosaur kale), red Russian, Siberian, and more. Regardless of the type, choose:
- Fresh seeds (less than 1–2 years old)
- Organic, untreated varieties
- Reputable brands
Tip: To check seed viability, soak a few seeds in water. The ones that float are likely old or damaged.
2. The Perfect Soil Mix for Strong Seedlings
Kale seedlings require soft, aerated, and nutrient-balanced soil. Avoid heavy garden soil, which suffocates young roots.
Ideal Seed-Starting Mix:
- 40% Cocopeat or peat moss – moisture retention
- 30% Compost or vermicompost – nutrients
- 20% Perlite or sand – improved drainage and aeration
- 10% Garden soil – structure and trace minerals
Additives to Improve Seedling Health:
- A handful of neem cake powder to prevent fungus
- One teaspoon of wood ash for potassium
- A pinch of Epsom salt for magnesium
This combination produces sturdy kale seedlings with deep green leaves.
3. How to Sow Kale Seeds Correctly
Sowing Depth:
Kale seeds are tiny—plant only 0.5 cm deep.
Spacing:
If using seed trays: place 1–2 seeds per cell
If sowing in pots: sow 3–4 seeds and thin to 1 later
Moisture:
Lightly water after sowing; avoid flooding the tray.
Germination Time:
Kale seeds germinate in 3–7 days in warm conditions.
4. Light Requirements: Prevent Legginess Early
Light is the most crucial factor in seedling success. Kale seedlings become tall, weak, and thin if they don’t receive enough light.
For Best Growth:
- Provide 4–6 hours of direct sunlight, or
- 8–12 hours under grow lights
Place seedlings close to the window or grow light—about 5–10 inches below the bulb.
Trick: Rotate trays every day to ensure straight, even growth.
5. Watering Techniques: Avoid Damping-Off Disease
Seedlings are extremely sensitive to water. Overwatering causes fungal infections, where seedlings suddenly bend and die.
Correct Watering Method:
- Use a spray bottle or bottom watering
- Only water when the topsoil looks slightly dry
- Ensure good airflow around the seedlings
Never let seedlings sit in stagnant water.
Bonus Trick:
Spray a mild neem solution (1 tsp per liter) once a week to prevent fungal issues.
6. Temperature Needs: Kale Loves Cool Weather
Even though mature kale tolerates cold well, seedlings require a stable, mild temperature to grow properly.
Ideal Temperature Range:
- 18–25°C during the day
- 12–18°C at night
Avoid extreme heat. High temperatures make seedlings grow weak and pale.
7. When and How to Fertilize Kale Seedlings
Kale doesn’t need heavy feeding early on, but it loves gentle nutrients at the right time.
Start Fertilizing After 10–12 Days
Use mild fertilizers such as:
- Compost tea
- Diluted seaweed extract
- Fish emulsion (very weak)
- Vermicompost tea
Apply once every 7–10 days.
Never use strong chemical fertilizers on seedlings—they burn the roots.
8. Thinning Seedlings for Best Growth
If multiple seeds germinate in one spot, thin them to avoid overcrowding.
Why thinning is important:
- Prevents competition for light
- Encourages stronger root growth
- Reduces fungal problems
Cut extra seedlings with scissors—do not pull them out (pulling disturbs roots).
9. Hardening Off: Preparing Seedlings for the Outdoors
Before transplanting, seedlings must get used to sunlight, wind, and temperature changes.
Hardening Schedule (5–7 Days):
- Day 1–2: 1–2 hours in shade
- Day 3–4: 3–4 hours of indirect light
- Day 5: 1 hour of direct sunlight
- Day 6–7: 3–4 hours of direct sun
This prevents shock and improves survival rates.
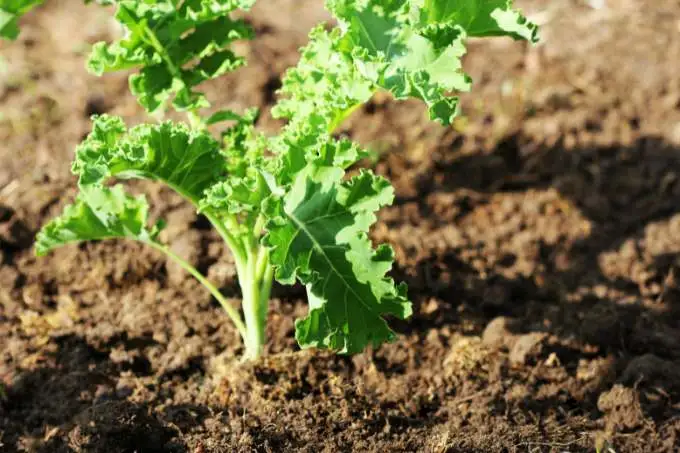
10. When Are Seedlings Ready for Transplanting?
Your kale seedlings are ready when:
✔ They have 3–4 true leaves
✔ Stem is thick and sturdy
✔ Roots are well-established
✔ Seedling height is 8–12 cm
Perfect Age for Transplanting:
3–4 weeks after sowing
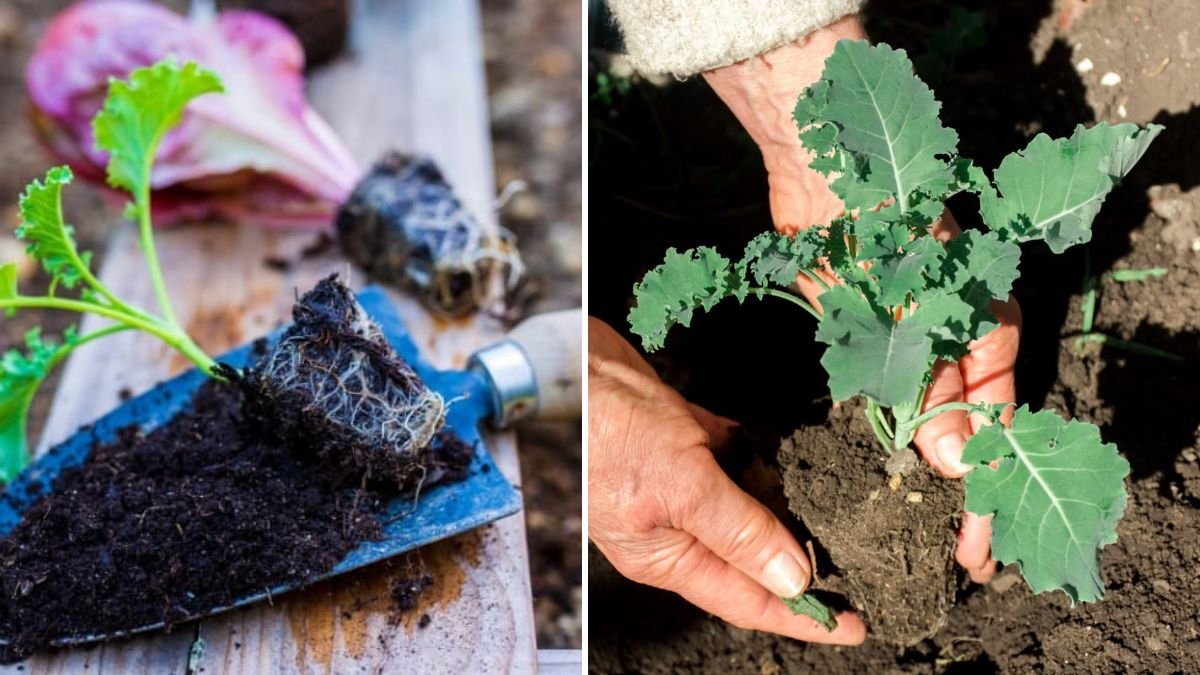
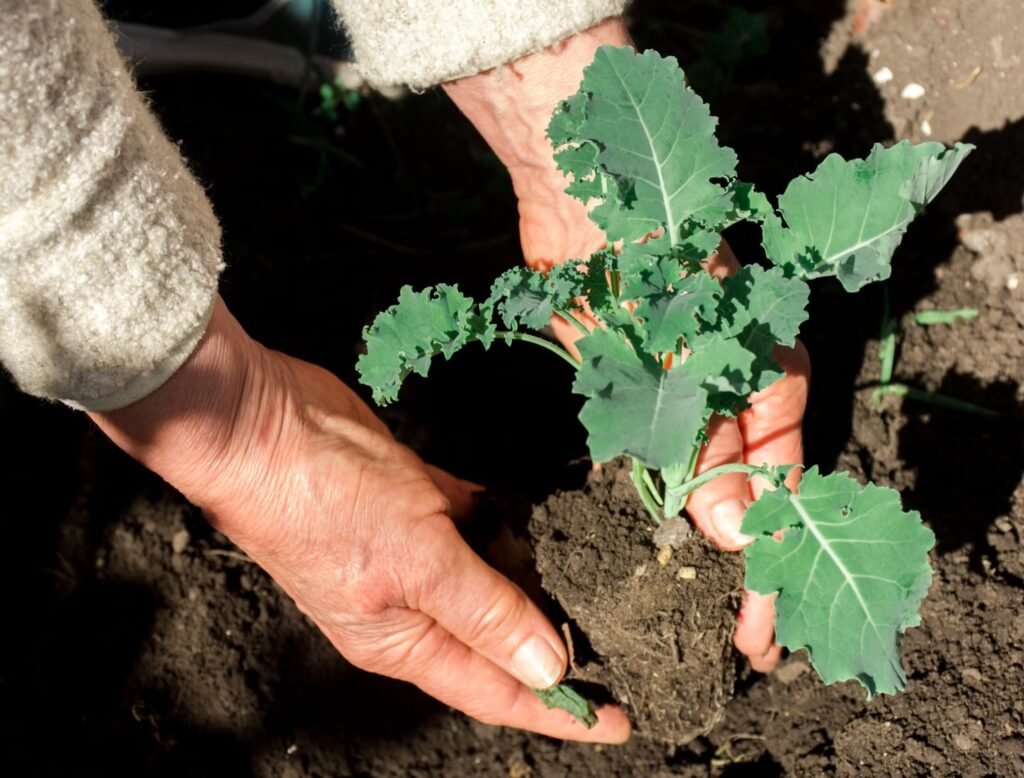
11. Transplanting Kale Seedlings the Right Way
Prepare a nutrient-rich growing bed or container:
- 50% garden soil
- 30% compost
- 20% cocopeat/sand
Add a handful of bone meal or organic fertilizer for long-lasting nutrients.
Transplanting Steps:
- Water seedlings an hour before transplanting
- Make a hole deep enough to bury the stem up to the first leaves
- Place the seedling gently; do not disturb roots
- Firm the soil lightly
- Water thoroughly
- Add mulch to conserve moisture
Spacing:
Keep 25–30 cm between plants.
12. Protecting Seedlings After Transplanting
Newly moved seedlings need protection from:
- Harsh sunlight
- Strong wind
- Heavy rain
- Pests
Cover them with:
- Shade net
- Cardboard rings
- A thin layer of mulch
Water daily for the first 3 days until they settle.
13. Common Seedling Problems and Solutions
Problem 1: Leggy seedlings
Cause: Low light
Fix: Increase sunlight or use grow lights
Problem 2: Yellow leaves
Cause: Overwatering or nutrient deficiency
Fix: Reduce watering & add mild fertilizer
Problem 3: Leaves curling
Cause: Heat stress or tiny pests
Fix: Use neem oil and relocate to cooler spot
Problem 4: Slow growth
Cause: Cold stress or poor soil
Fix: Improve soil mix and maintain stable temperatures
Problem 5: Seedlings falling over
Cause: Damping-off fungus
Fix: Improve drainage, use neem spray, increase airflow
14. Pro Tips for Perfect Kale Seedlings
⭐ Use shallow trays for even moisture
⭐ Keep humidity moderate—too much causes fungus
⭐ Avoid touching seedlings too often
⭐ Label your seed trays to track growth
⭐ Don’t fertilize too early—wait for true leaves
⭐ Always harden off before transplanting
⭐ Use reflective surfaces (aluminum foil) to increase light
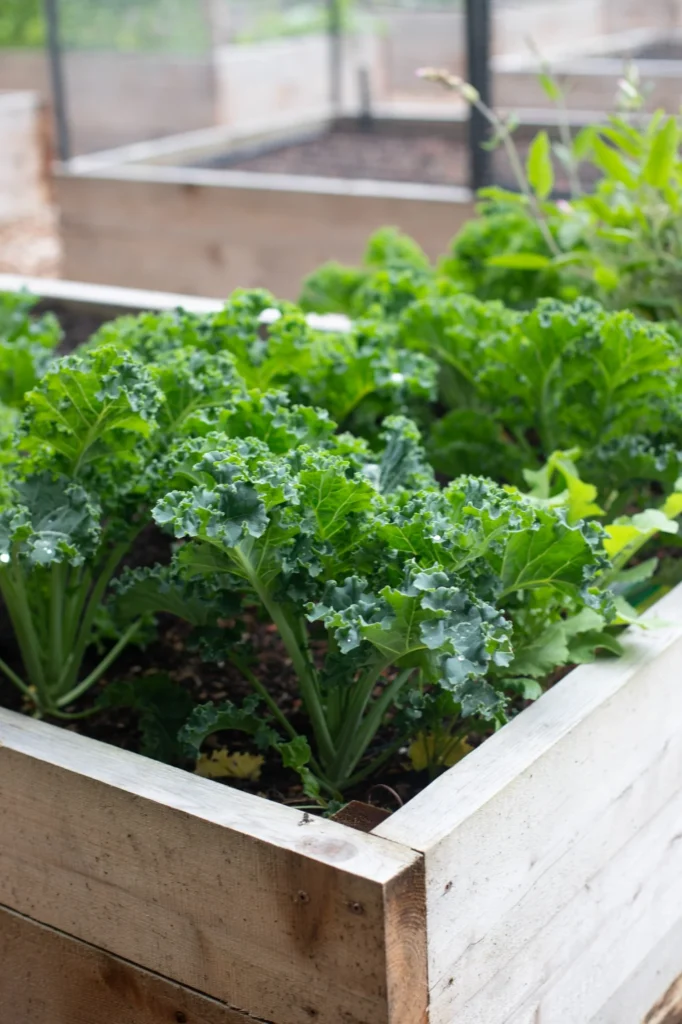
Conclusion: Healthy Kale Seedlings Lead to Abundant Harvests
Growing kale seedlings isn’t difficult once you understand their needs. With proper soil, light, temperature, and watering practices, you can raise strong seedlings that will grow quickly into large, productive plants.
These tips and tricks are beginner-friendly but effective even for advanced gardeners. Follow them consistently, and your kale seedlings will be: