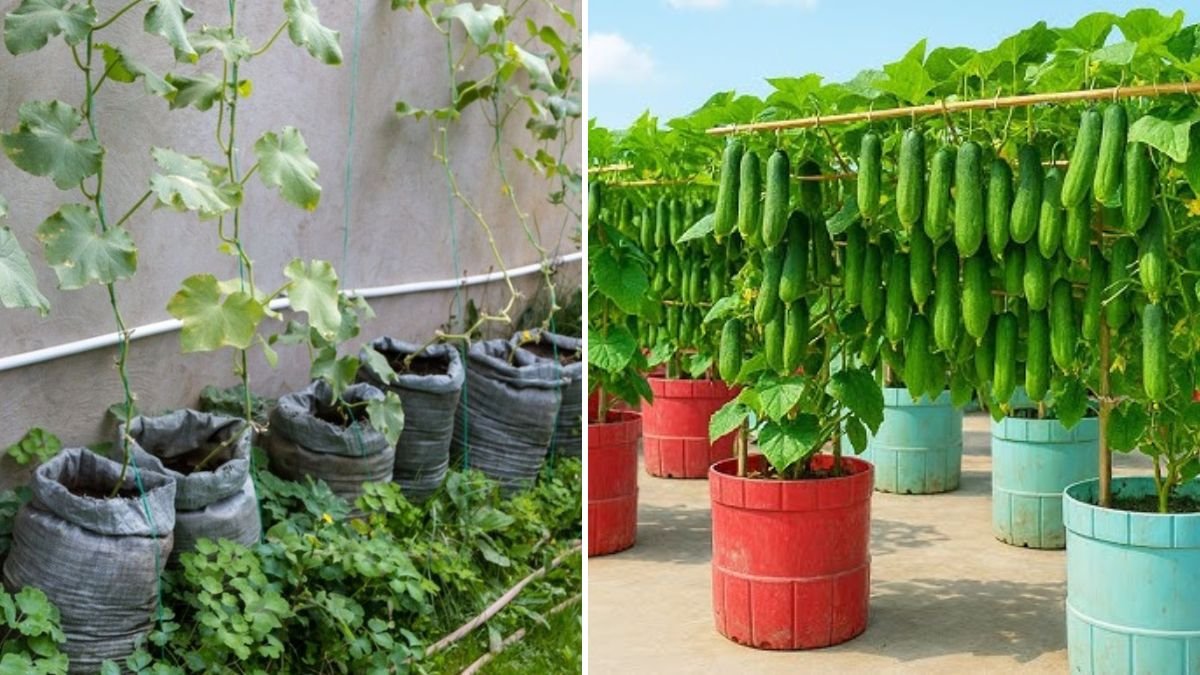
In urban spaces, limited outdoor areas often make traditional gardening seem impossible. But what if you could grow fresh, crisp cucumbers right on your balcony without a full garden? The solution is simpler than you think: plastic can gardening. By using repurposed containers, even small spaces like balconies, terraces, and patios can become productive mini-farms.
This innovative method not only saves space but also reduces costs, recycles materials, and allows you to control soil, water, and nutrients for optimal cucumber growth. In this comprehensive guide, we’ll cover everything you need to know — from selecting the right containers to planting, watering, fertilizing, supporting, and harvesting cucumbers — so you can enjoy fresh, homegrown produce all year round.
Why Grow Cucumbers in Plastic Cans?
Using plastic cans for growing cucumbers offers numerous advantages:
1. Space Efficiency
Even a small balcony can host multiple containers, making it easy to grow several plants in a limited area.
2. Cost-Effective
Plastic cans are inexpensive, widely available, and can be reused for multiple planting seasons.
3. Mobility
Containers can be moved to follow the sun or avoid harsh weather, giving you greater control over your plants’ environment.
4. Soil and Water Management
Unlike garden beds, containers allow precise control over soil quality, moisture levels, and drainage — essential for cucumbers, which are sensitive to overwatering.
5. Sustainable Gardening
Repurposing plastic cans helps reduce waste while promoting eco-friendly urban farming.
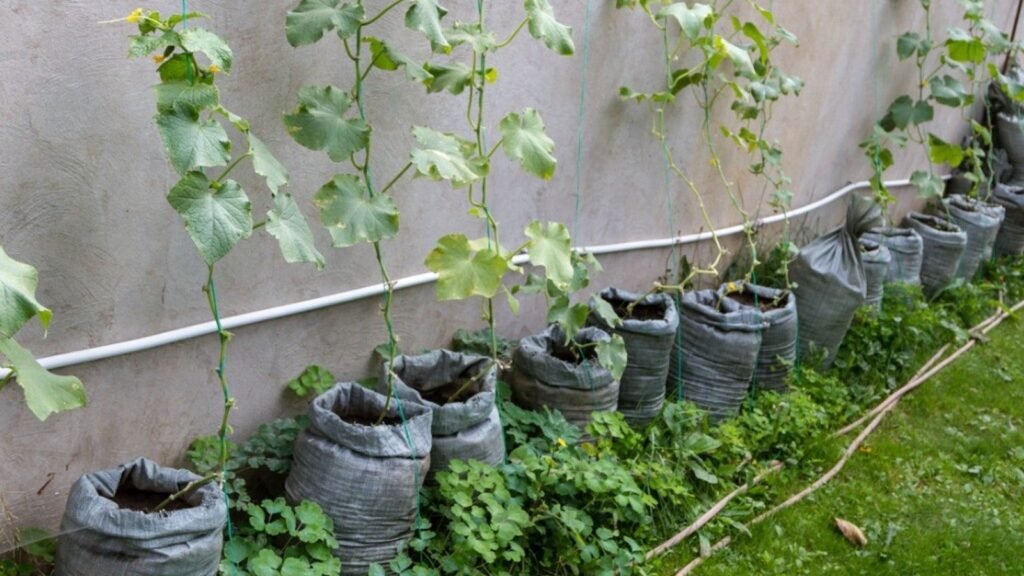
Step 1: Choosing the Right Plastic Can
Not all plastic containers are suitable for cucumber cultivation. Here’s what to look for:
- Size: Minimum 10–15 liters per plant to allow adequate root growth.
- Material: Use sturdy, food-grade plastic cans, buckets, or drums that can withstand sunlight and water.
- Drainage: Drill 4–6 holes at the bottom to prevent waterlogging and root rot.
💡 Pro Tip: Old paint buckets, water cans, or large food containers work perfectly for this purpose.
Step 2: Preparing the Soil
Cucumbers are heavy feeders and need nutrient-rich, well-draining soil for optimal growth.
Ideal Soil Mix:
- 2 parts garden soil or compost
- 1 part sand for drainage
- 1 part well-rotted manure or organic compost
- Optional: Add perlite or vermiculite for better aeration
Filling the Can:
- Place a layer of small stones or broken pottery at the bottom for drainage.
- Fill the can three-quarters full with the prepared soil.
- Water lightly to settle the soil before planting seeds or seedlings.
💡 Tip: Avoid compacting the soil, as loose soil encourages root growth and aeration.
Step 3: Planting Cucumbers
Cucumbers can be grown from seeds or seedlings.
From Seeds:
- Sow 2–3 seeds about 1–2 cm deep per container.
- Cover lightly with soil and water gently.
- Germination usually occurs within 7–10 days.
- Thin seedlings by keeping the strongest plant once true leaves appear.
From Seedlings:
- Transplant seedlings carefully, keeping the soil around the roots intact.
- Water immediately after transplanting to reduce shock.
💡 Pro Tip: Bush or dwarf cucumber varieties are ideal for container growth as they are compact and highly productive.
Step 4: Watering and Moisture Management
Cucumbers are thirsty plants, especially when grown in containers. Proper watering is crucial for healthy growth and preventing flower drop.
Watering Guidelines:
- Keep the soil consistently moist but not waterlogged.
- Water daily during hot weather, preferably in the morning.
- Reduce watering slightly in cooler months.
Tips to Retain Moisture:
- Apply mulch (straw, dry leaves, or coconut husk) on top of the soil.
- Avoid splashing water on leaves to reduce fungal diseases.
Step 5: Fertilization
Cucumbers are heavy feeders, and container plants require regular nutrients.
Organic Fertilizers:
- Well-rotted compost or manure every 2–3 weeks
- Liquid fertilizers like vermicompost tea every 10–14 days
Chemical Fertilizers (Optional):
- Use balanced NPK fertilizer (10:10:10) diluted to half strength every 2 weeks
💡 Pro Tip: Stop fertilizing once fruits begin to ripen to improve taste and avoid excessive leaf growth.
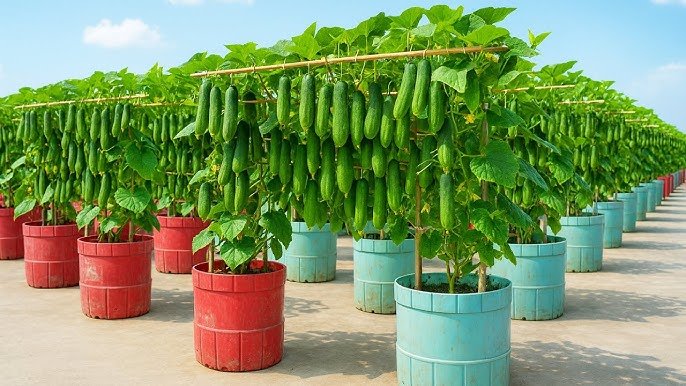
Step 6: Supporting Your Cucumbers
Cucumbers are climbers and produce higher yields when grown vertically.
Support Options:
- Trellis: Bamboo sticks or netting in the can for vertical growth
- String Support: Tie the main stem loosely to a string for climbing
- Cage Support: Wire cages work well for bush varieties
💡 Pro Tip: Vertical growth saves space and keeps cucumbers clean and straight.
Step 7: Sunlight Requirements
Cucumbers thrive in full sun, needing at least 6–8 hours of direct sunlight daily.
Balcony Tips:
- Place cans in the sunniest spot on your balcony.
- Rotate containers weekly for even light exposure.
- Use reflective surfaces (white walls or mirrors) to maximize sunlight.
💡 Tip: If natural light is insufficient, use a small LED grow light for 4–6 hours daily.
Step 8: Pest and Disease Management
While container cucumbers are less prone to pests than garden-grown ones, vigilance is key.
Common Pests:
- Aphids
- Whiteflies
- Spider mites
Organic Control:
- Neem oil or insecticidal soap spray
- Remove affected leaves immediately
- Encourage beneficial insects like ladybugs
Common Diseases:
- Powdery mildew: caused by high humidity and poor airflow
- Downy mildew: prevent by avoiding wetting leaves and maintaining spacing
💡 Tip: Proper drainage, sunlight, and air circulation minimize most disease risks.
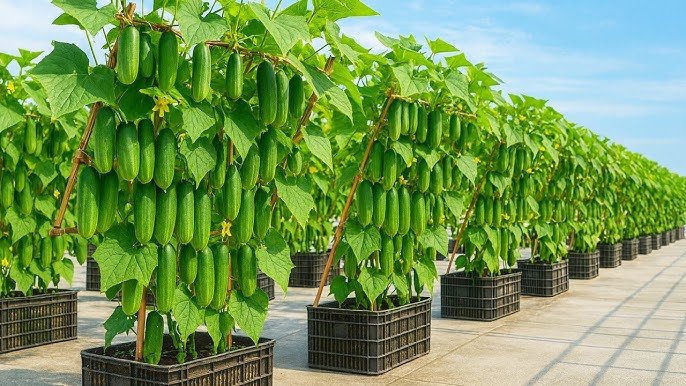
Step 9: Harvesting Cucumbers
Cucumbers are typically ready to harvest 45–60 days after planting, depending on the variety.
Harvesting Tips:
- Pick cucumbers when they reach 15–20 cm (for slicing varieties).
- Harvest regularly to encourage continuous flowering and fruiting.
- Use scissors or a knife to cut the fruit, avoiding damage to the vine.
💡 Tip: Frequent harvesting increases yield and prevents overripe cucumbers from reducing productivity.
Step 10: Benefits of Growing Cucumbers in Plastic Cans

- Fresh, chemical-free produce: Enjoy organic cucumbers at home.
- Space-saving urban gardening: Ideal for small apartments and balconies.
- Recycling and sustainability: Gives new life to old plastic containers.
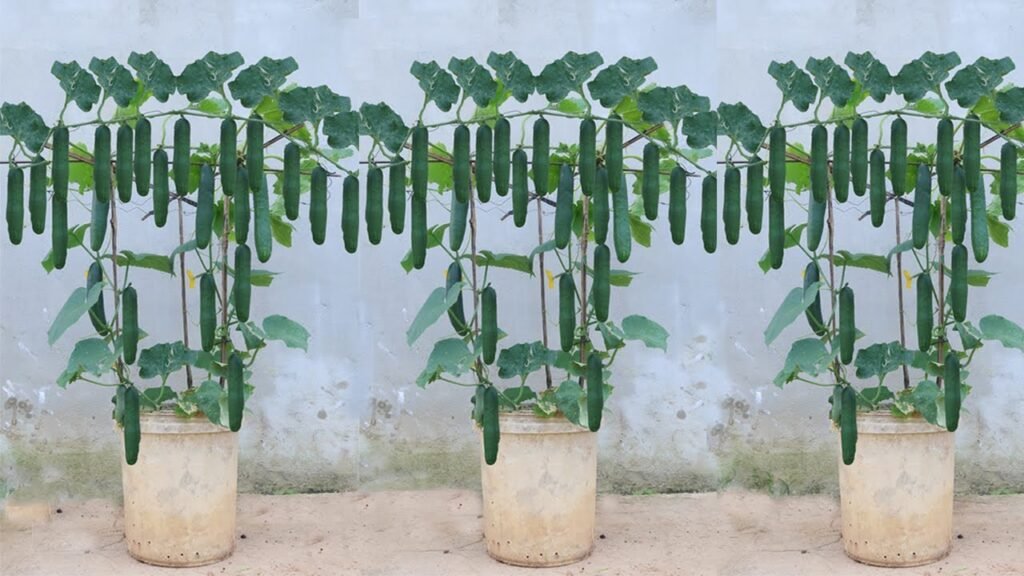
- Aesthetic appeal: Green vines and hanging cucumbers beautify your balcony.
- Therapeutic gardening: Provides a relaxing and rewarding hobby.
Quick Checklist for Container Cucumbers
| Task | Tip |
|---|---|
| Container | 10–15 liters with drainage holes |
| Soil | Well-draining, nutrient-rich mix |
| Watering | Keep soil moist; avoid waterlogging |
| Fertilization | Organic or diluted chemical fertilizer every 2–3 weeks |
| Sunlight | 6–8 hours direct sunlight |
| Support | Trellis, string, or cage for climbing |
| Pest Control | Neem oil, insecticidal soap, remove affected leaves |
| Harvesting | Pick regularly for continuous production |
Final Thoughts
Growing cucumbers in plastic cans is an innovative and space-efficient solution for urban gardening. With minimal investment and proper care, your balcony can become a thriving mini-farm, producing fresh, crunchy cucumbers for your family.
This method is not only practical but also eco-friendly, turning discarded containers into productive vessels for your plants. By following these simple steps — choosing the right can, preparing nutritious soil, providing water and sunlight, supporting vines, and managing pests — anyone can cultivate a successful container cucumber farm.
Start today, and soon you’ll enjoy homegrown cucumbers that are healthier, tastier, and more satisfying than store-bought varieties — all from the comfort of your own balcony!