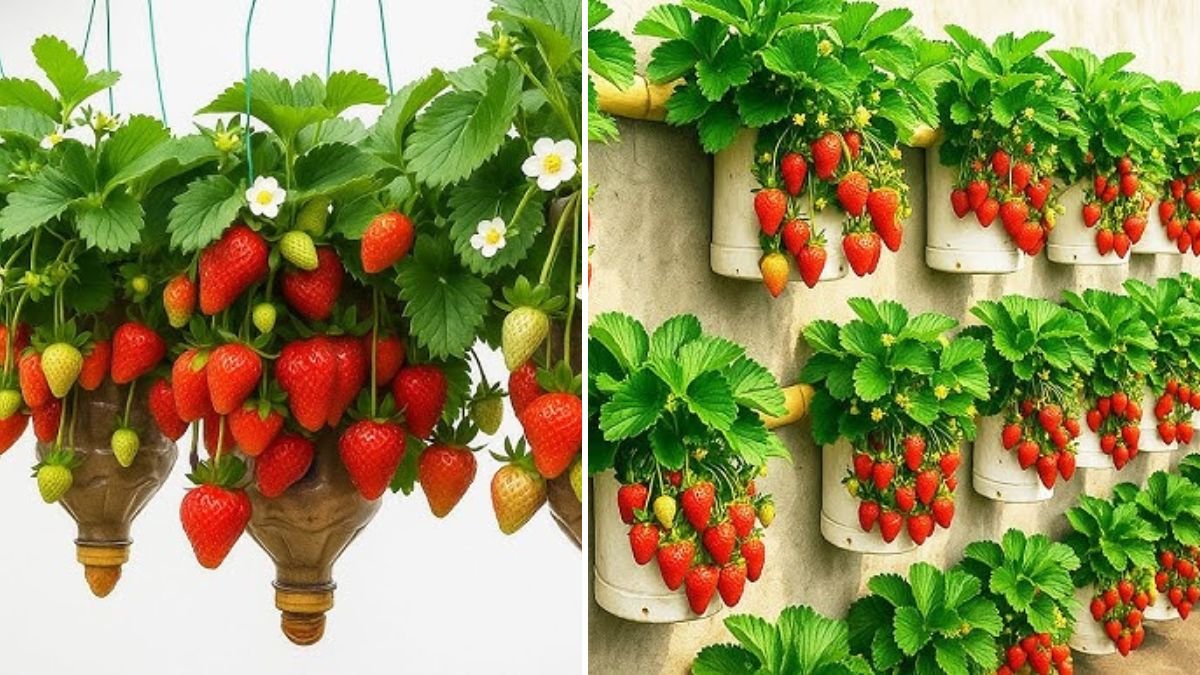
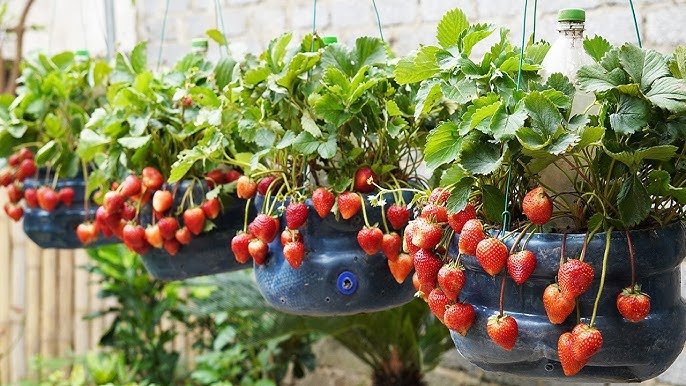
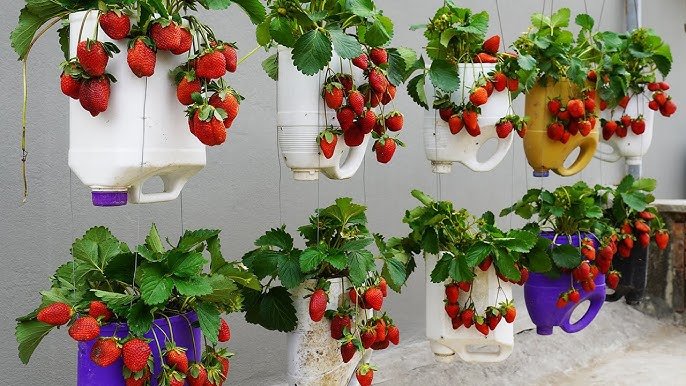
Transforming an unused, crumbling wall into a lush vertical strawberry garden might sound like magic—but it’s actually one of the most rewarding DIY gardening projects you can do at home. With just recycled plastic bottles, basic tools, and a bit of creativity, you can build a productive strawberry farm that saves space, reduces waste, and yields bowl after bowl of fresh, juicy berries.
This guide will walk you through everything: how to prep the bottles, mount them securely, nourish your plants, and maintain your vertical strawberry farm for long-lasting harvests. Let’s turn old walls into sweet, living landscapes!
🍓 Why Grow Strawberries in Recycled Bottles?
Before diving into the steps, here’s why this method works beautifully:
✔ Saves Space
Perfect for small yards, balconies, patios, and narrow walls.
✔ Eco-Friendly
Upcycles plastic waste into something useful and beautiful.
✔ Better Pest Control
Strawberries stay elevated and clean, away from soil pests.
✔ Improved Drainage & Aeration
Bottles allow controlled watering and prevent root rot.
✔ Easy Maintenance
Vertical layout means easier harvesting and pruning.
This system combines sustainability with productivity—ideal for beginners and seasoned gardeners alike.
🧰 Materials You’ll Need
- Clean plastic bottles (1–2 liter bottles work best)
- Sharp utility knife or heated metal rod
- Potting mix (light, airy, well-draining)
- Compost or fermented kitchen waste fertilizer
- Strawberry seedlings or runners
- Nail and hammer OR screws and drill
- Rope or metal hooks (if hanging)
- Old wall or sturdy fence panel
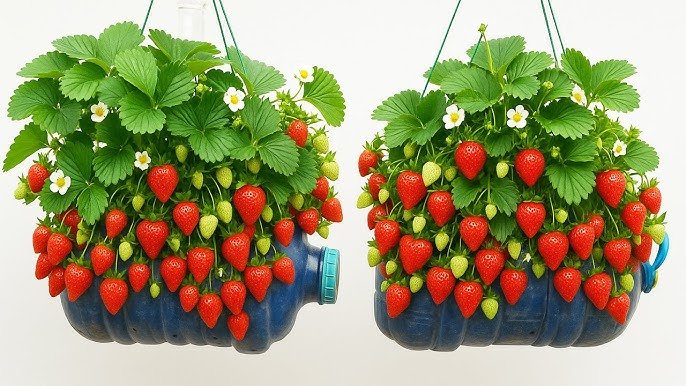
🏗️ Step 1: Preparing the Bottles
The bottle design is key to success. Follow this simple structure:
Cut Planting Door
- Lay the bottle horizontally.
- Cut a rectangular opening on the side, large enough to plant and maintain the strawberry.
- Smooth the edges if sharp.
Create Drainage Holes
- Poke 3–5 holes at the bottom using a heated nail or drill.
- This prevents overwatering and root rot.
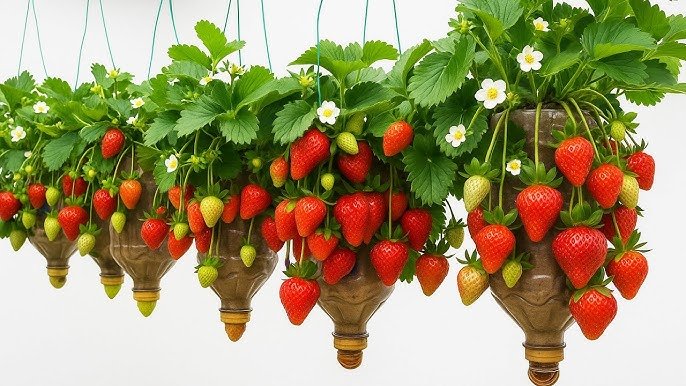
Add Hanging Holes (If using a vertical string system)
- Create two small holes near the top.
- Pass a rope or metal wire through to hang the bottle securely.
Optional: Wicking System
Insert a cotton rope through the bottle base to help roots absorb water gradually.
🌿 Step 2: Filling the Bottles With the Right Growing Medium
Strawberries hate compacted soil. Use a light, fluffy mix like:
- 50% potting mix
- 30% coco peat
- 20% compost
For an extra nutrient boost, mix in crushed eggshells or a few spoonfuls of fermented kitchen waste tea (properly diluted).
Fill each bottle three-quarters full and gently press to remove large air pockets, but don’t compact it tightly.
🍓 Step 3: Planting Your Strawberries the Right Way
Strawberries grown in containers perform best when transplanted as:
- Healthy seedlings
- Strong runners
- Tissue-cultured young plants
Planting Tips:
- Insert the seedling through the bottle’s side opening.
- Keep the crown above the soil surface—burying it may cause rot.
- Allow the roots to gently spread, not curl.
Sprinkle a layer of mulch (coco chips or straw) to retain moisture.
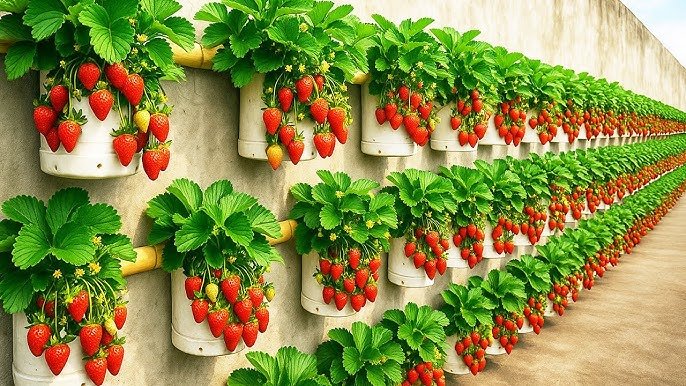
🧱 Step 4: Mounting Bottles on the Wall
There are 3 effective methods:
1. Horizontal Shelf Mount
Place bottles on wooden slats or metal holders screwed to the wall.
2. Vertical Hanging Rows
Hang bottles using ropes, one beneath the other, allowing dripping water to benefit lower plants.
3. Direct Wall Mount
Hammer nails into the wall and hang the bottles by their cut-out handles.
Spacing Recommendations:
- 20–30 cm between bottles for airflow
- Leave a little tilt downward for easier drainage
- Avoid placing them in deep shade
☀️ Step 5: Giving Strawberries Their Ideal Growing Conditions
Strawberries are sun-lovers but also sensitive to extreme heat.
Optimal Conditions:
- 6–8 hours of sunlight daily
- Temperature: 15–28°C
- Regular watering: Keep soil moist, not soggy
- Fertilizing: Every 10–14 days with compost tea or diluted kitchen-waste liquid
Avoid waterlogging—bottle drainage makes this easier.
🌼 Step 6: Flowering & Fruiting Care
Once your plants start forming flowers, follow these care steps:
Pollination
If indoors, gently shake the bottle or use a soft brush to help pollinate.
Feeding
Switch to a potassium-rich fertilizer to encourage fruiting.
Disease Prevention
- Ensure good airflow
- Remove old or yellow leaves
- Keep fruits from touching the soil or bottle edges
With good care, your strawberry bottles will flower continuously and fruit multiple times each season.
🍓 Step 7: Harvesting Sweet, Juicy Strawberries
Harvest your strawberries when:
- Their color is fully red
- The fruit feels firm yet plump
- They release easily with a gentle twist
Vertical gardening ensures clean fruits—no soil splashing or slug damage.
🔄 Step 8: Reuse, Expand & Multiply
Once this project succeeds, you can:
- Add more tiers of bottles
- Experiment with different strawberry varieties
- Incorporate drip irrigation
- Recycle more kitchen waste into compost
This project is not only productive but also deeply satisfying. You’re transforming waste into food, beautifying dull walls, and enjoying fresh strawberries—all from a DIY setup!
🌿 Final Thoughts
Growing strawberries from recycled bottles is more than a gardening trick—it’s a smart solution for sustainable living. With minimal cost and maximum creativity, you can turn old walls, fences, or balconies into vibrant strawberry farms bursting with life.
Every bottle you reuse reduces waste. Every plant you grow brings fresh food closer to your home. And every fruit you harvest is a reminder that small, creative steps can produce big, delicious results.
If you’re ready to bring sweetness into your space—grab some bottles, find a sunny wall, and start planting today! 🍓🌞