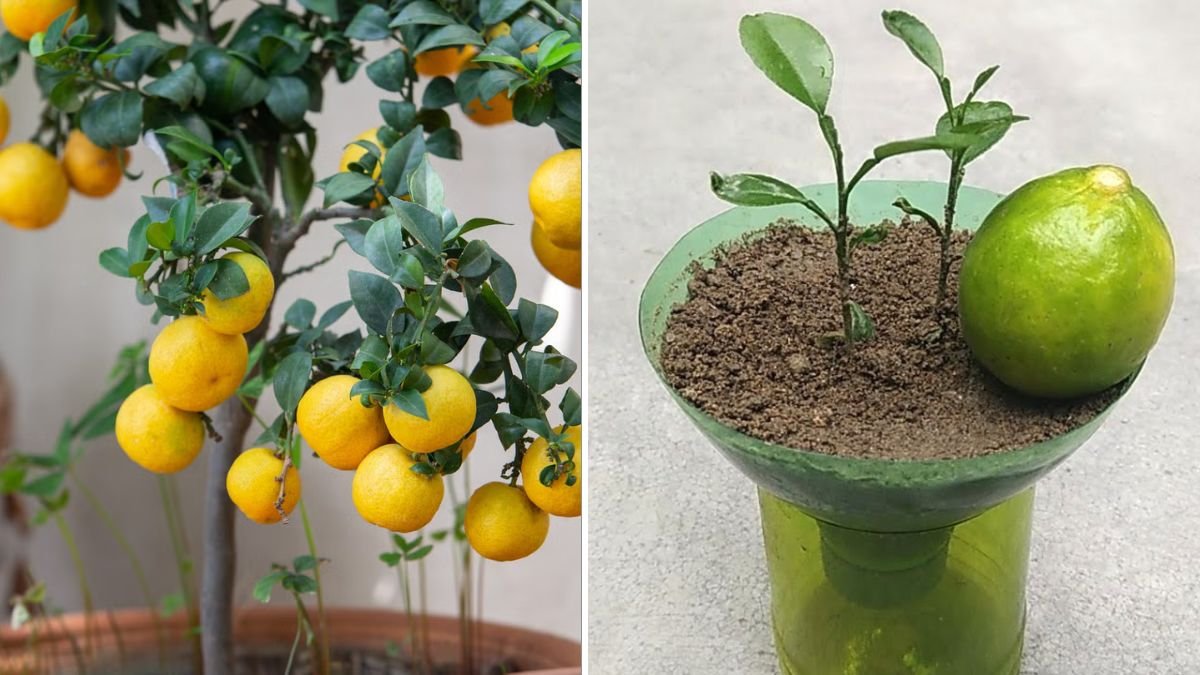
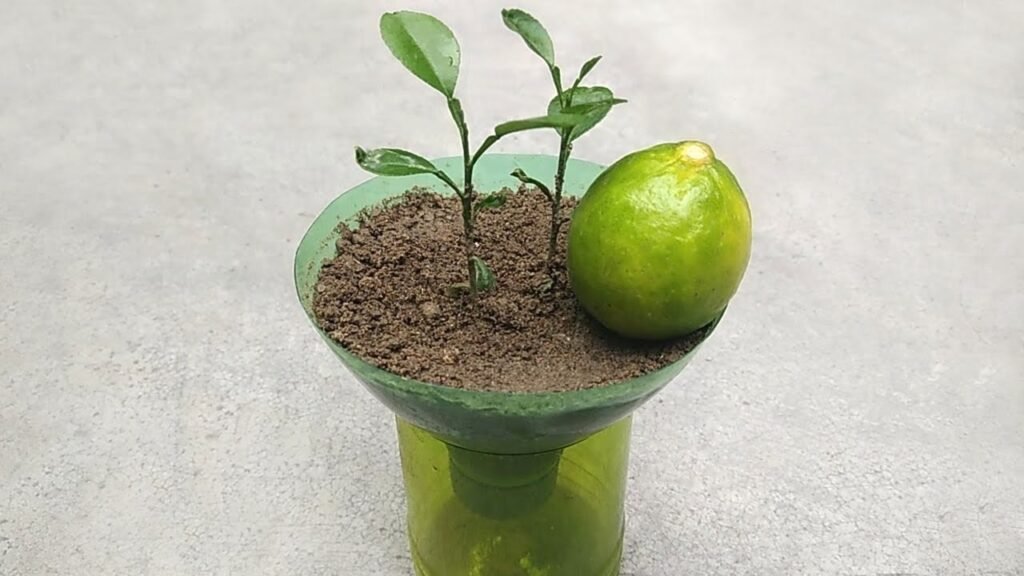
Growing a lemon tree at home is one of the most rewarding gardening experiences. Fresh lemons, fragrant leaves, and the joy of nurturing your own citrus plant make the effort completely worth it. And the best part? You can grow a lemon tree from cuttings easily using just a simple plastic bottle!
This highly effective, budget-friendly technique not only saves space but also creates the perfect mini greenhouse environment for fast root development. Whether you’re a beginner or experienced gardener, this guide will walk you step-by-step through the easiest method to propagate lemon trees from cuttings using a plastic bottle.
Let’s get started with this detailed 1200-word guide!
Attractive Title:
“Plastic Bottle Magic! The Easiest Way to Grow Lemon Trees from Cuttings at Home (100% Success Guide)”
Why Propagate Lemon Trees from Cuttings?
Most people try growing lemons from seeds, but seed-grown lemon plants:
- Take longer to fruit
- Don’t always grow true to the parent plant
- Are unpredictable in taste and size
Cuttings, on the other hand:
Grow faster
Produce the same lemon variety as the parent
Root easily with the right environment
Are perfect for container gardening
Using a plastic bottle enhances rooting by maintaining perfect humidity and warmth.
Why Use a Plastic Bottle for Lemon Cuttings?
The plastic bottle method works like a mini greenhouse, offering:
- Consistent humidity
- Warm temperature around the cutting
- Protection from pests
- Controlled airflow
- Faster rooting conditions
Plus, it’s an excellent recycling method!
You only need:
- 1 clean plastic bottle
- Sharp knife
- Lemon cutting
- Light potting mix
Best Time to Root Lemon Cuttings
Lemon cuttings root best in:
Early Spring
Late Spring
Early Summer
Monsoon season
Avoid winter when growth slows down.
What You Need
Gather the following simple items:
- 1 healthy lemon branch
- 1-liter or 1.5-liter plastic bottle
- Sharp knife/scissors
- Rooting hormone powder or gel (optional but helpful)
- Cocopeat or sandy soil
- Spray bottle with water
- Rubber band or thread
Step-by-Step Guide to Propagating Lemon Tree Using a Plastic Bottle
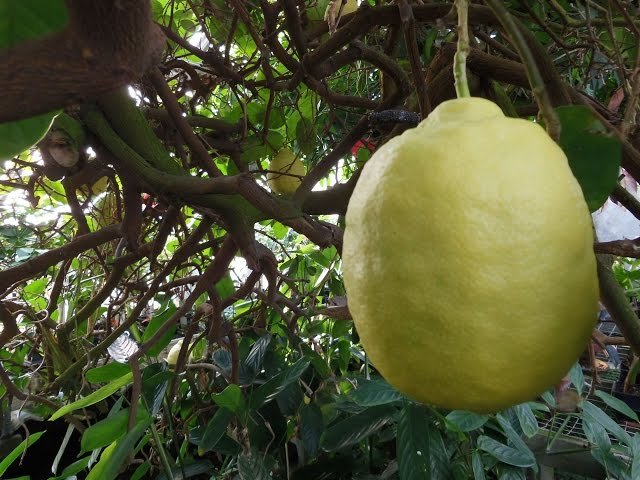
Step 1: Select the Best Lemon Cutting
Choose a branch that is:
- 6–8 inches long
- Semi-hardwood (not too soft, not too woody)
- Healthy and disease-free
- Contains 3–4 nodes
- Has green fresh leaves
Avoid branches with flowers or fruits—they drain the plant’s energy.
Step 2: Prepare the Cutting
To encourage fast rooting:
- Remove all leaves except the top 2
- Cut the stem just below a node
- Make the cut at a slight angle
- Gently scrape the bark at the bottom 1 inch to expose the green layer
- Dip the bottom in rooting hormone (optional but speeds up rooting)
This ensures that the cutting focuses all its energy on root formation.
Step 3: Prepare the Plastic Bottle Mini-Greenhouse
Here’s how to prepare the bottle:
Option 1: Cut and Use Like a Pot
- Cut the bottle in the middle
- Use the bottom half as a pot
- Make 3–4 drainage holes
- Fill with light potting mix
Option 2: Insert the Cutting Without Cutting the Bottle
This creates a closed greenhouse:
- Make a small slit on the side
- Insert the cutting carefully
- Fill bottom with soil
- Leave cap OPEN for airflow
Both methods work well.
Step 4: Fill the Bottle with the Right Soil Mix
Lemon cuttings root best in:
- 50% cocopeat
- 30% river sand
- 20% compost
This mix:
Drains well
Prevents fungal issues
Maintains moisture
Encourages roots to grow faster
Step 5: Plant the Lemon Cutting
- Insert the cutting 2–3 inches deep
- Press the soil lightly around it
- Spray water until soil becomes moist but not soggy
- Ensure the cutting stands upright and stable
Step 6: Close and Seal the Bottle
This is the magical part of the method!
- Put the upper half of the bottle back
- Seal with tape or use a rubber band
- Leave the bottle in bright, indirect sunlight
Your cutting is now inside a complete humidity chamber.
The environment inside will stay warm and moist — perfect for rooting.
How the Bottle Method Works
Inside the bottle:
- Moisture circulates
- Humidity stays around 70–90%
- Rooting happens faster
- Stem remains hydrated
- Temperature stays stable
This significantly increases the success rate — often above 90%.
Step 7: Provide the Right Conditions for Rooting
Place the bottle in:
Bright, indirect sunlight
Warm temperature (22–30°C)
A sheltered location (no direct wind)
Avoid:
Direct sunlight
Heavy watering
Opening the bottle frequently
Let the mini-greenhouse do the work.
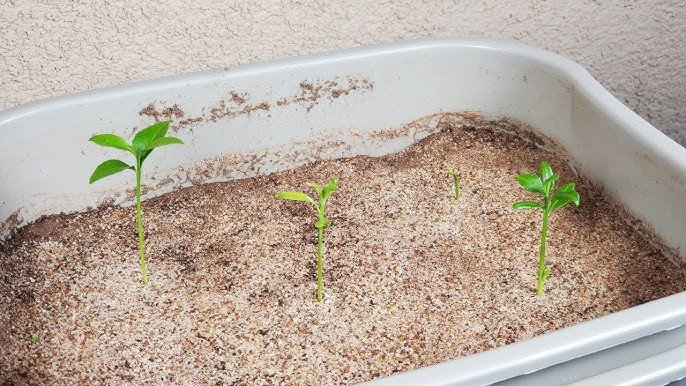
Rooting Timeline (What to Expect)
Week 1–2:
Cutting adjusts and absorbs moisture.
Week 2–4:
Roots start forming inside the soil.
Week 4–6:
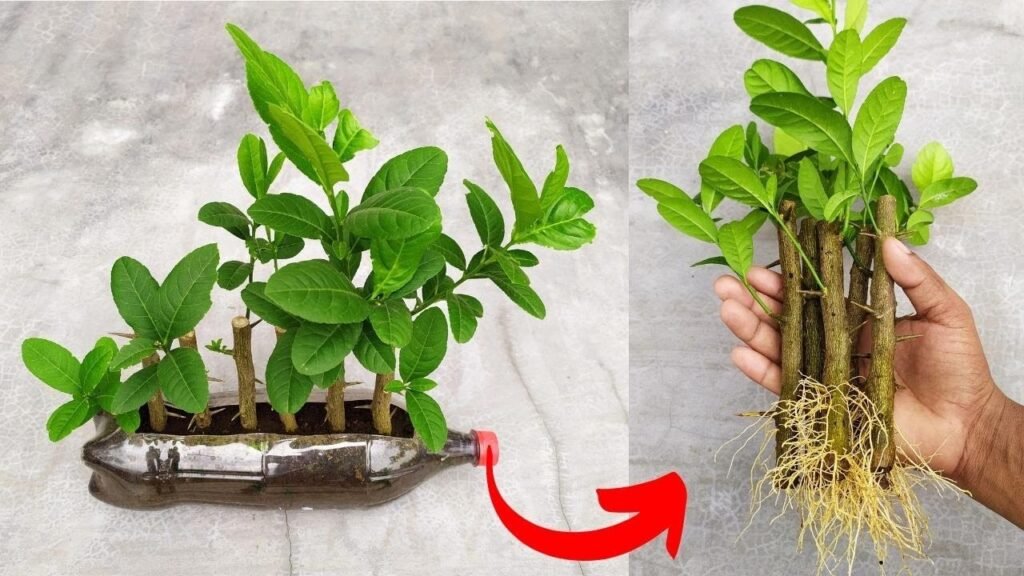
New leaves appear — a sign of successful rooting.
Week 6–8:
Lift bottle lightly — if you feel weight and resistance, roots are strong.
Your lemon plant is now ready to transplant!
Step 8: Transplanting the Rooted Lemon Cutting
Once roots become strong:
- Open the bottle
- Remove the cutting gently
- Plant it in a larger pot with nutrient-rich soil
- Place in semi-shade for 10 days
- Slowly shift it to sunlight
Feed with compost after 30–40 days.
Care Guide for Young Lemon Plant
Watering
Keep soil moist but not waterlogged.
Sunlight
Needs 5–6 hours of sunlight after stabilization.
Fertilizer
Apply once a month:
- Vermicompost
- Cow dung compost
- Banana peel fertilizer
Pruning
Light pruning encourages bushy growth.
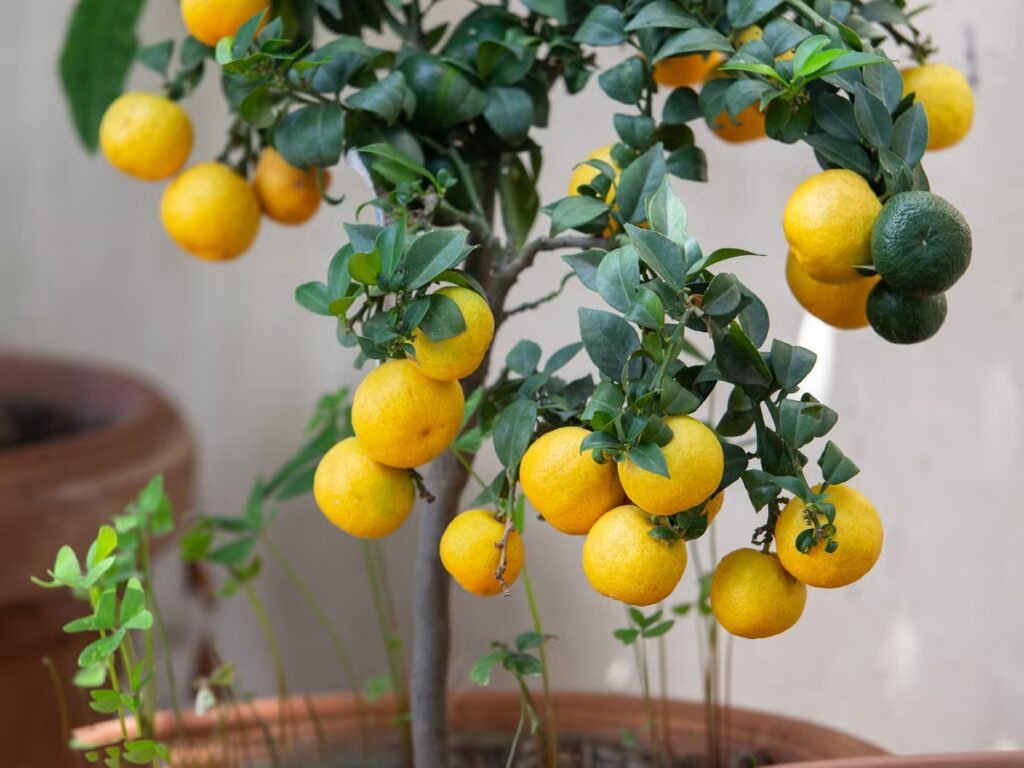
When Will the Lemon Tree Start Fruiting?
Plants grown from cuttings fruit faster than seed-grown plants.
Expected Fruiting Time:
2.5–3 years
Healthy plants with regular care may fruit even earlier.
Common Mistakes to Avoid
Adding too much water inside bottle
Using direct sunlight
Taking a very soft cutting
Not sealing the bottle properly
Using heavy clay soil
Opening the bottle too frequently
Avoid these to guarantee success.
Benefits of Growing Lemon in a Plastic Bottle
- Saves space
- Works in any season
- Perfect for balcony gardeners
- Produces fast results
- Protects cutting from pests
- Great for beginners
This method is also fun and educational for kids!
Final Thoughts
Propagating a lemon tree from cuttings using a plastic bottle is one of the most effective and beginner-friendly methods ever. The mini greenhouse created inside the bottle ensures the ideal environment for the cutting to root quickly and grow into a healthy lemon tree.
With patience, proper care, and the method explained above, you’ll be enjoying your very own home-grown lemons sooner than you think!